|
|
Post by cyf on Oct 27, 2011 11:15:04 GMT
The body shell 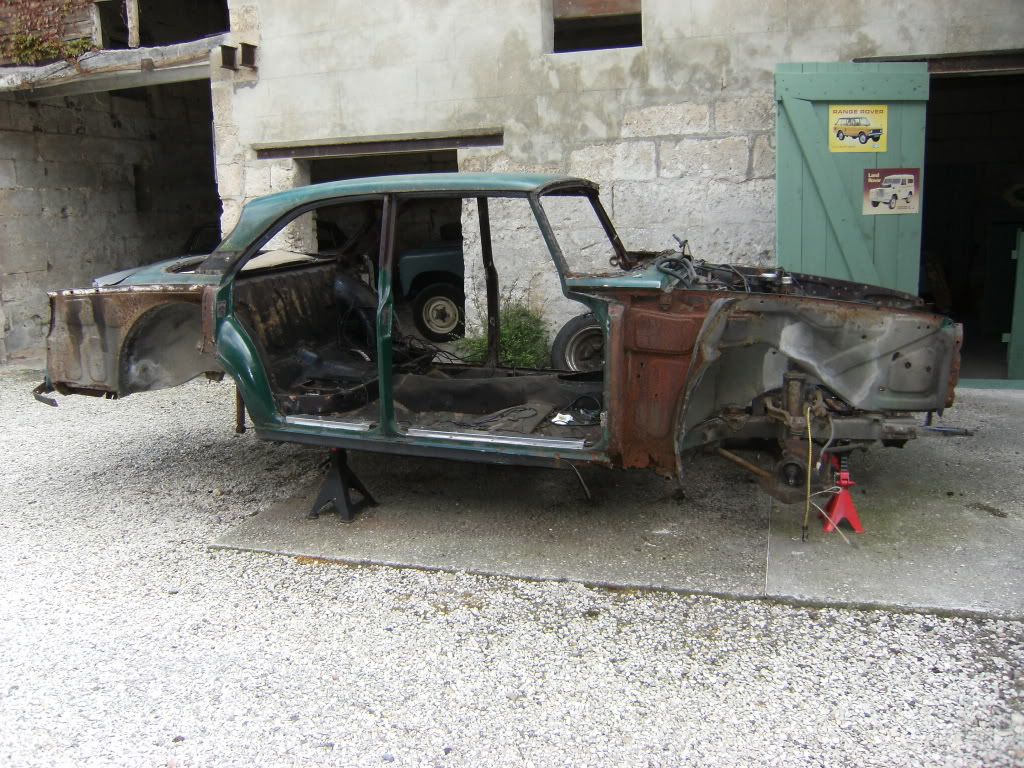 The trim 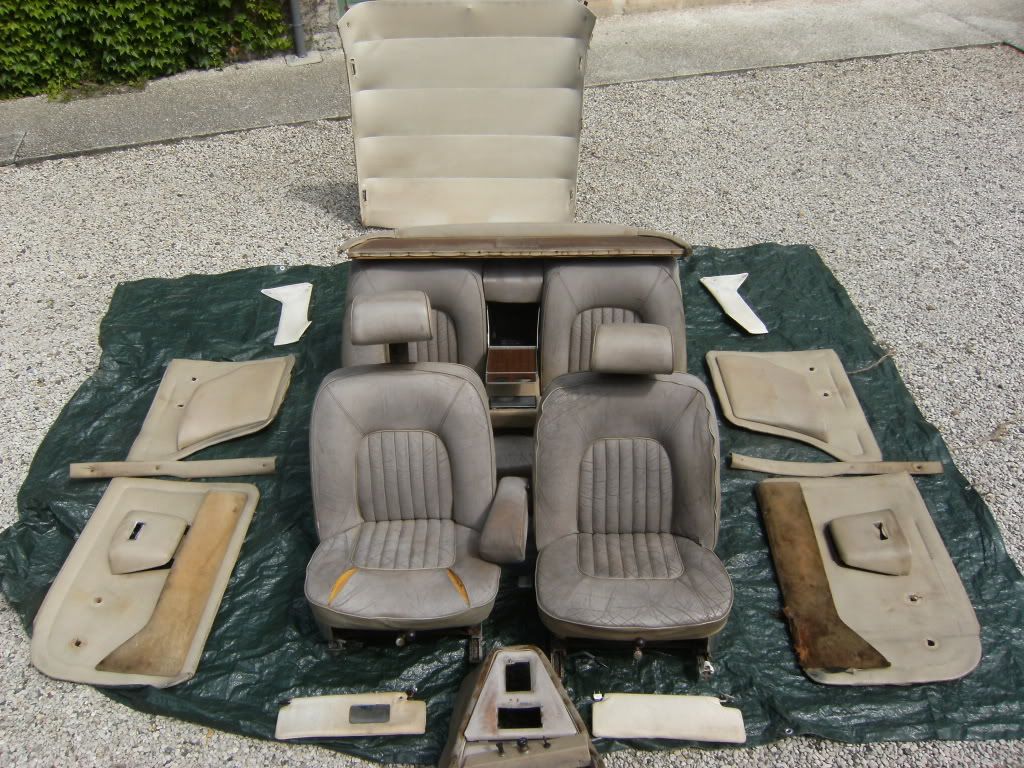 |
|
|
|
Post by p5tgc on Oct 27, 2011 17:05:32 GMT
Any photos showing how the wiring loom sits along the cills, especially how it routes around the base of the A and B pillars, under the stainless steel kick plates?
|
|
Deleted
Deleted Member
Posts: 0
|
Post by Deleted on Oct 27, 2011 17:38:32 GMT
Any photos showing how the wiring loom sits along the cills, especially how it routes around the base of the A and B pillars, under the stainless steel kick plates? the wiring loom goes through the pillar  |
|
|
|
Post by cyf on Oct 27, 2011 19:41:24 GMT
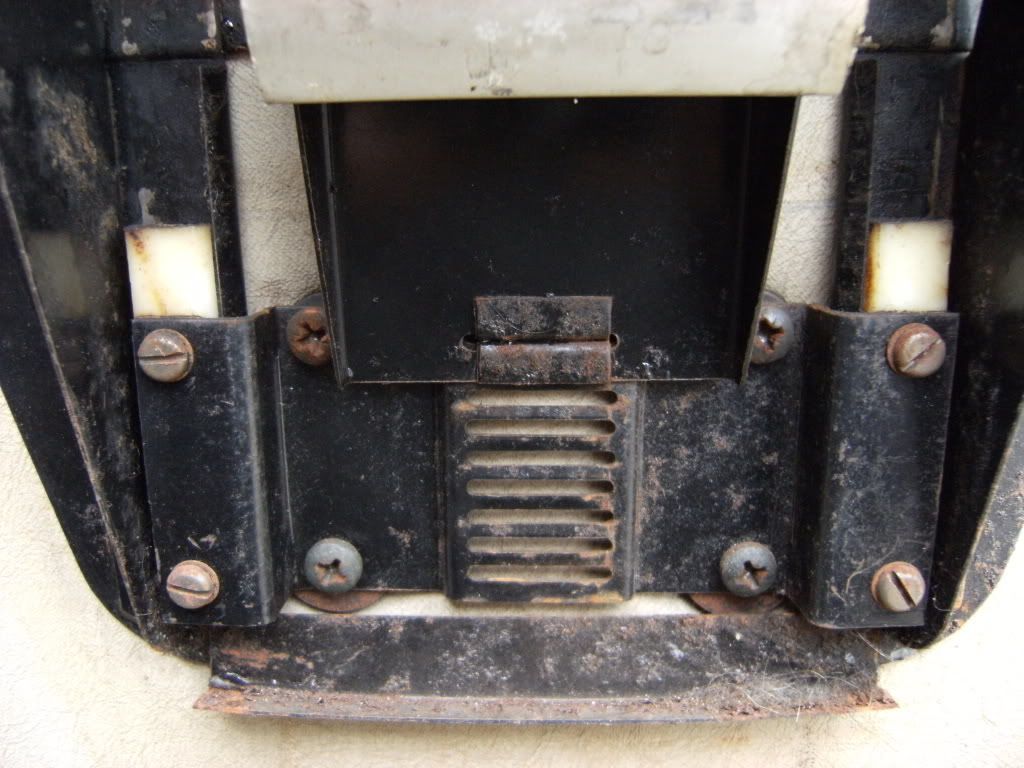
That's right. On the pictures below, you can see the wiring loom with the stainless steel plates left in place on one side 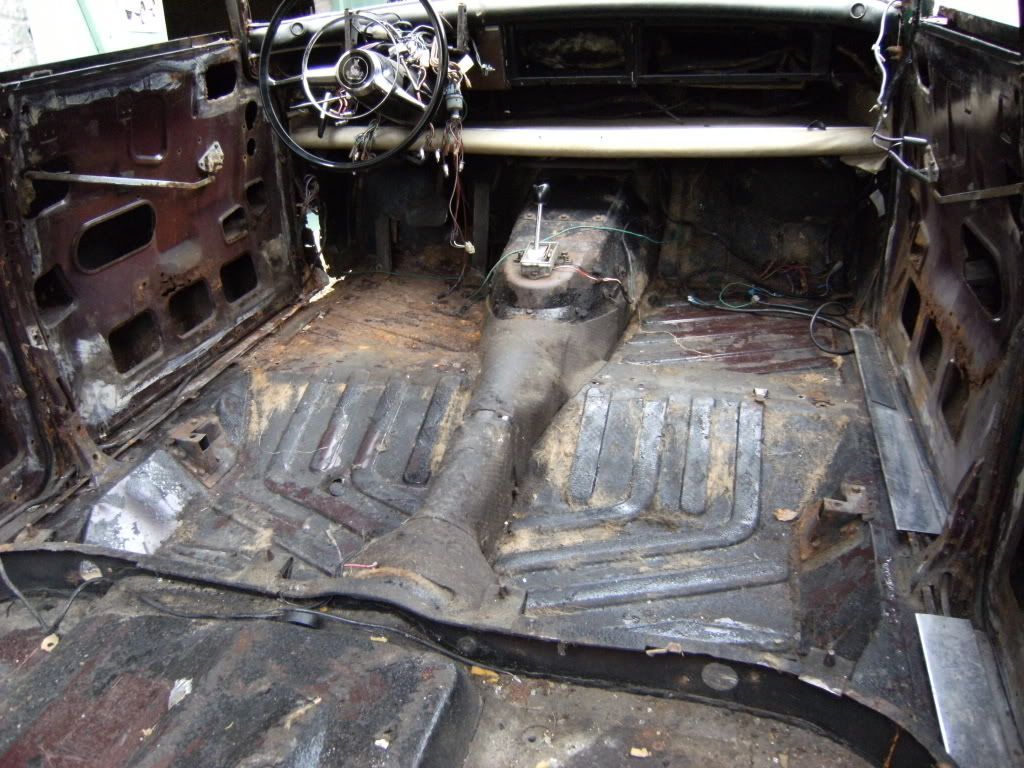 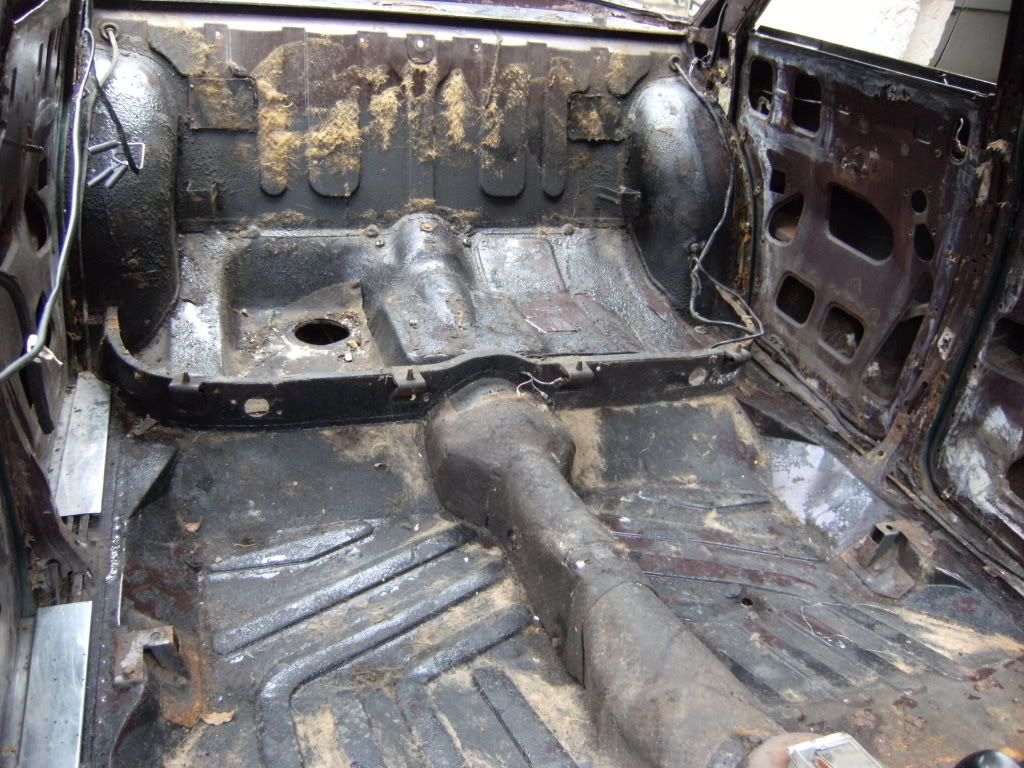 |
|
|
|
Post by p5tgc on Oct 28, 2011 12:58:55 GMT
Many thanks, just what I need!.
|
|
|
|
Post by cyf on Oct 28, 2011 20:20:58 GMT
You're welcome
|
|
|
|
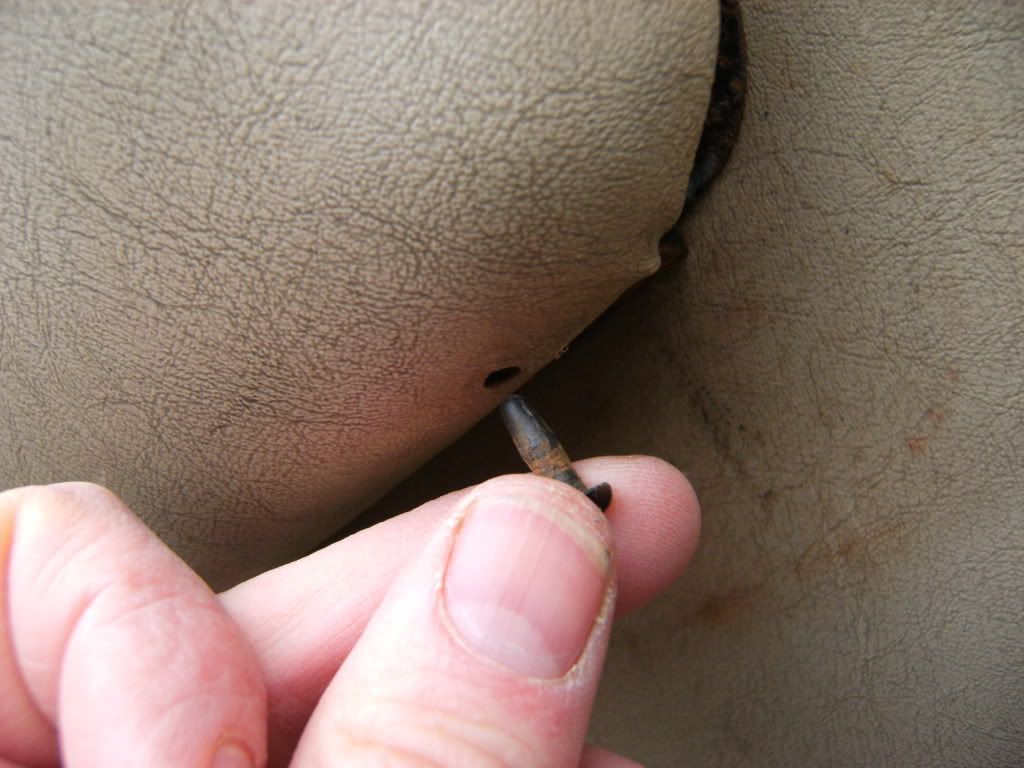
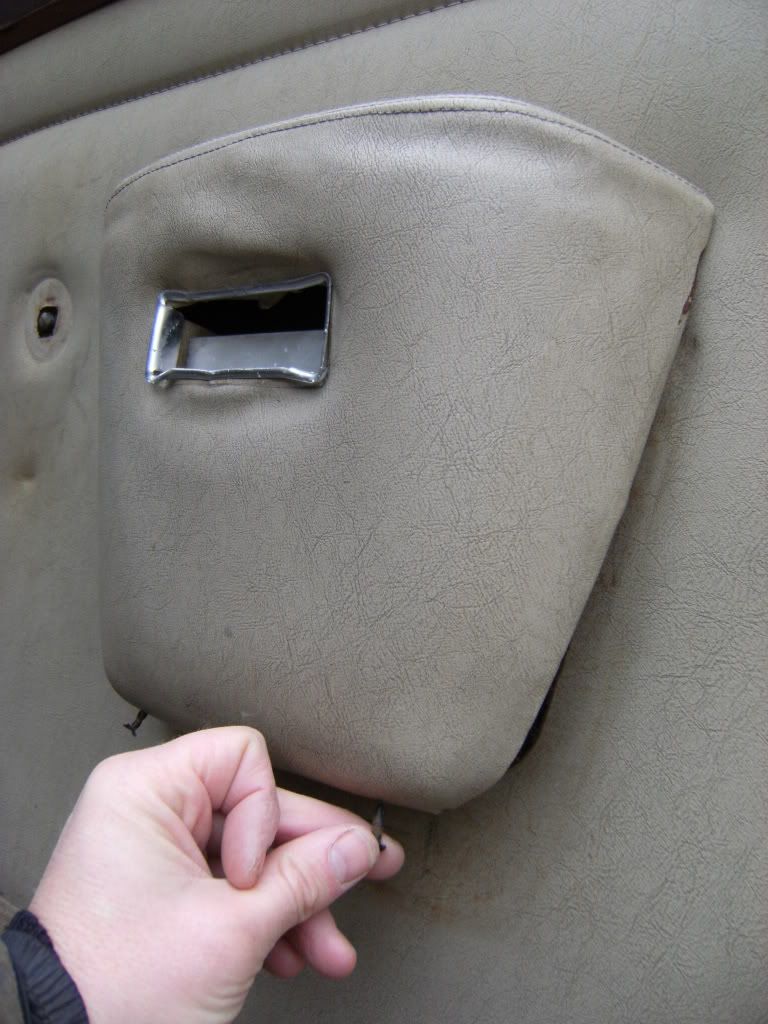
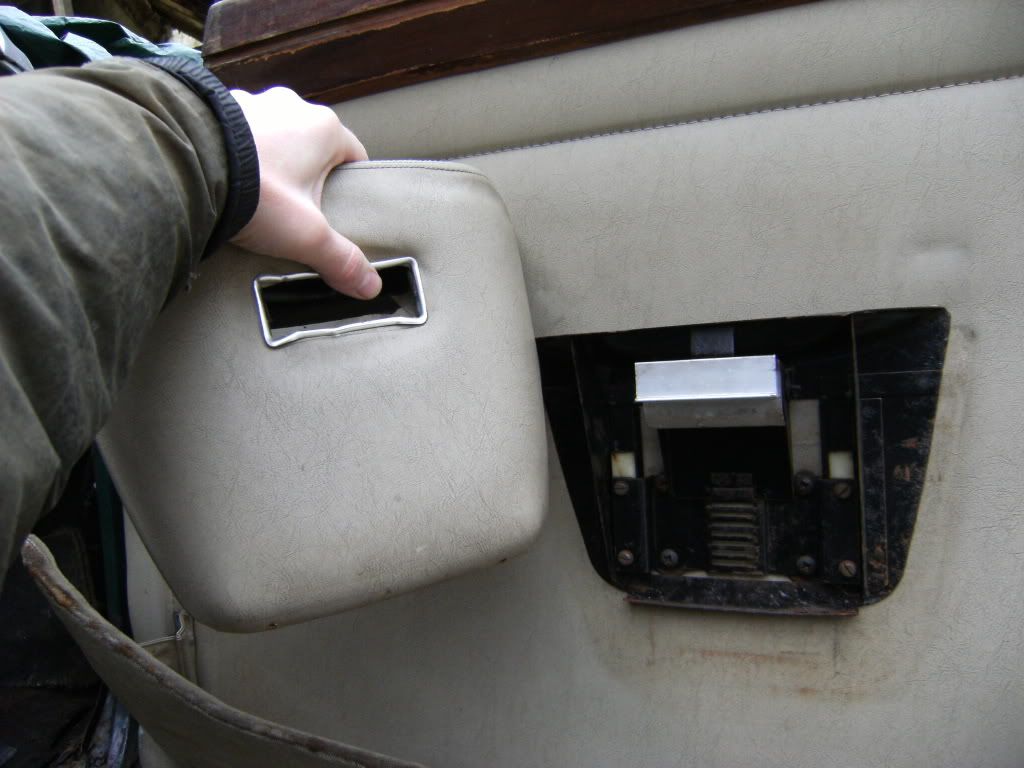
Post by cyf on Oct 31, 2011 6:23:37 GMT
The opening and locking assembly of the font door 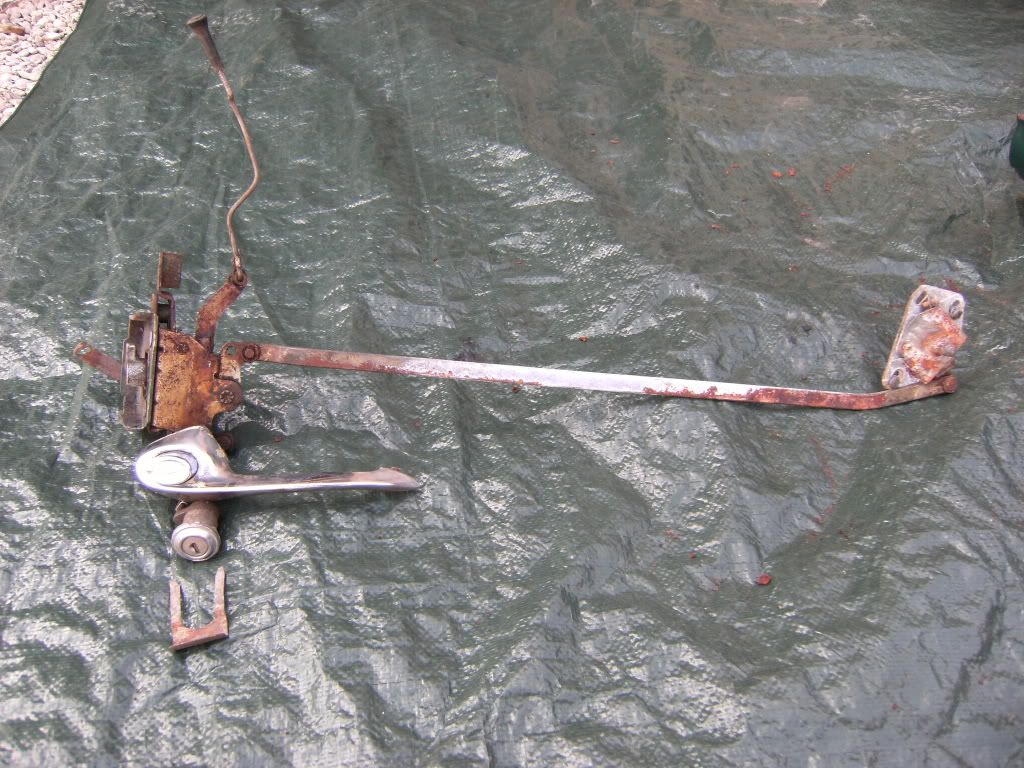 I have shots of the dismantling if you need |
|
|
|
Post by fortnum1977 on Oct 31, 2011 10:03:46 GMT
Thanks fortnum 1977. What do you mean by chassis legs? For the rear suspension, I have this: The leafs front fixing 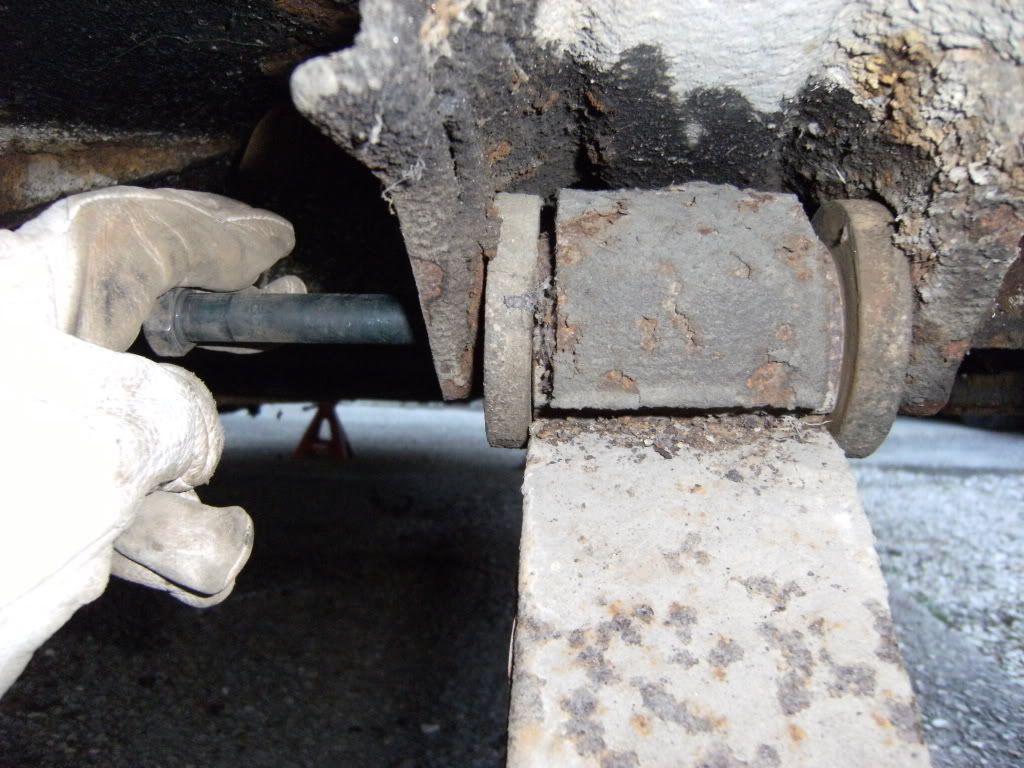 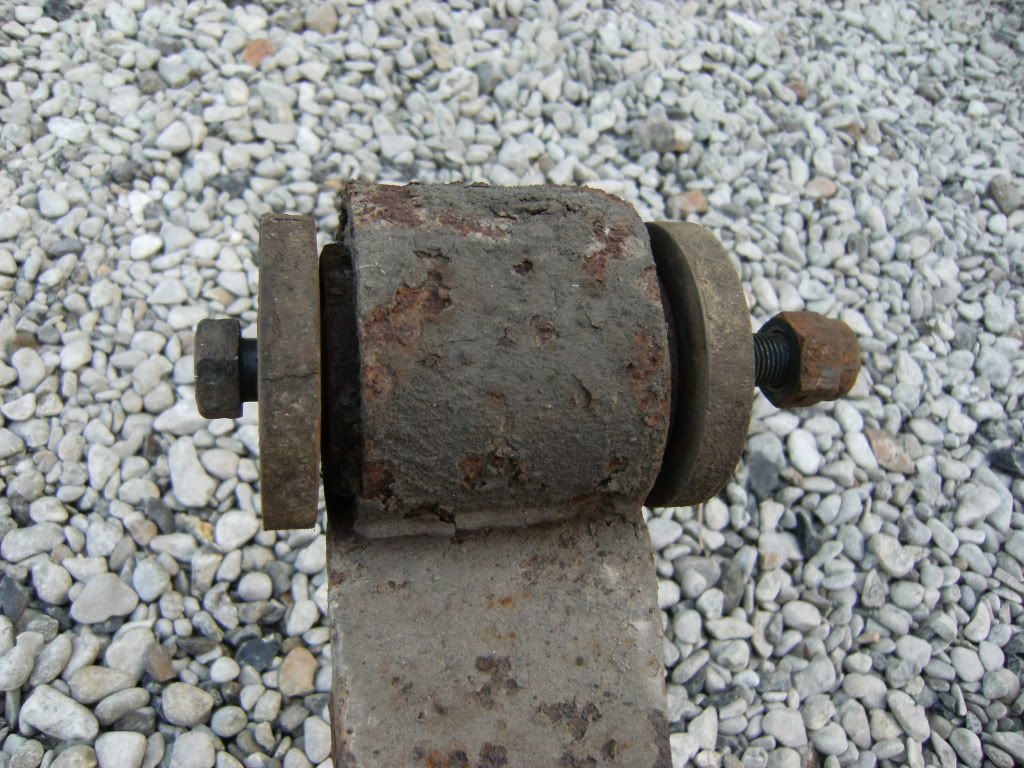 The leafs rear fixing, Y bush 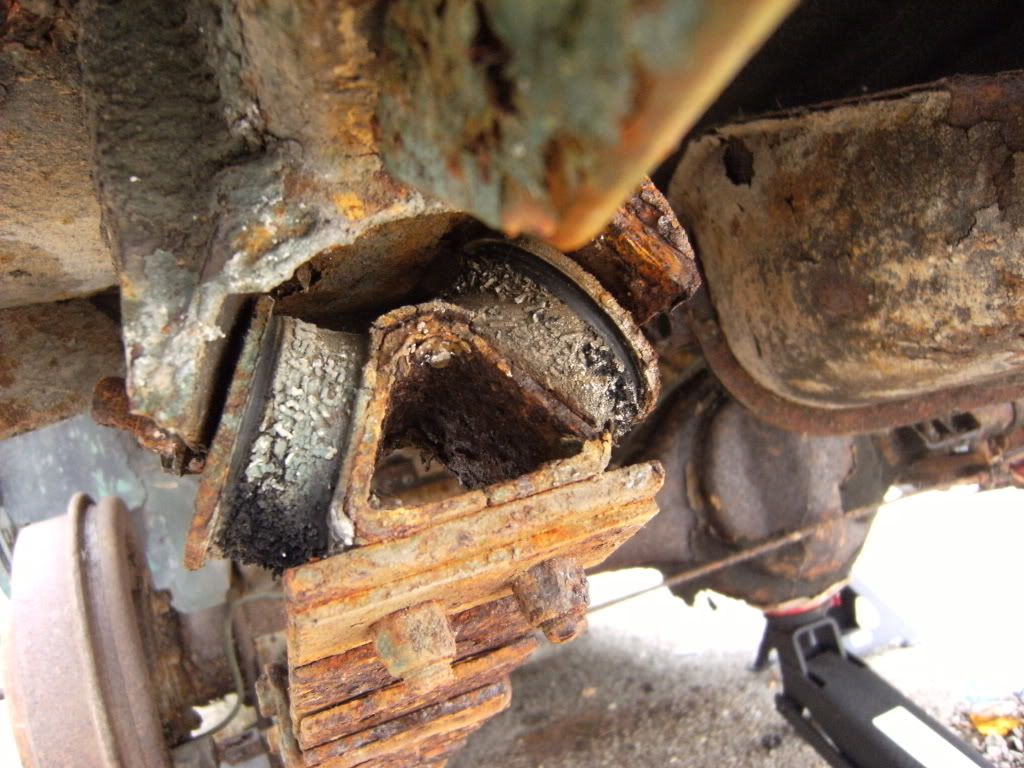 The rear shock absorbers lower fixing 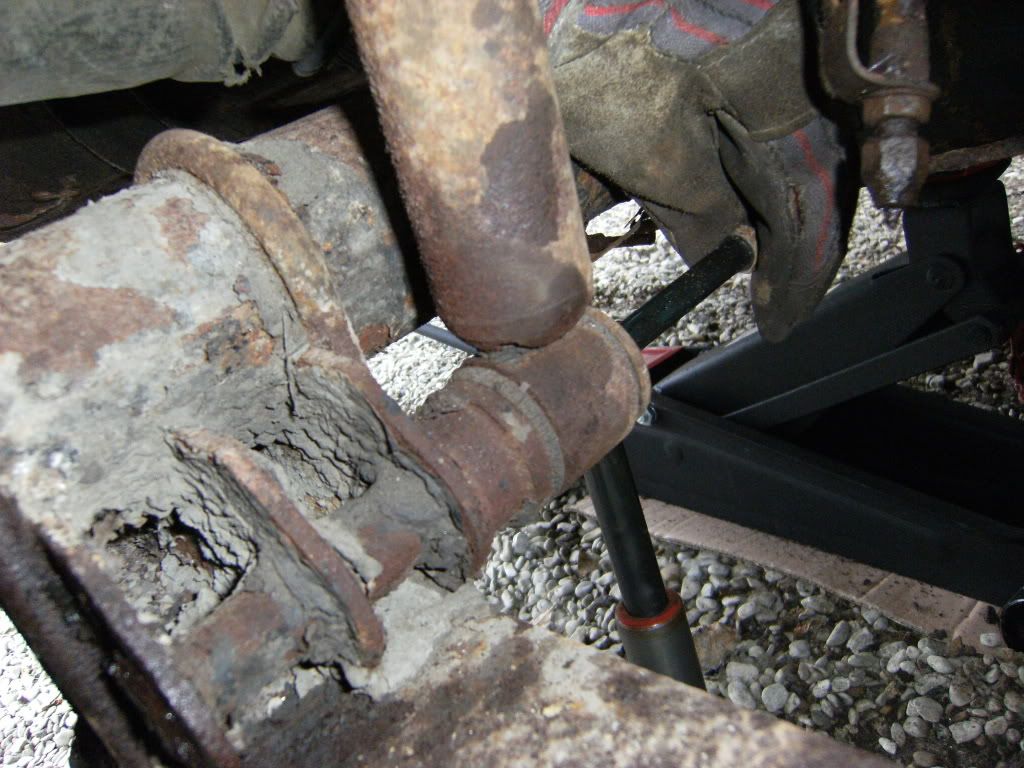 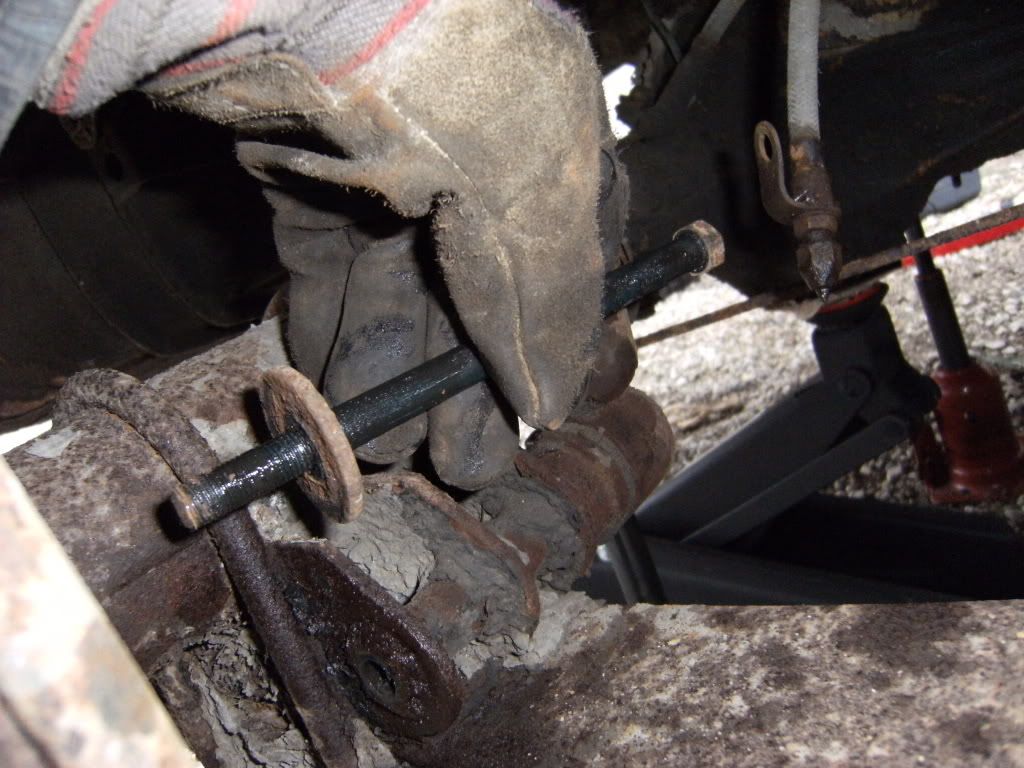 The body without the axle 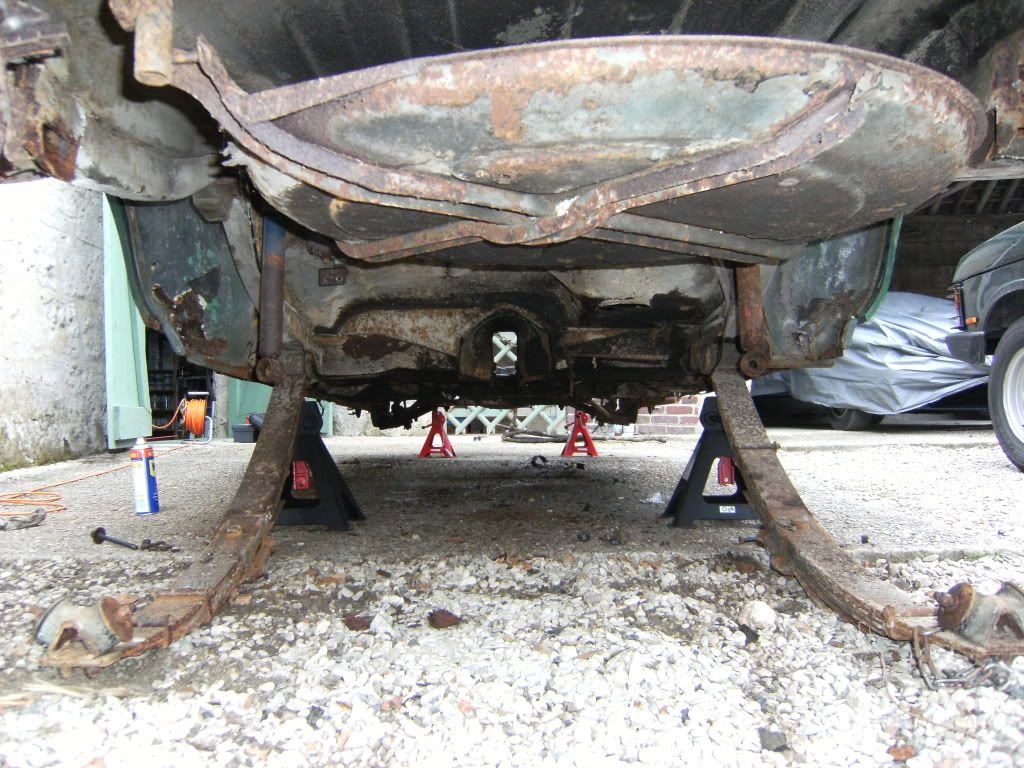 Cheers, great photos, I think the chassis legs are what the leaf spring hinges mount on to. And they are of great concern to me as I should imagine rotten ones could see you losing your rear axle on the motor way. |
|
Deleted
Deleted Member
Posts: 0
|
Post by Deleted on Oct 31, 2011 11:08:35 GMT
The chassis legs are the sections running from the "Y" bushes to the rear and they also carry the brackets for the bumper. Although supplied with generous drain holes, they do seem to be a problem on some cars. In really bad cases, the whole lot could collapse but the gauge of metal used should prevent that stage ever being reached. Pumping them full of waxoyl over the years has preserved mine. The business end is the front as that takes all the thrust and stress of the spring etc but seems to last much better especially on the exhaust side due to the heat. The spring mountings and the reinforcements at the front end of the spring are very strong and built like an outside khazi |
|
|
|
Post by fortnum1977 on Nov 2, 2011 10:45:09 GMT
ok thanks that's reassuring. But do they sprout from the sills? In which case i'm worried because my sills are rotten.
I did have my chassis legs welded after it failed an MOT because of them. So i hope the welding will hold, I haven't actually seen what was done.
|
|
|
|
Post by fortnum1977 on Nov 2, 2011 12:42:53 GMT
I'd like to see a picture of one if anyone has one, cheers
|
|
Deleted
Deleted Member
Posts: 0
|
Post by Deleted on Nov 2, 2011 13:30:19 GMT
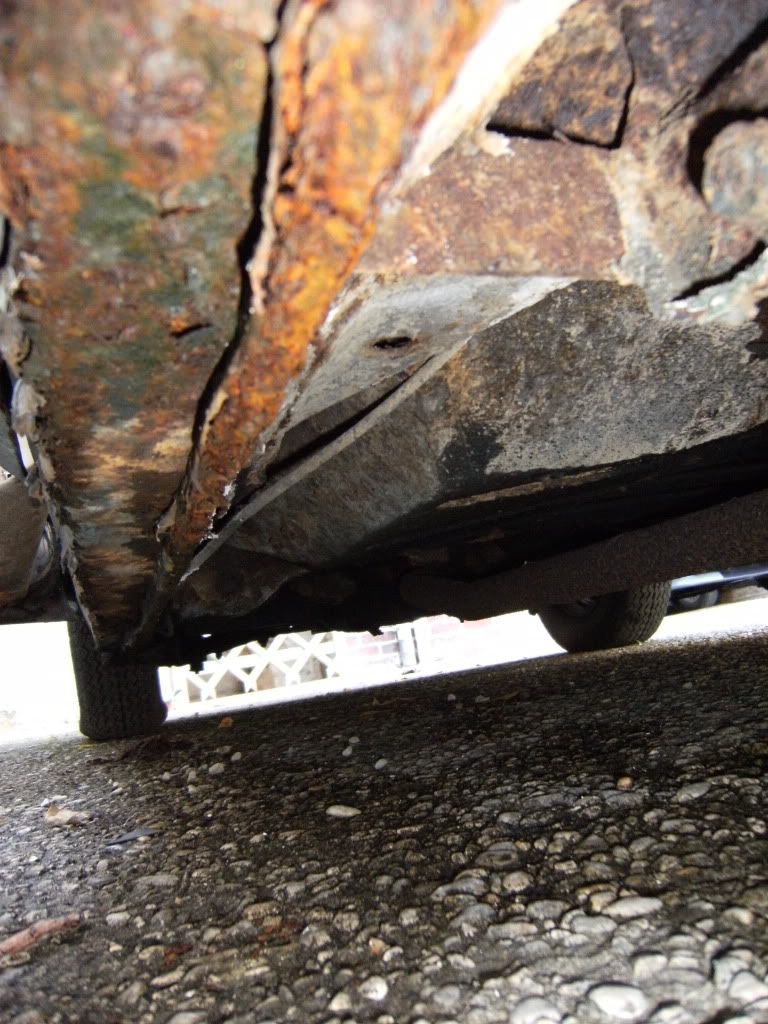
No, they are not part of the sill construction. If you study the image posted of the rear underside, you can see that the rear chassis legs are just the end of a "U" shaped channel running from the end of the car and then turning inwards at the point where the spring is attached. It's like a mini chassis and not prone to much trouble except in the area of the rear spring mounting. It's quite possible to have thoroughly rotten sills but the "mini chassis" is well inboard at the front and made of good gauge steel. |
|
|
|
Post by fortnum1977 on Nov 2, 2011 15:24:30 GMT
Oh yes I see where you mean. I'll inspect the spring mounts on mine, hope they're alright.
Thanks
|
|
|
|
Post by cyf on Nov 2, 2011 20:43:08 GMT
This to illustrate what crossplies said about the "mini chassis". You can see it cut 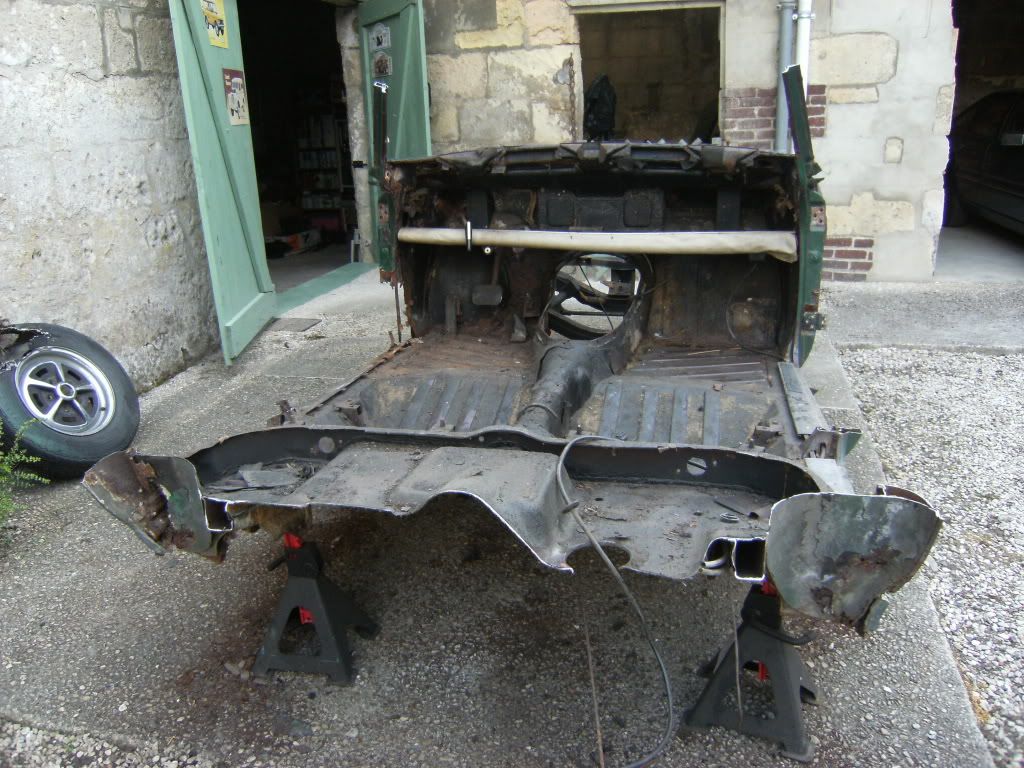 On the following picture, you see the "minichassis" on the left, inward of the wheel arch 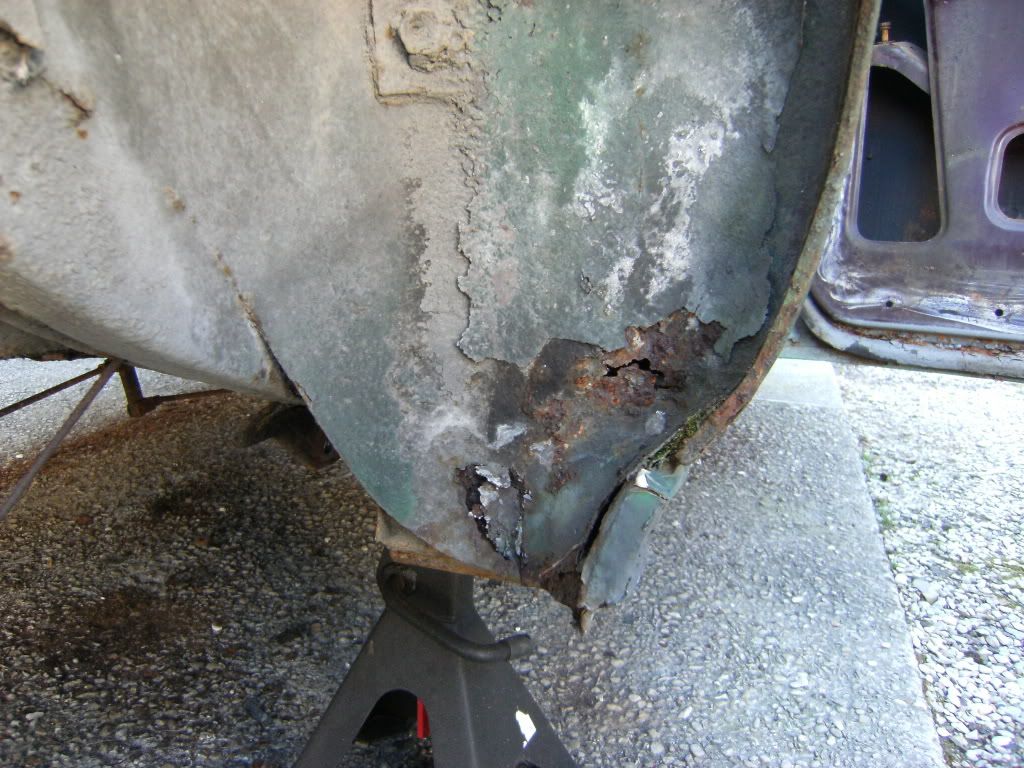 And the front mounting 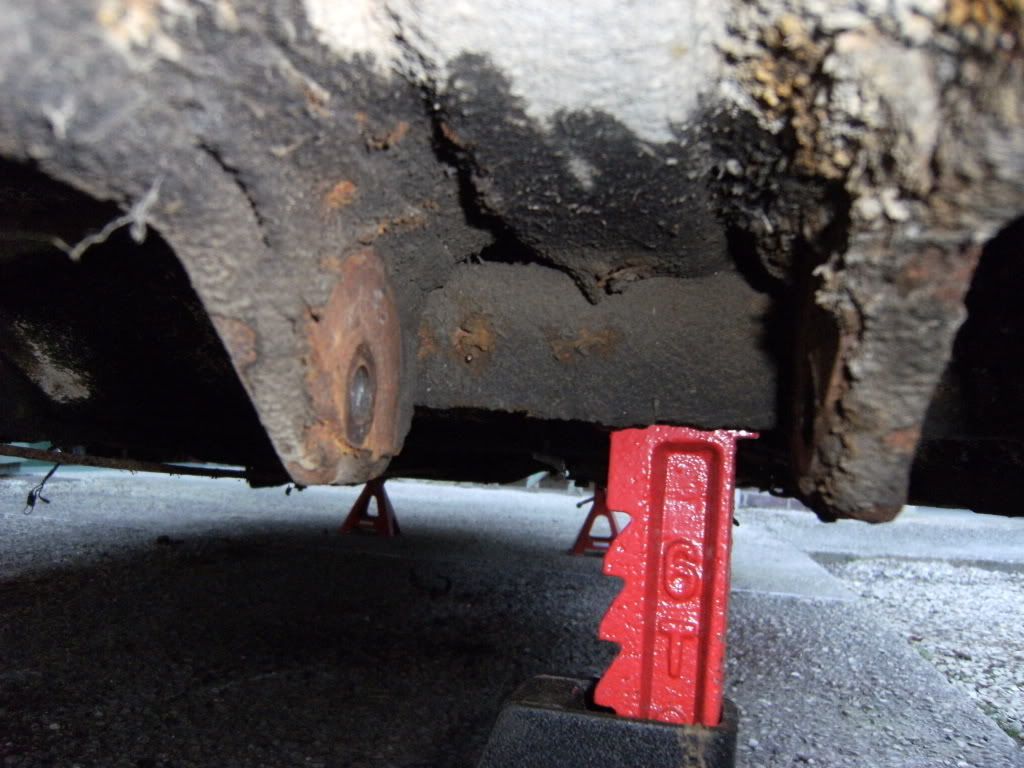 |
|
|
|
Post by fortnum1977 on Nov 3, 2011 16:58:09 GMT
That is brilliant, now I understand the structure, thank you. Your P5 is definitely a gonna, will you scatter its remains?
|
|
|
|
Post by cyf on Nov 3, 2011 20:34:31 GMT
I did it with my Landy 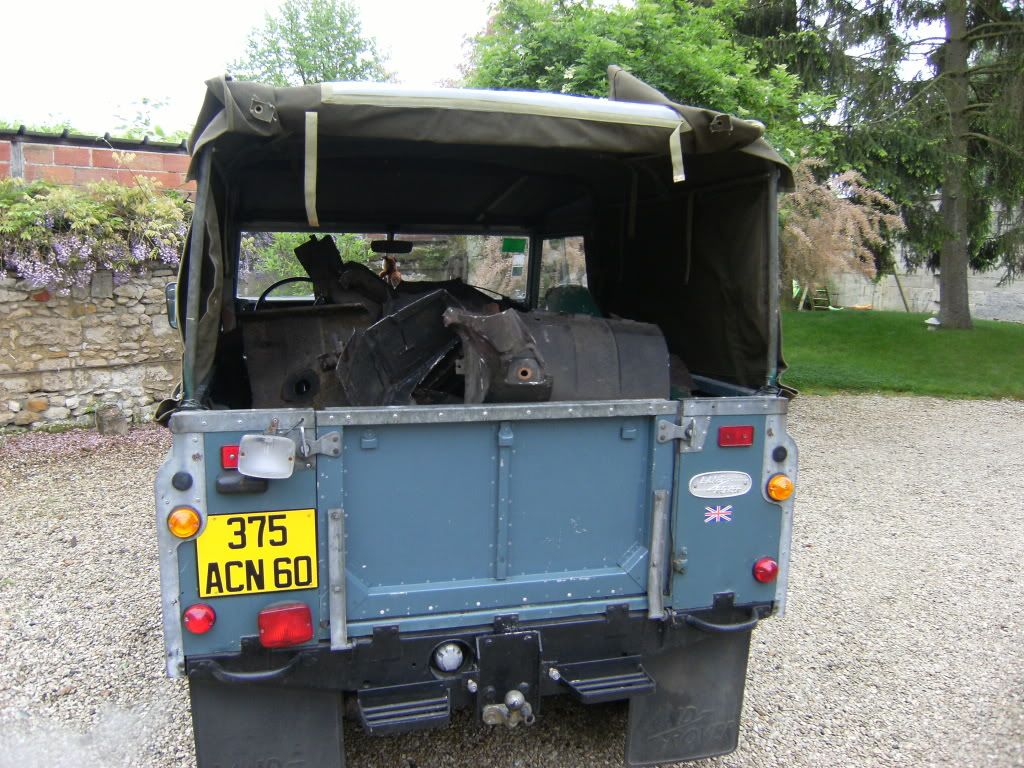 |
|
Deleted
Deleted Member
Posts: 0
|
Post by Deleted on Nov 3, 2011 22:15:29 GMT
That really is the end  but thanks for all the pictures you have posted which have provided an unusual insight into how our cars were put together. |
|
|
|
Post by cyf on Nov 4, 2011 13:53:48 GMT
Well, when I bought the car I thought it was possible to put it back on the road but as the dismantling goes, it seems that it would have been very very costy to retore it: the complete interior, the engine, gearbox, drive train and the rusted body...... Here's the car the day I bought it: "not so bad" 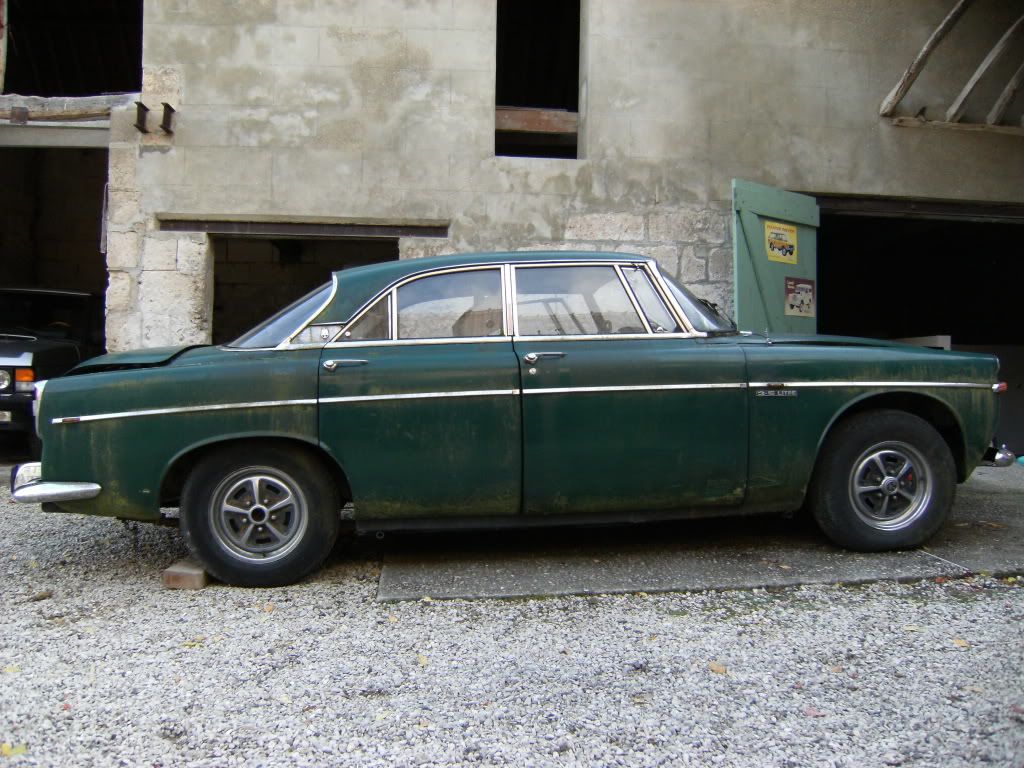 But the rust were everywhere  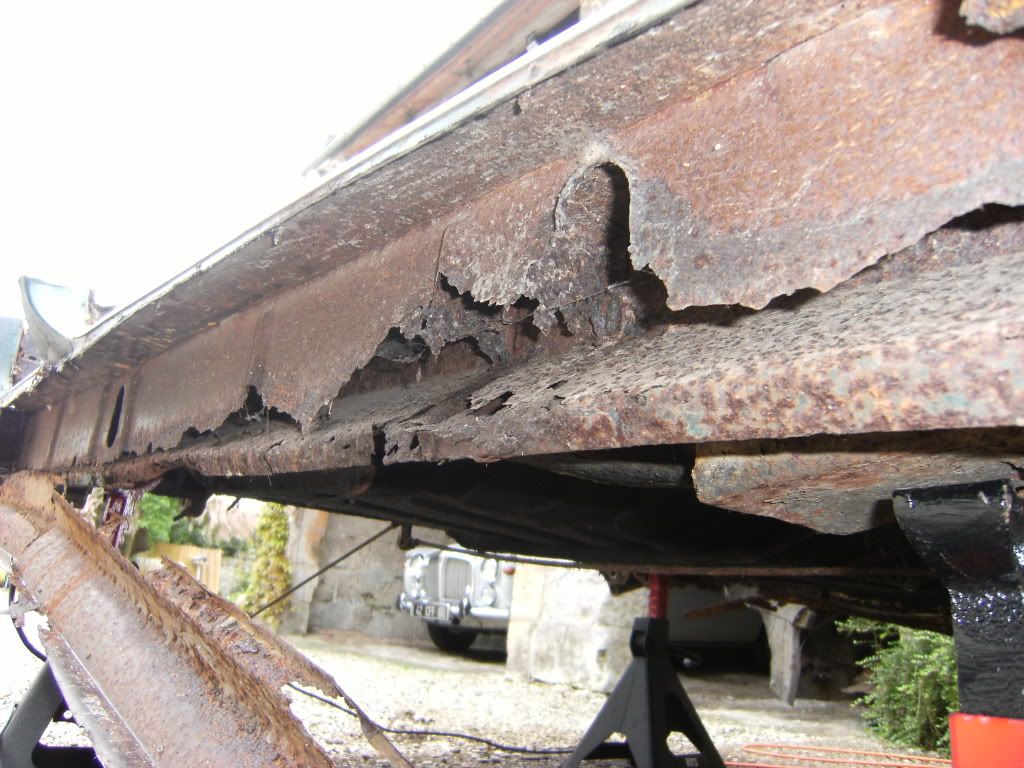 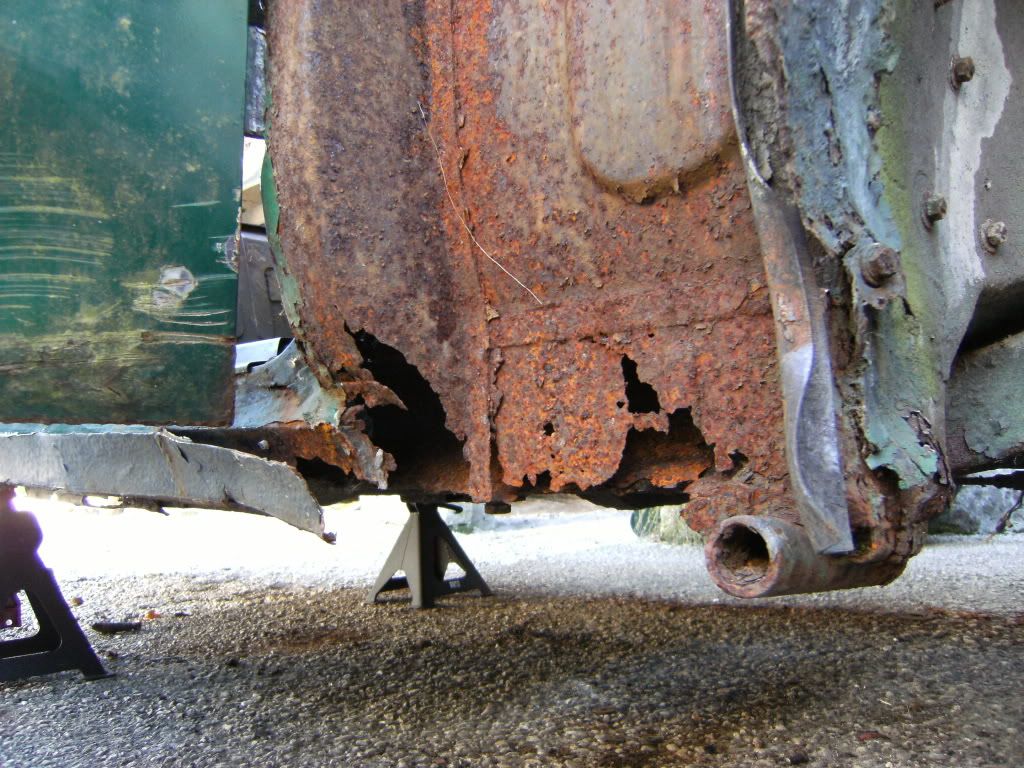 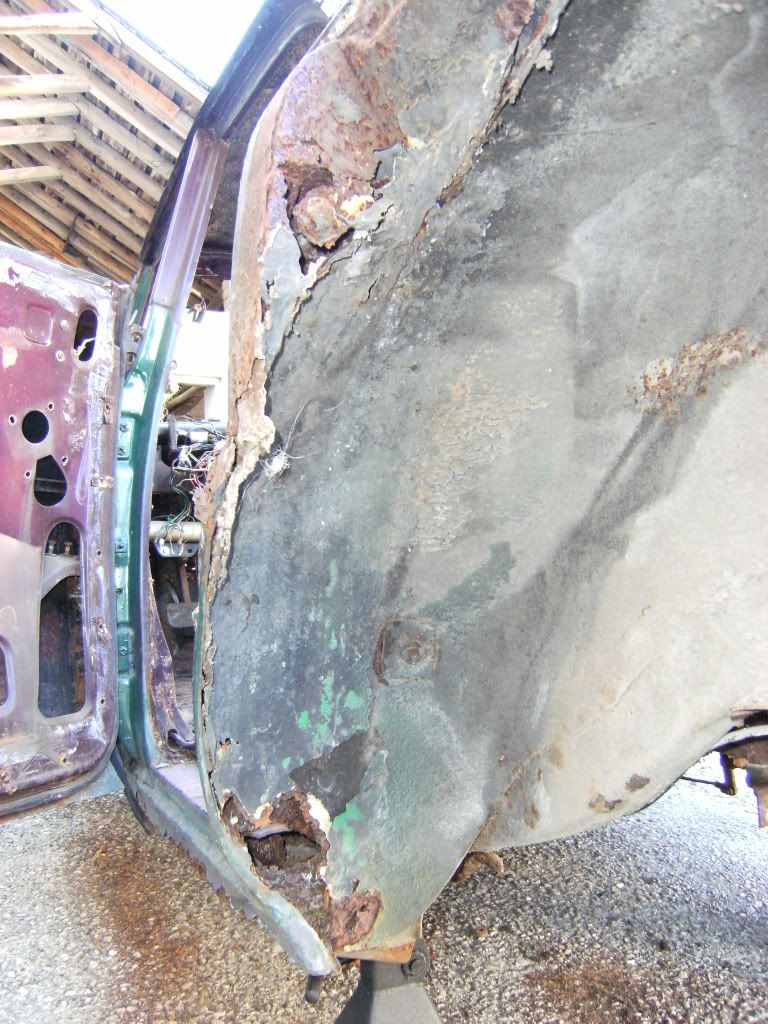 the good point is that it left parts for my others P5 |
|
Deleted
Deleted Member
Posts: 0
|
Post by Deleted on Nov 4, 2011 14:44:12 GMT
Truly horrendous corrosion and well beyond economical or practical repair. I don't know how it didn't collapse in the middle! It actually looked quite decent side on.
But by leaving its body to mechanical science we've all learned a lot.
The white one looks far healthier!
|
|
|
|
Post by cyf on Nov 4, 2011 18:33:50 GMT
|
|
|
|
Post by Phil Nottingham on Nov 5, 2011 9:44:07 GMT
Ita very useful to see a P5 in all stages of dismantling - I have done a number and posted some pics on here though they have probably gone now with imageCAVE.
You do get useful source of spares if you can store them all and relocate them when you want
As this is useful I have made it a STICKY
|
|
|
|
Post by lordcappuccino on Nov 16, 2011 22:25:38 GMT
Thats a pretty impressive collection of photos - as previously stated, a lot of work went into these cars. Hope you manage get that P5B back on the road (the one with the broken engine...not the one in the picture!)
|
|
|
|
Post by cyf on Nov 17, 2011 20:44:33 GMT
Hi Lordcappucino,
The work goes on slowly, the engine is now out of the car and I'll open it to see what's wrong inside. No doubt it'll go on the road but when..... Anyway, I'm not really "P5BCoupéless" because I have a rolling one to enjoy.
|
|
|
|
Post by lordcappuccino on Nov 17, 2011 20:56:52 GMT
Jolly good - all the best with it
|
|
|
|
Post by Warwick on Nov 18, 2011 1:19:39 GMT
Could anyone supply a photo ,of the pulleys for the brake cable.On the car I am restoring,the one that appears to fit on the inner wing,is missing.The bulkhead one is there .A photo of this area would be of great help,I can get the parts made if I know what they look like ,Len Len, I've copied this across from your original post where it's likely to get missed. Cyf may have what you need. |
|


 but thanks for all the pictures you have posted which have provided an unusual insight into how our cars were put together.