|
|
Post by OlafR on Mar 26, 2018 6:55:12 GMT
Hi Peter, my guess is that the little spring in the window winder mechanism housing isn't functioning properly and then the window comes down to easy. To repair this, the mechanism has to be removed from the door. thanks! Cheers, Olaf |
|
|
|
Post by petervdvelde on Apr 1, 2018 18:06:27 GMT
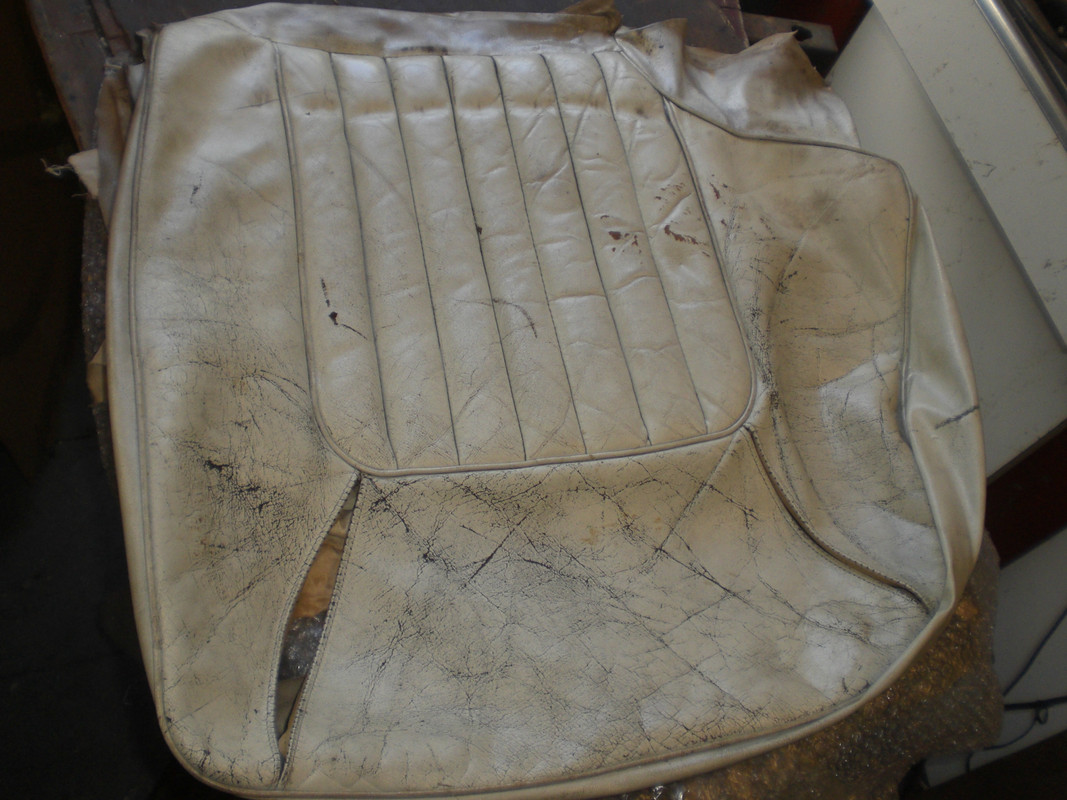
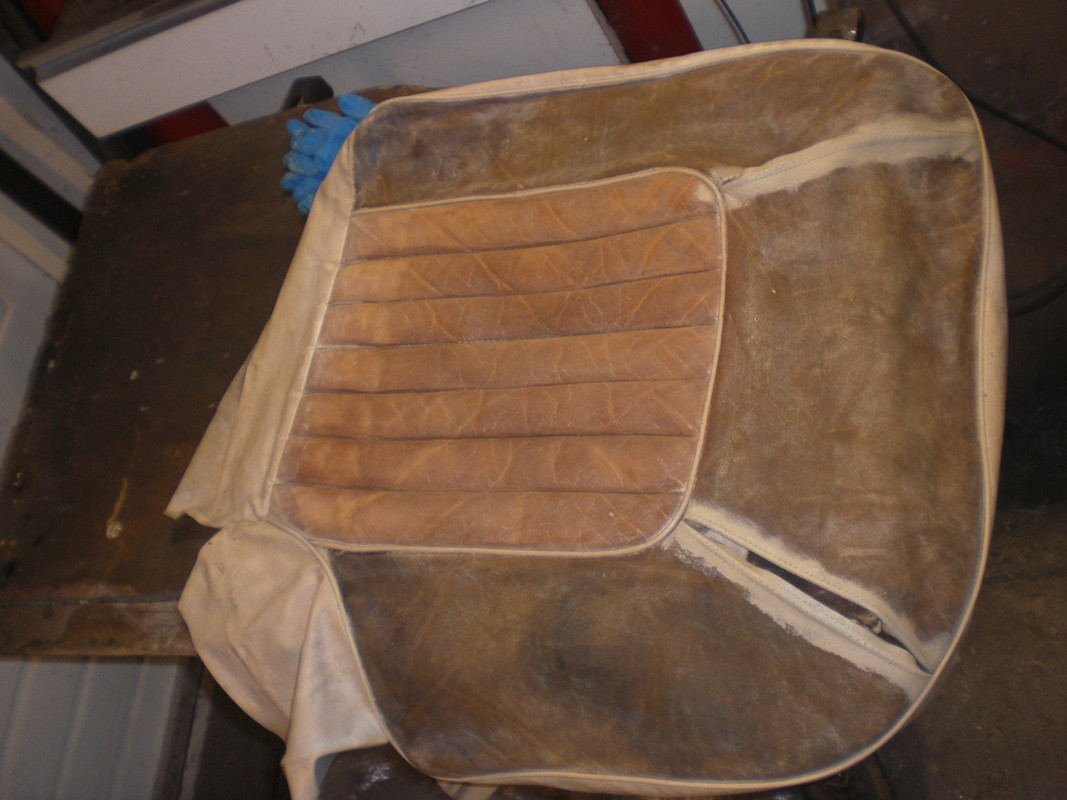
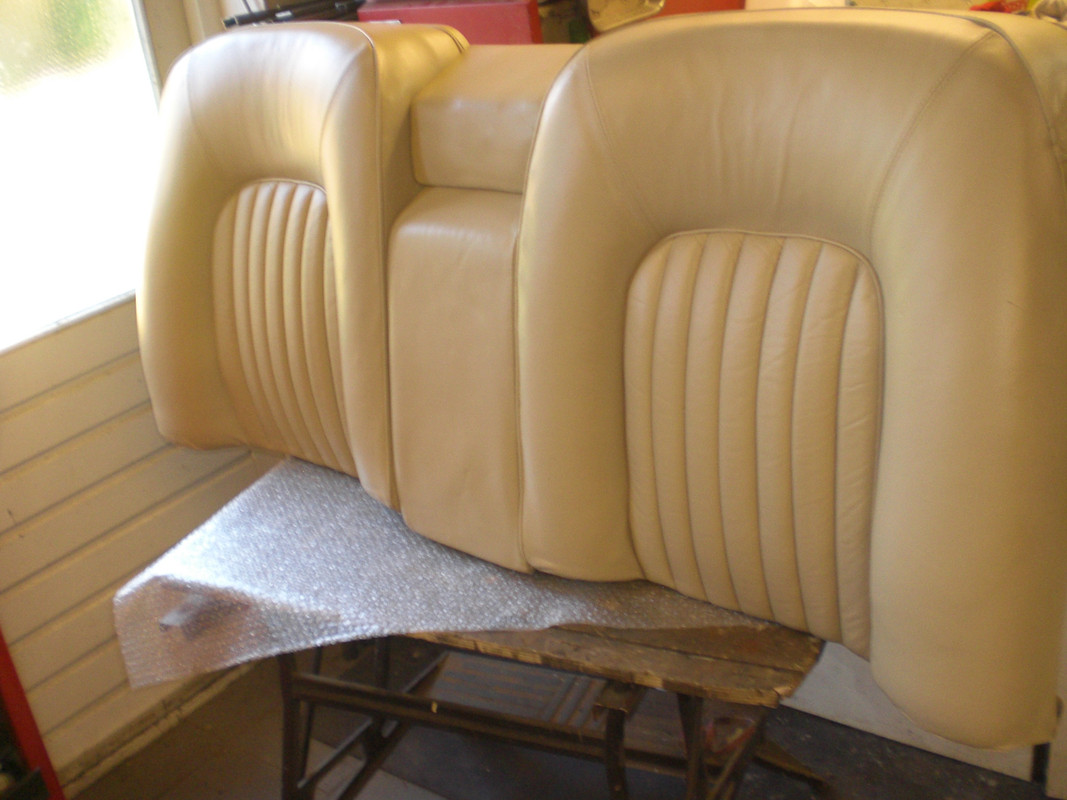
Some work done on the Rover. The seat height adjustment frame was dismantled, cleaned and all parts were plated or powder coated some time ago and now assembled with a lick of grease. 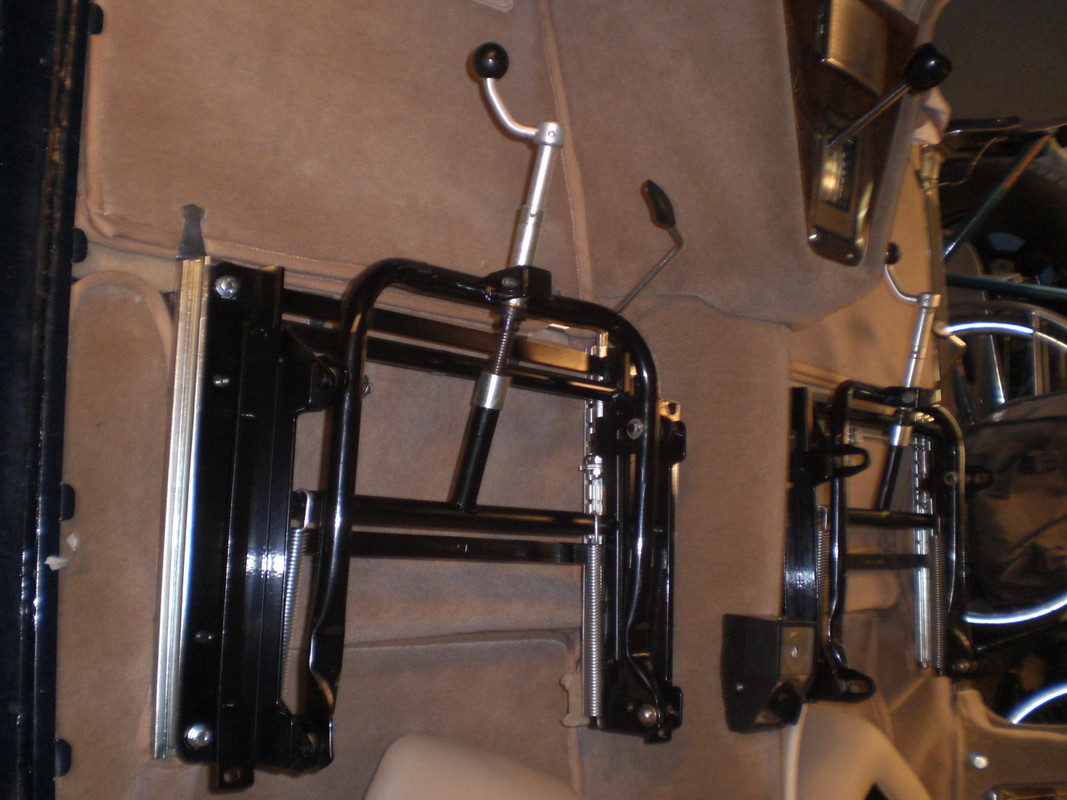 Also all the handbrake rods, clevises and bolts were plated and fitted and the handbrake was adjusted according the WM 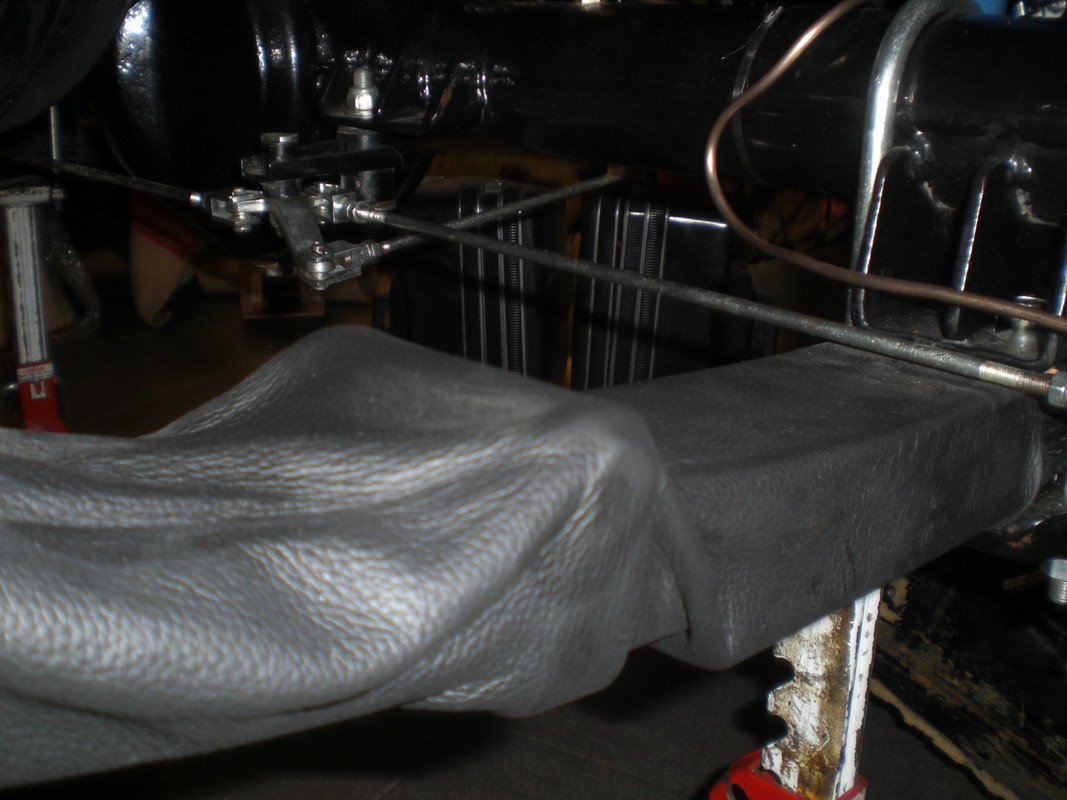 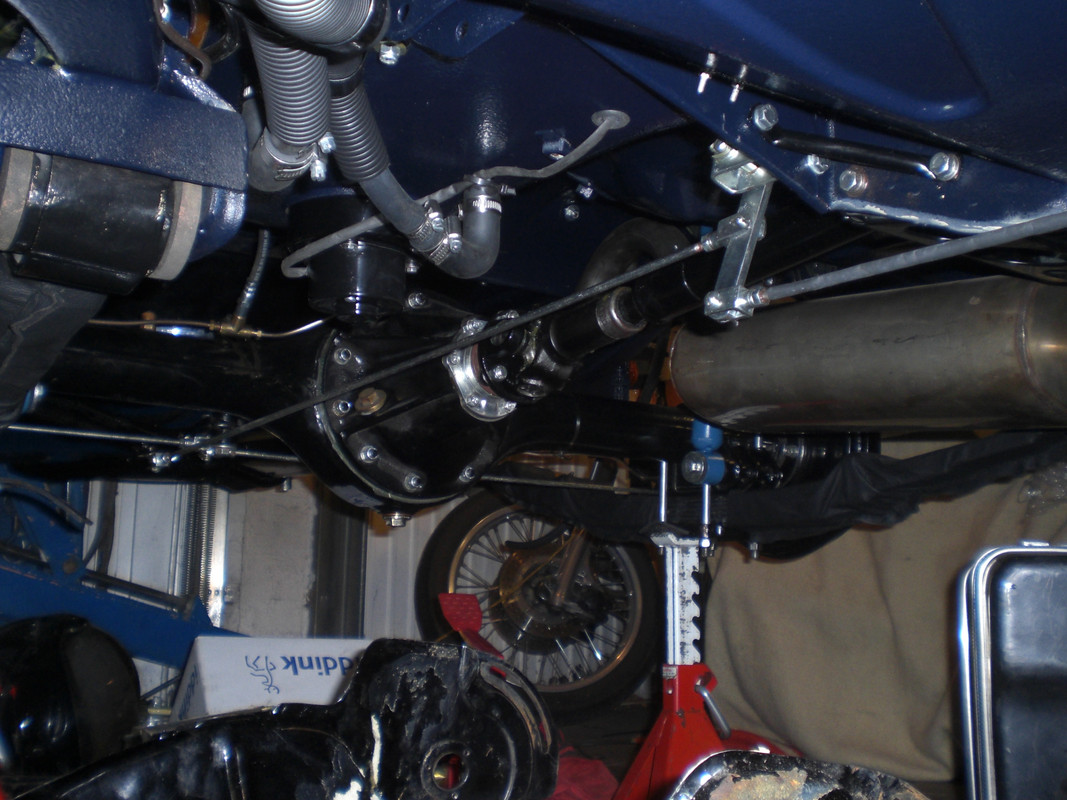 Then back to the front seats. The back panels from the front seats were in poor condition. Tha hard board had some cracks and was warped and the vinyl was rater hard and had some holes in it so new ones were made Making new hardboard panels 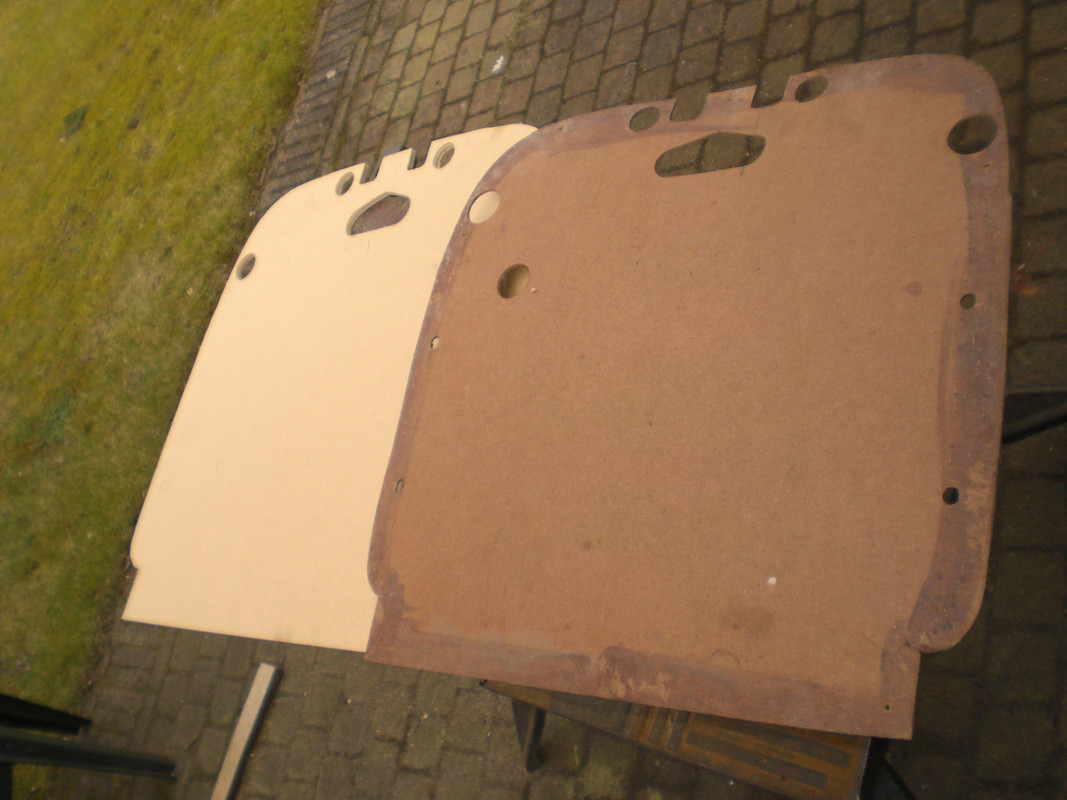 The vinyl in poor condition 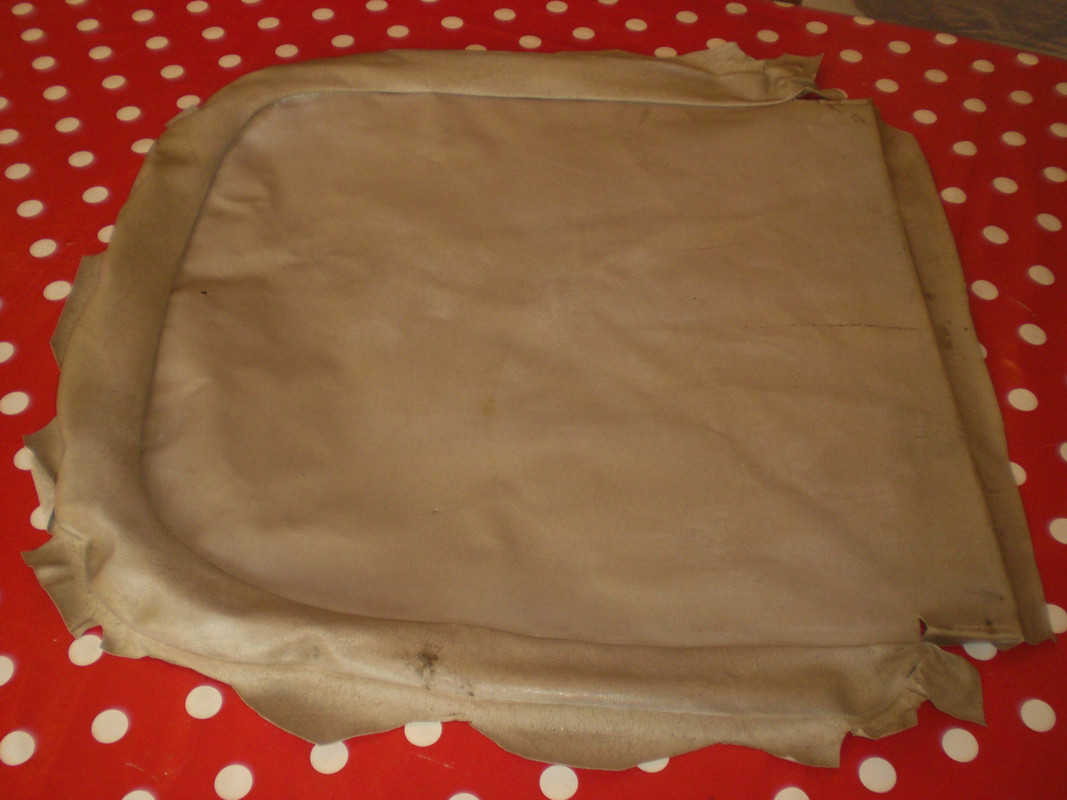 And the finished panels 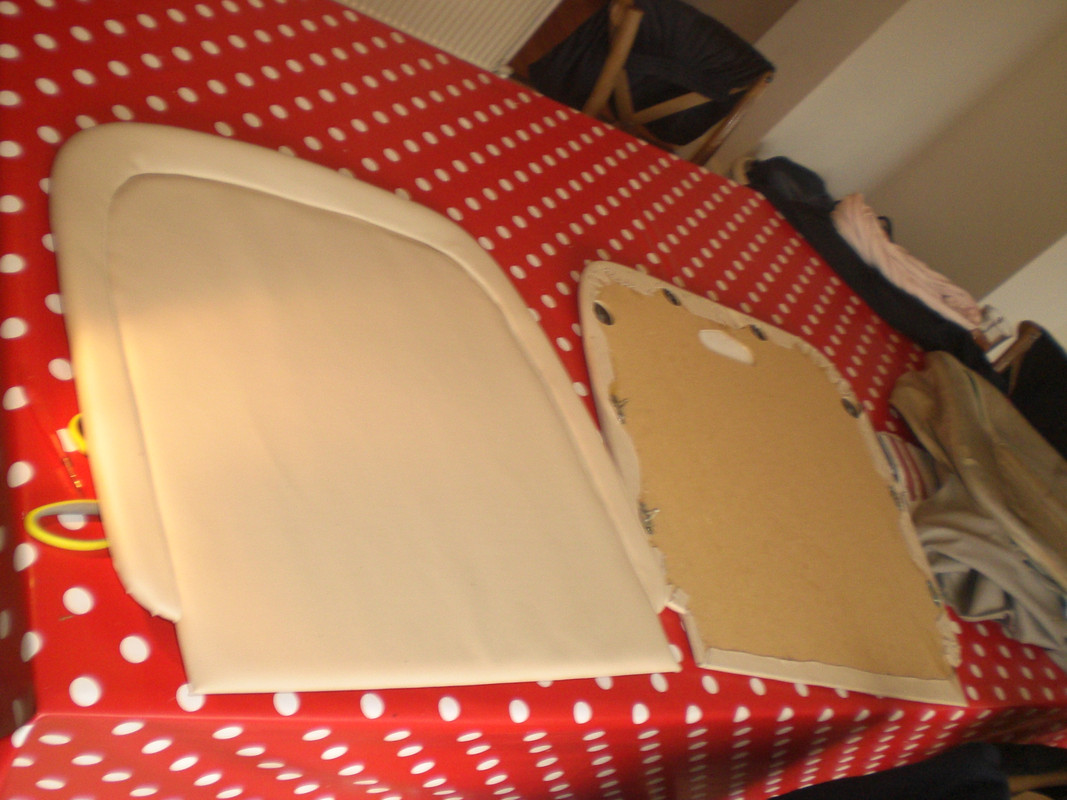 Then the "liquids" from furniture clinic arrived 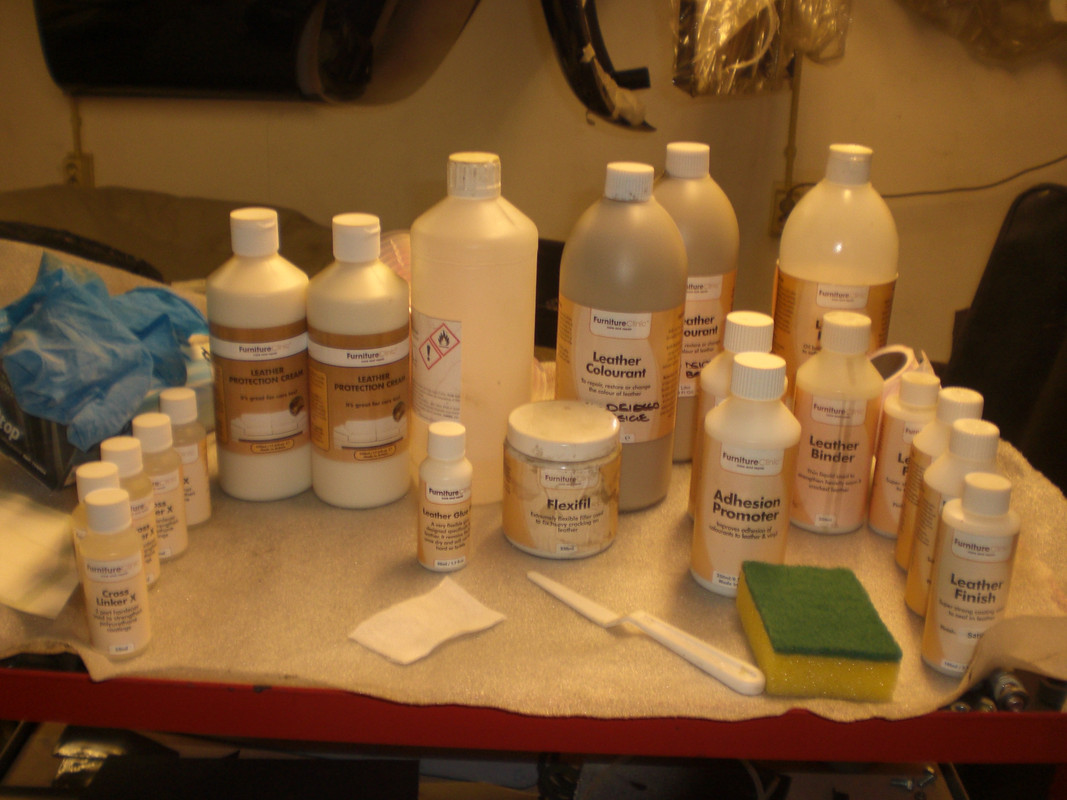 First the leather items were treated with "leather reveiver" which makes hardened leather supple again. Then most of the paint on the leather was removed with aceton and the visible seams were cut open, Some were loose already. The seam edge were given a coat of adhesion promoter (a kind of primer) and some paint, both with a sponge. This was done to avoid that when the seams open up a bit after use, edges would become visible where no paint was 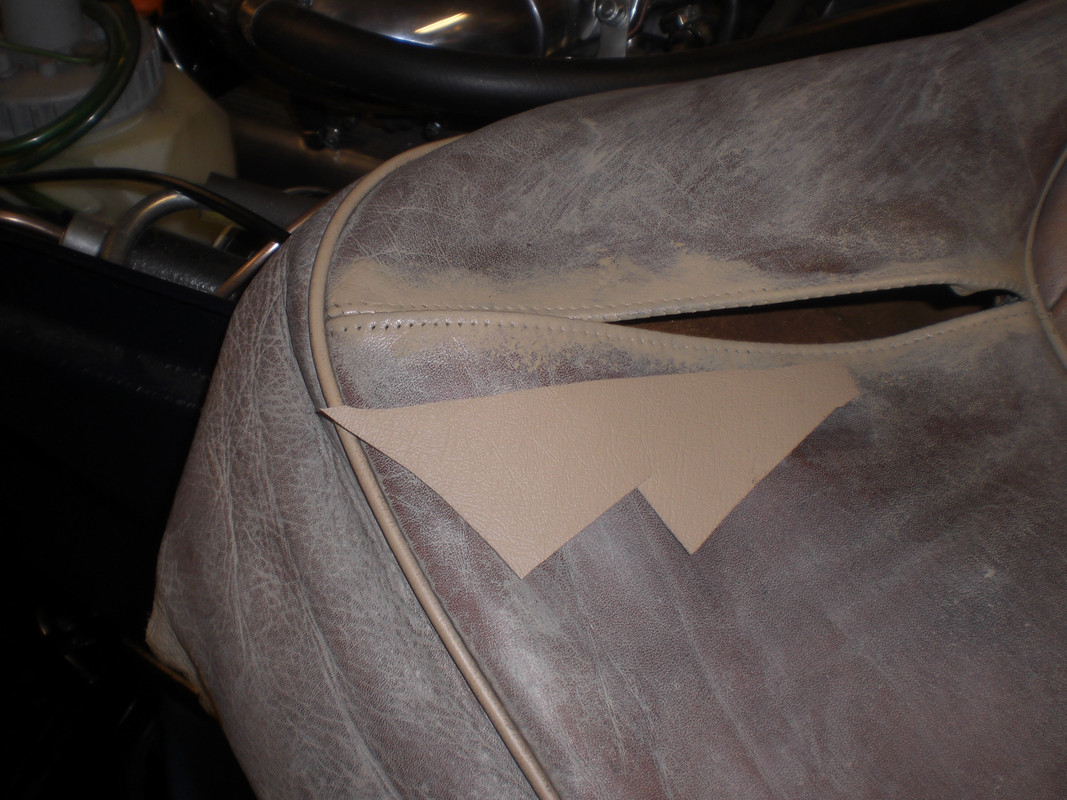 The color match of the paint with the vinyl seems pretty good Also some repairs were made to the seats 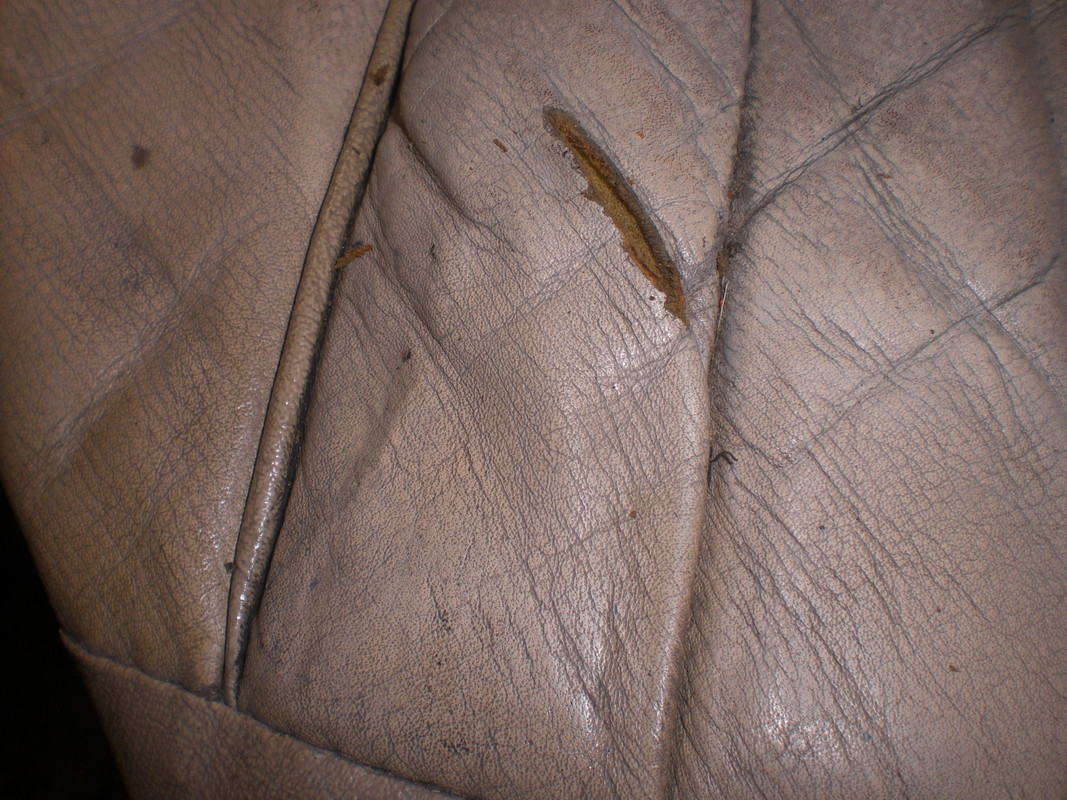 Loose fibers were cut out and a piece of open work fabric was cut 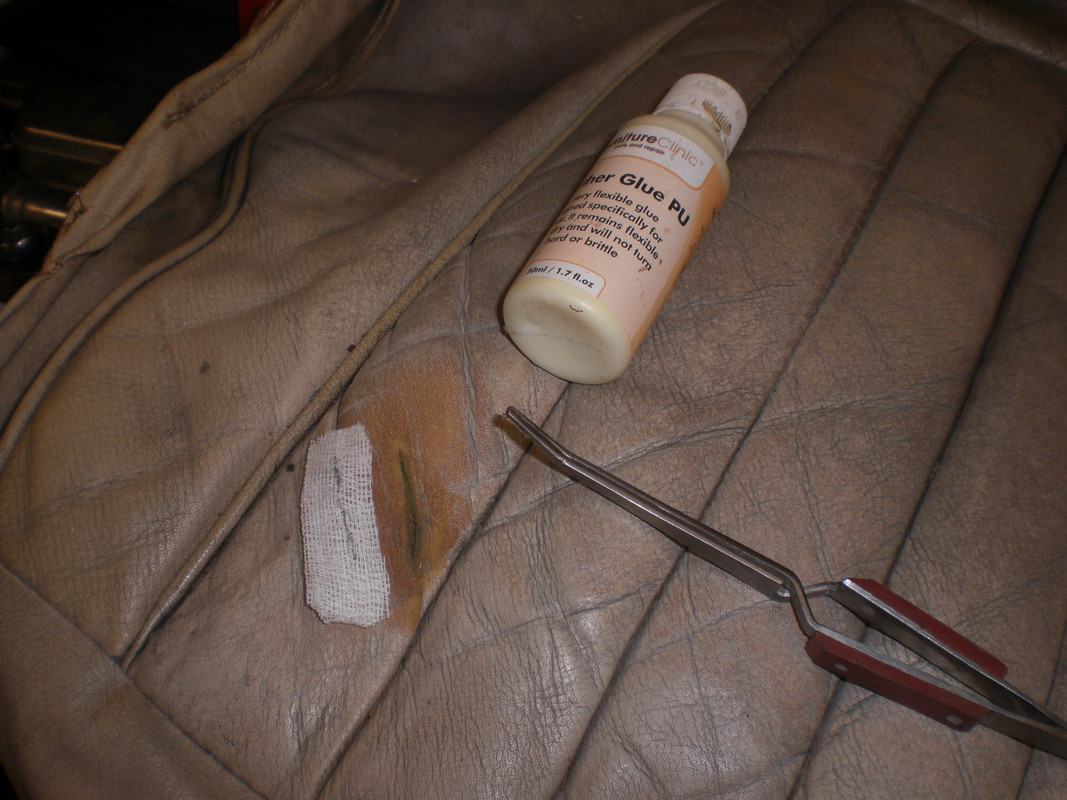 This was positioned underneath the cut and glue was applied 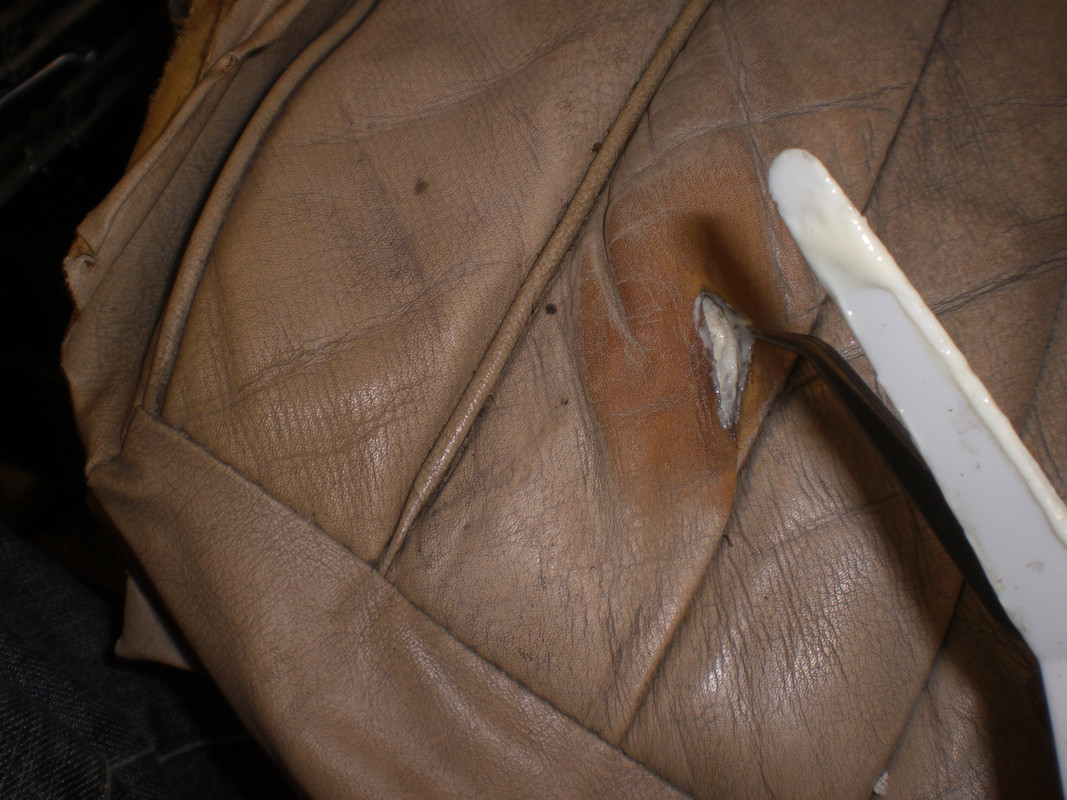 And then some filler was applied 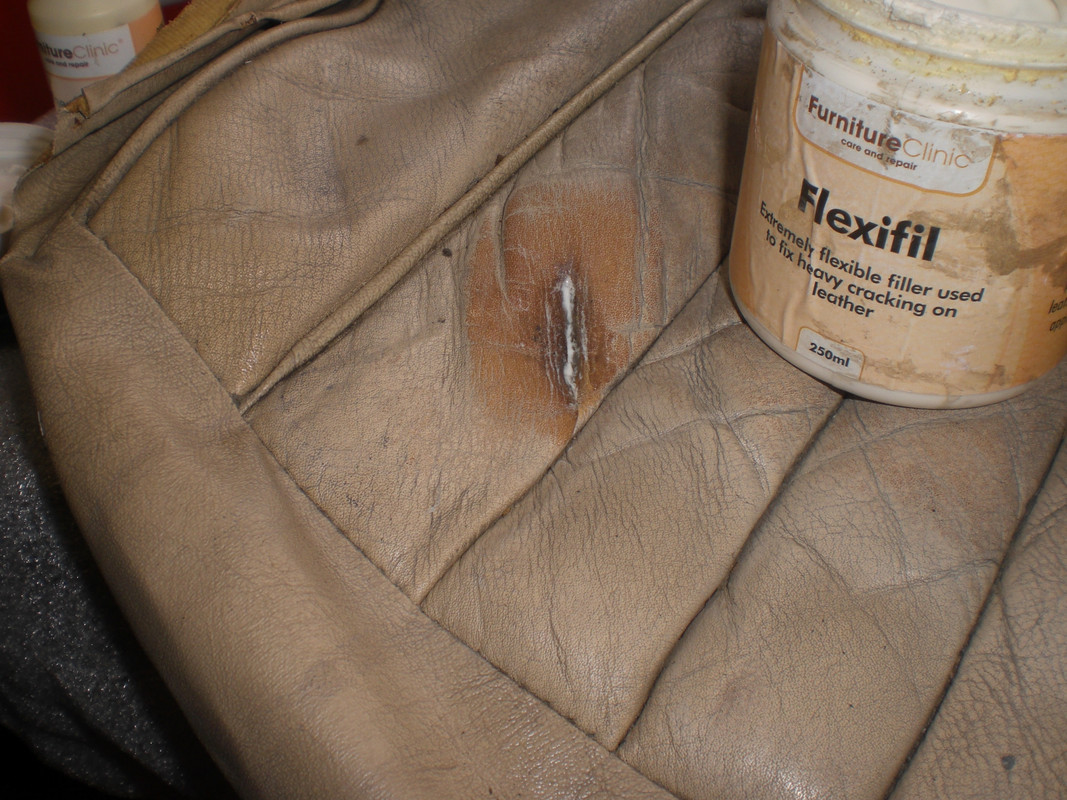 A weak spot is the lower outer part of the seat back and there was a hole in both seats 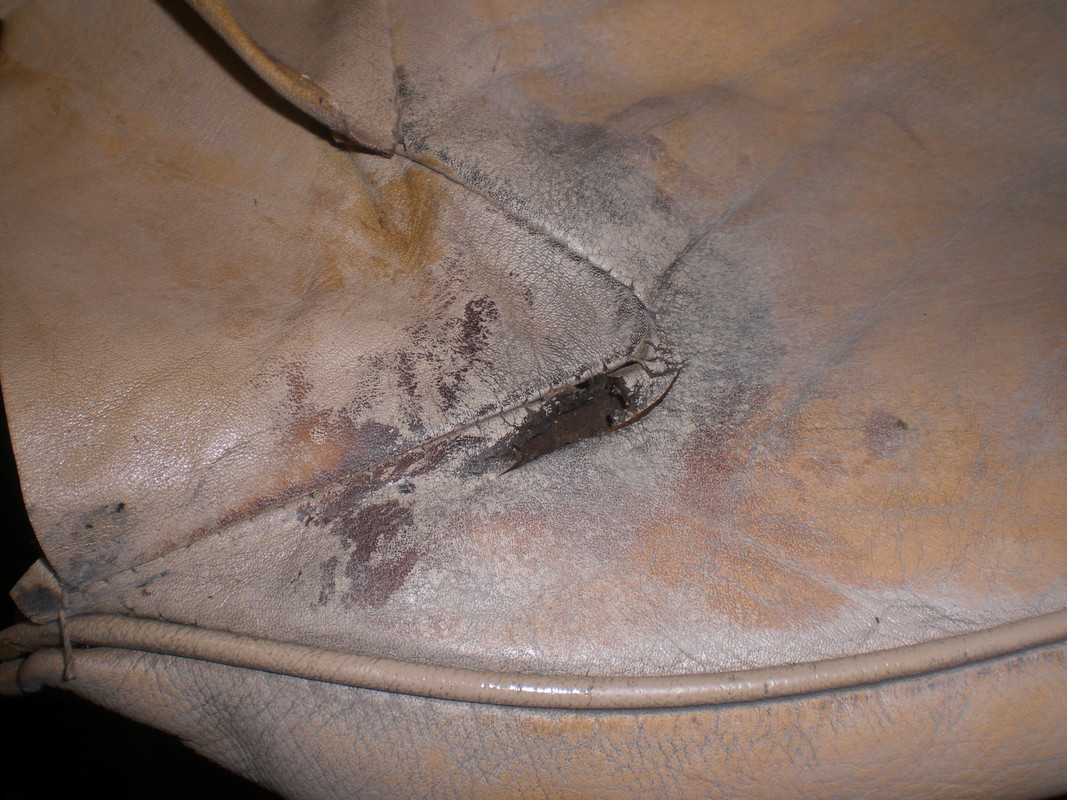 As this was close to the seam, a bigger parts was cut out, a new part was stitched in with open fabric glued to the back and some filler in the gap was applied 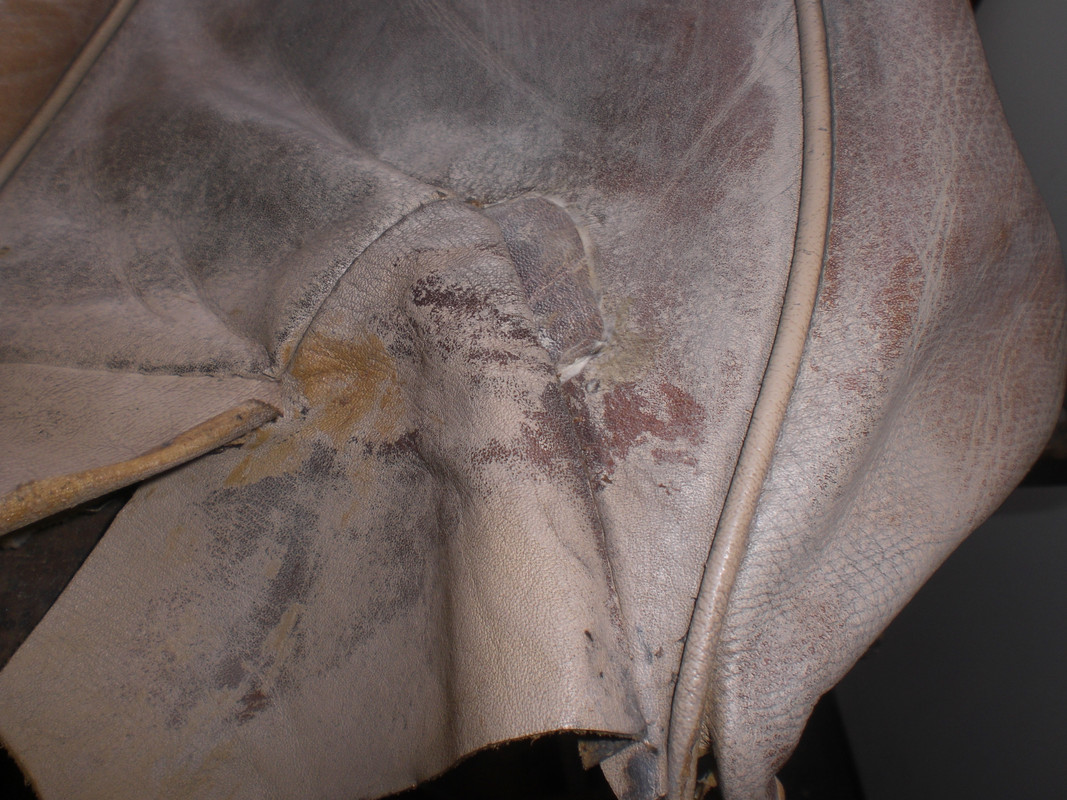 The other seat... 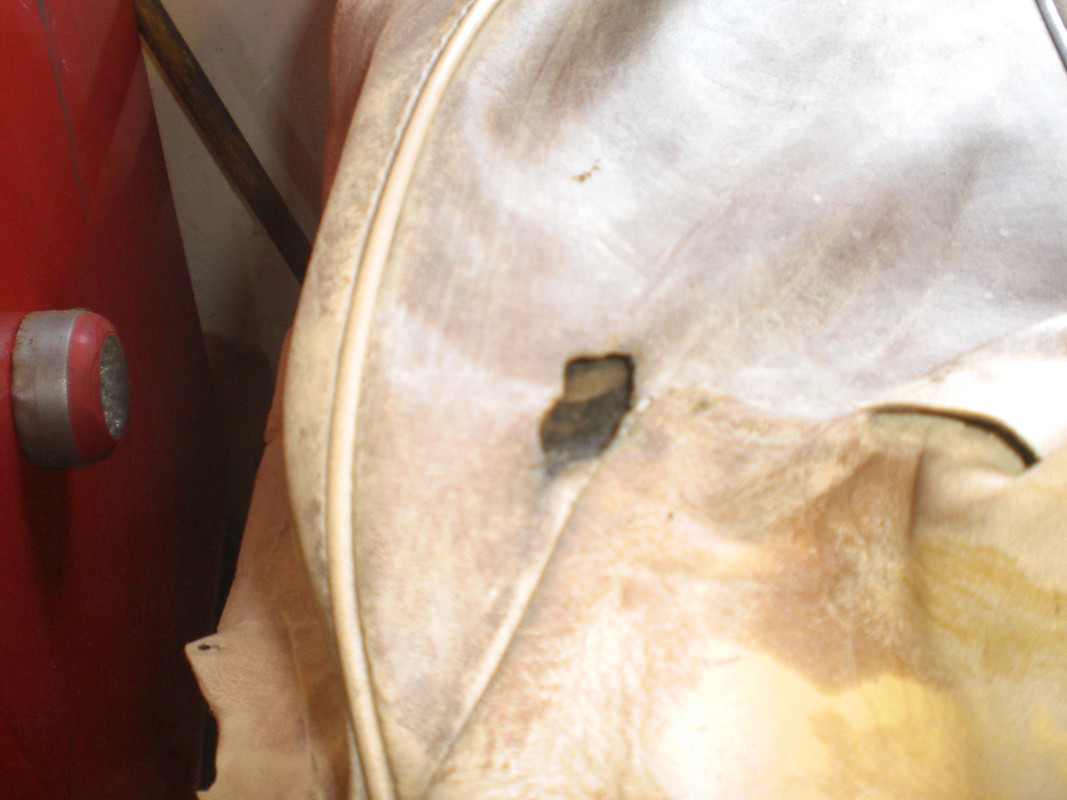 And after the repair 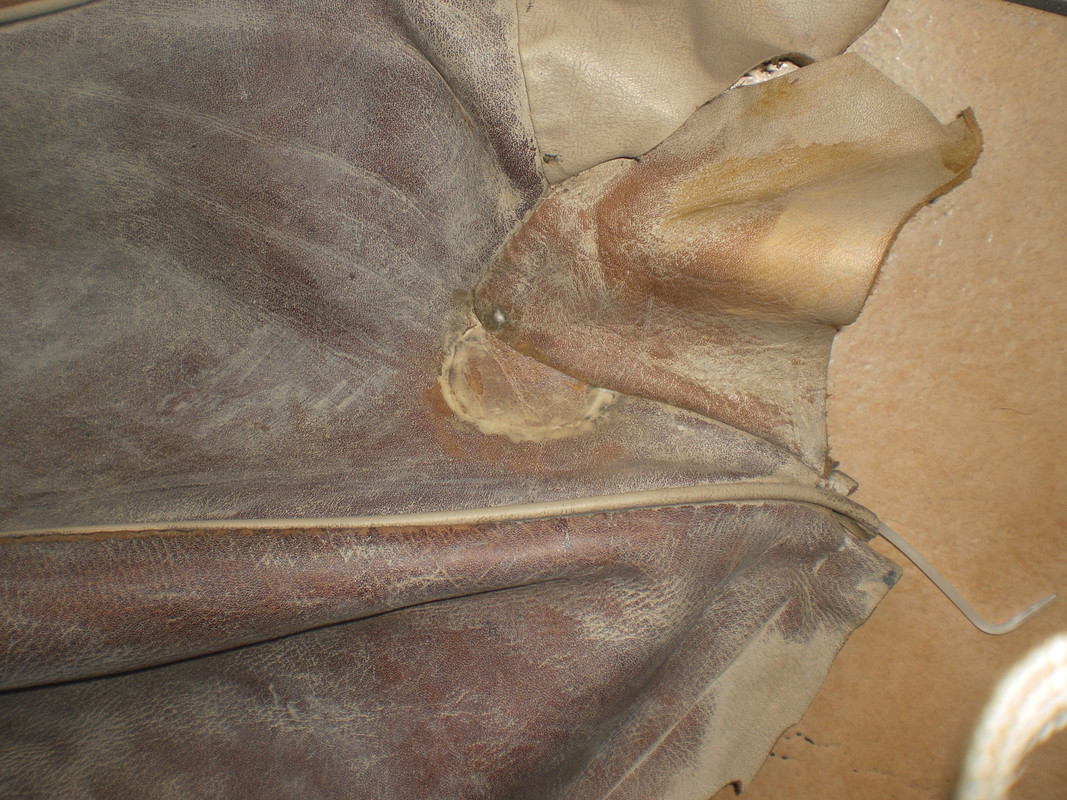 The arm rest had loose stitched which redone with the Singer. The leather is rather thin and has typical leather cracks. After removing the paint, it was treated with leather binder which strengthens the "cracks" 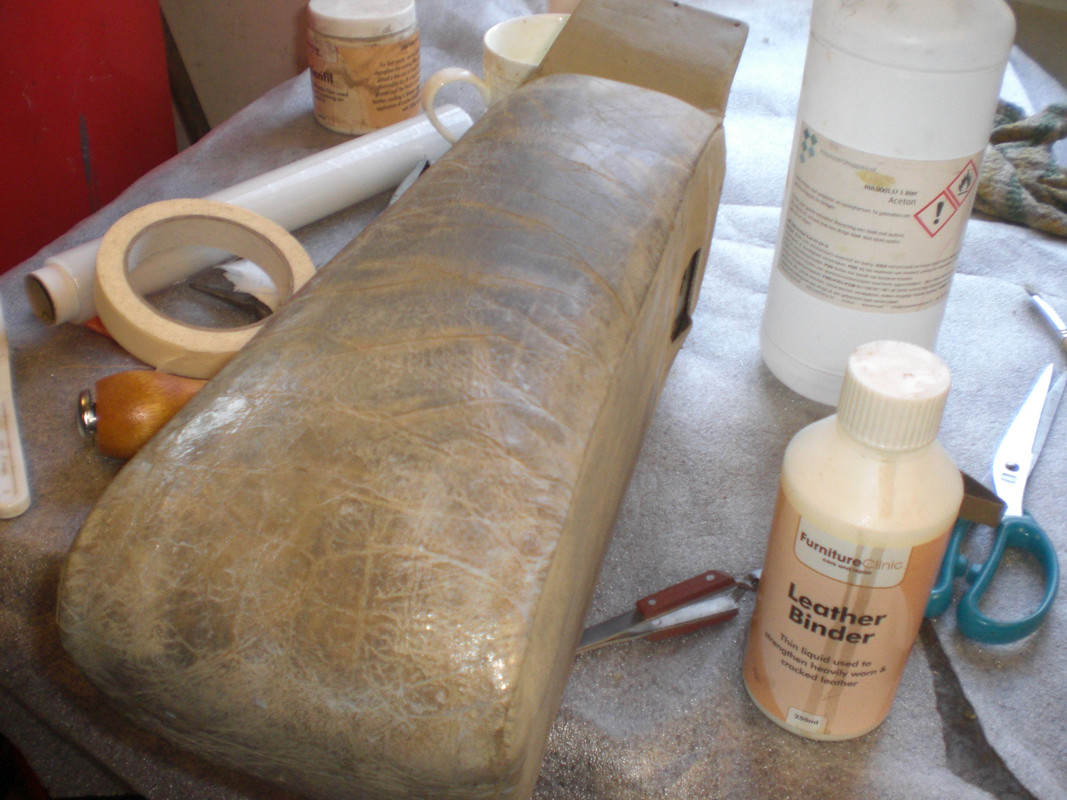 After the paint on the seam edges dried, i started with stitching the seams. With some fiddling, it was possible to stitch the 2 visible seams with the Singer using the old holes. The Singer could not reach the beginnig and the end and these were hand stitched. 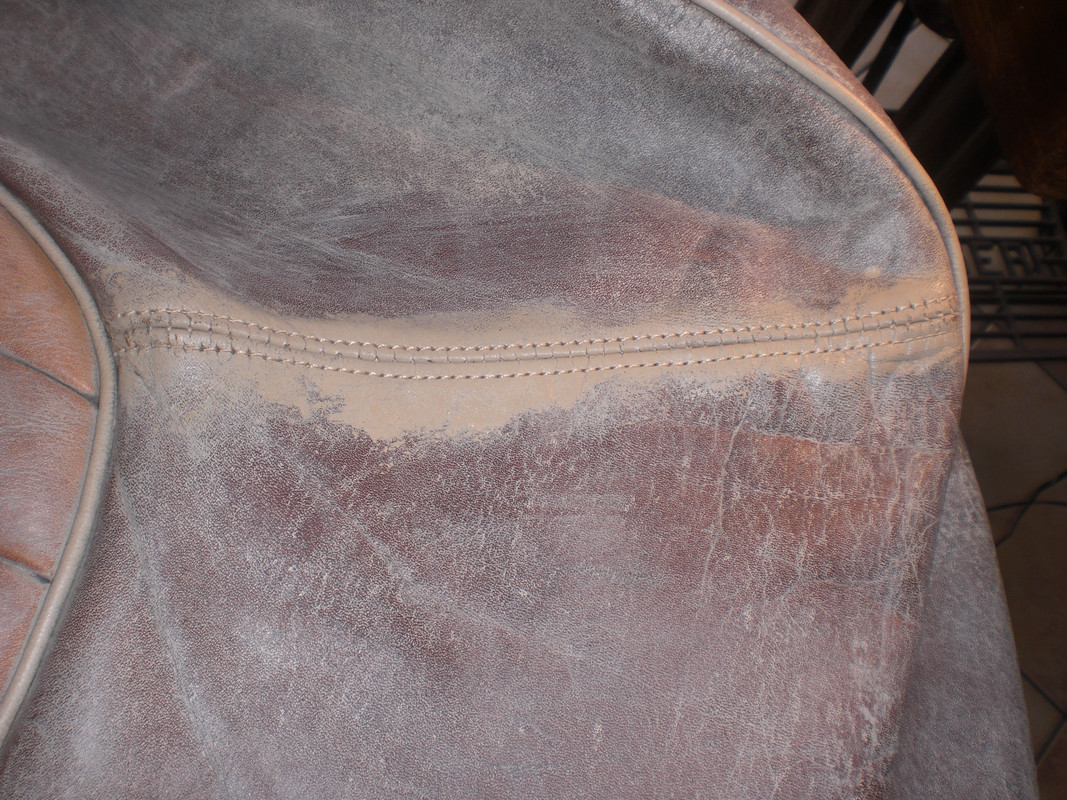 The first cover is done, 3 more to go. Thats it for now Peter |
|
|
|
Post by enigmas on Apr 1, 2018 23:44:14 GMT
Amazing patience Peter...as always the seats will look fantastic when you're done.  |
|
|
|
Post by notenoughtime on Apr 2, 2018 21:04:18 GMT
I look forward to seeing the finished pieces, great work
|
|
|
|
Post by Ken Nelson on Apr 3, 2018 13:03:39 GMT
Peter, your work and your patience are both fantastic! This Rover will surpass almost any Rolls-Royce on show today!
|
|
|
|
Post by petervdvelde on Apr 19, 2018 19:00:18 GMT
I look forward to seeing the finished pieces, great work Cheers, i am slowly getting there. Peter, your work and your patience are both fantastic! This Rover will surpass almost any Rolls-Royce on show today! Cheers Ken did some work on the Rover and continued with the front seats First all the surface cracks on the middle part were sanded 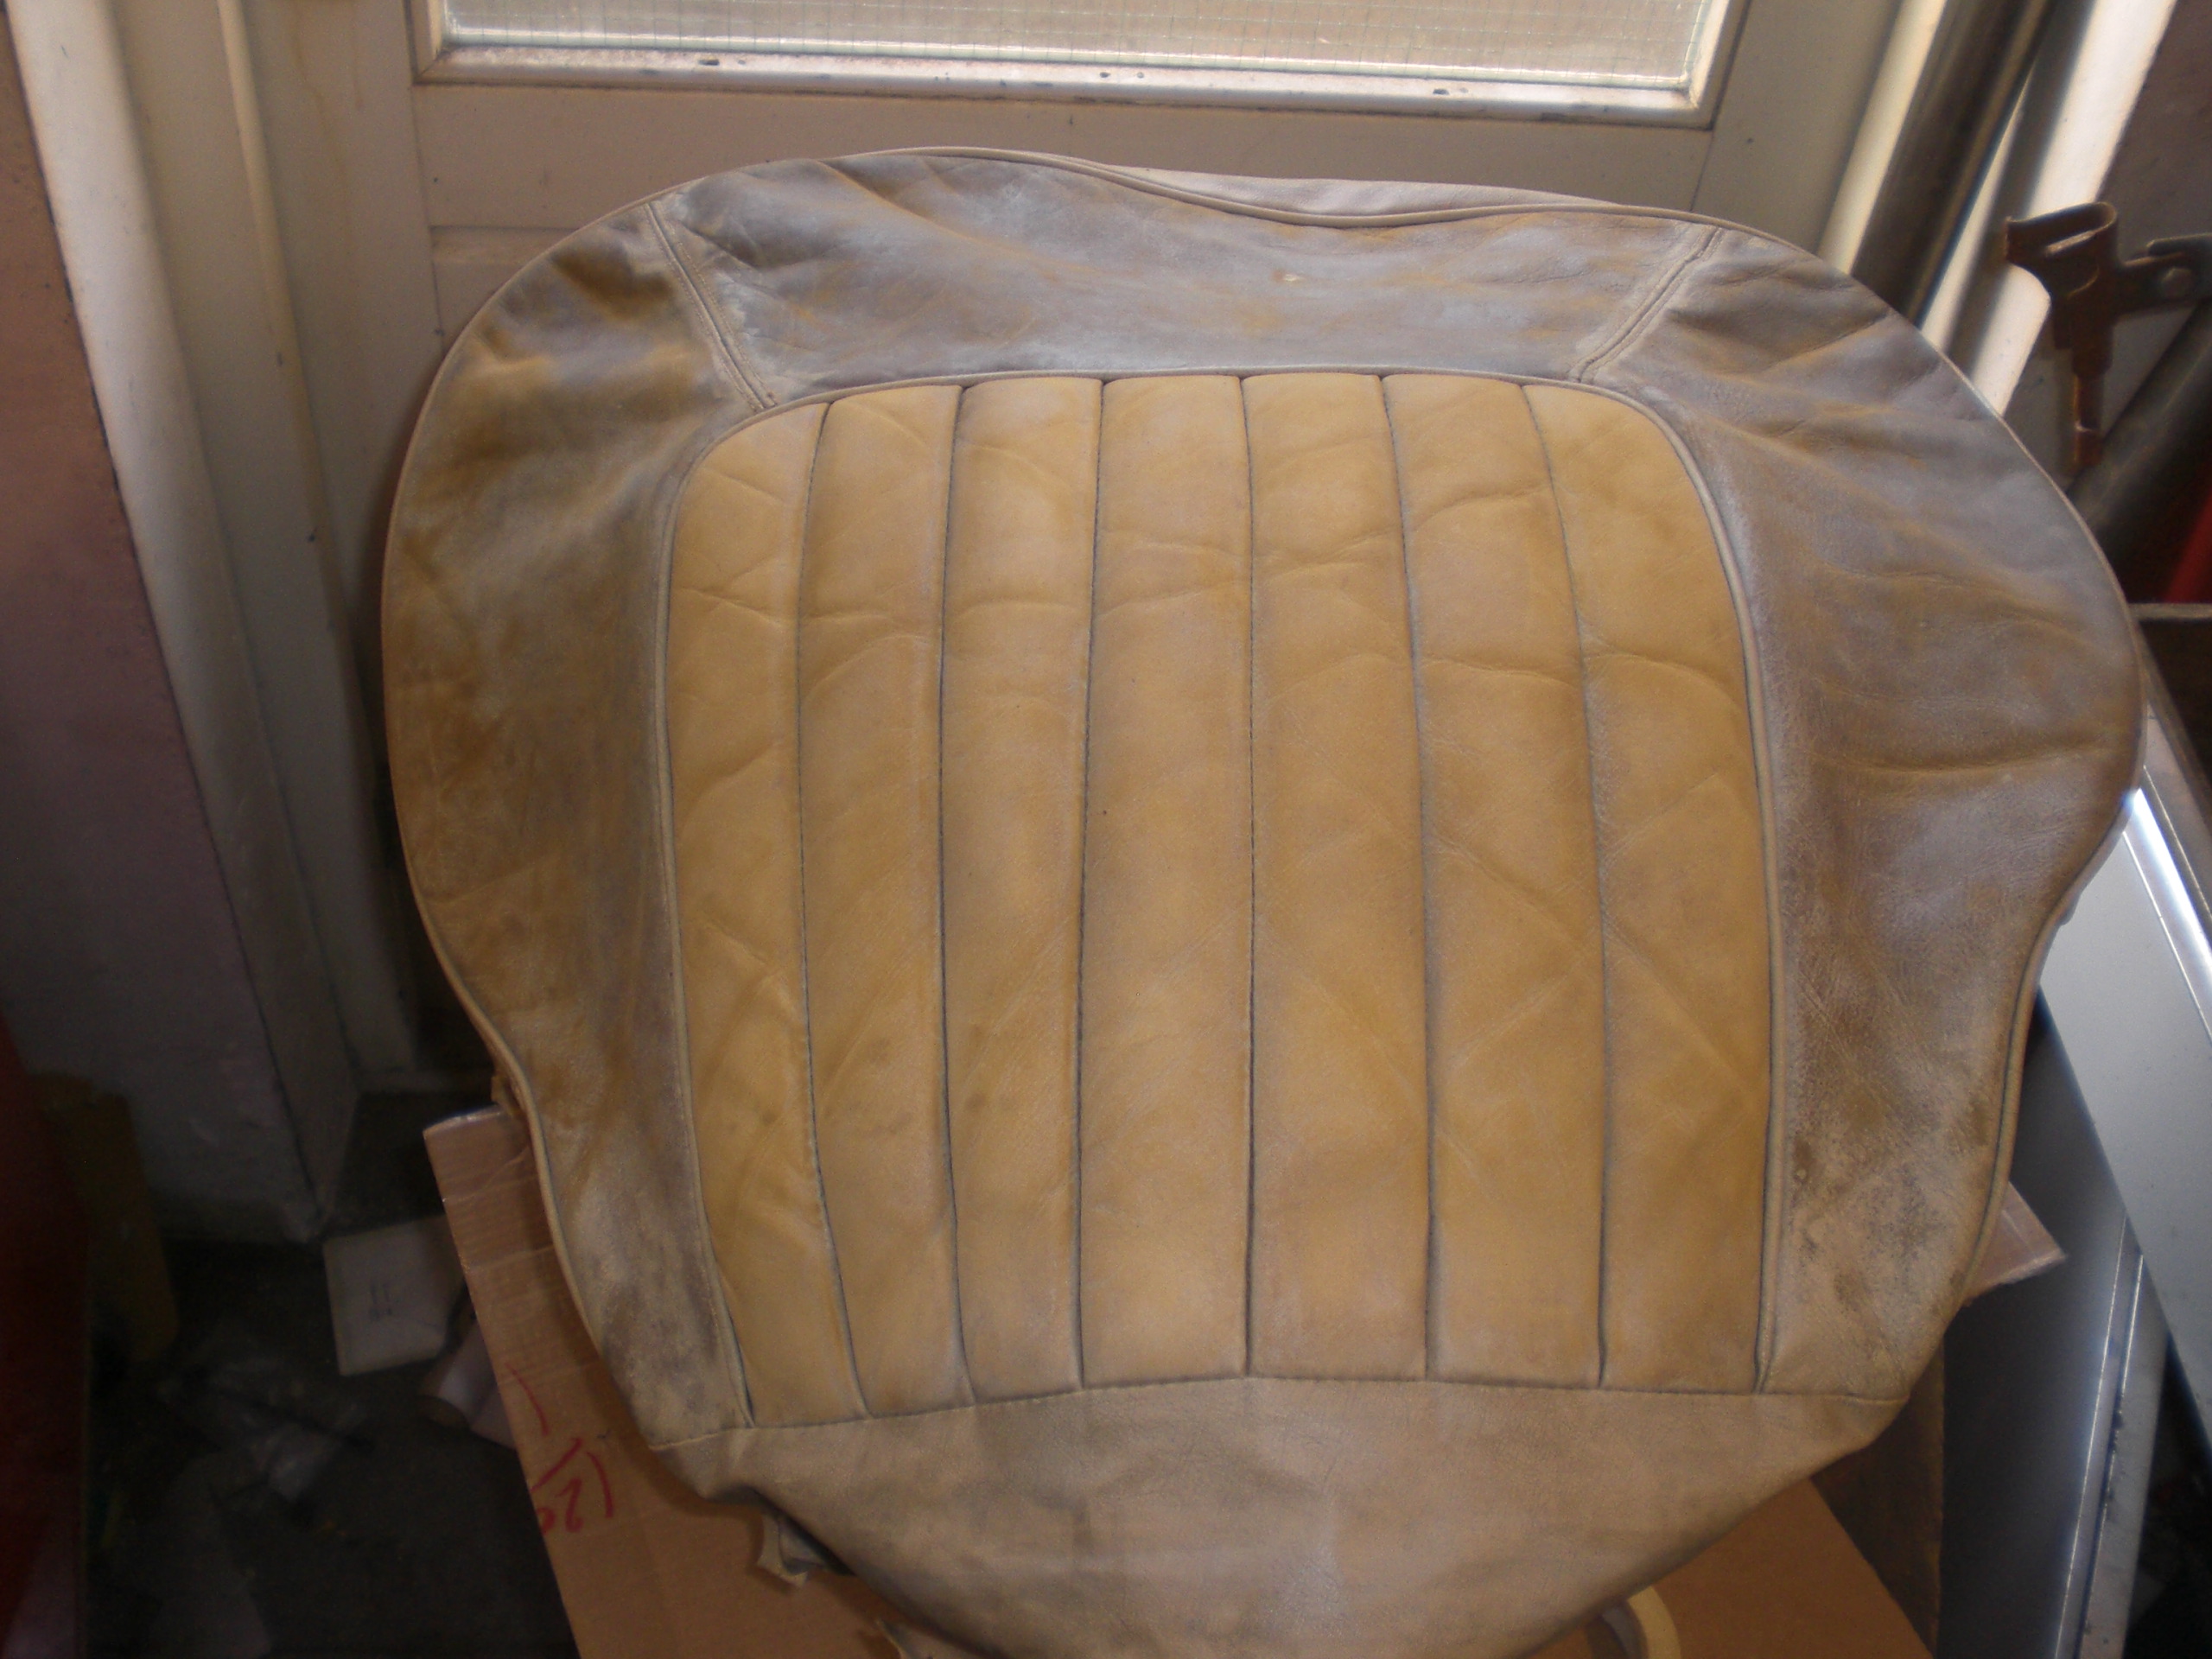 Then with a sponge adhesion promotor (a kind of primer) and 2 layers of paint were applied. As the seat covers are loose you can fold the seams open and easily apply paint there with the sponge- Then took the seat frame were were all shotblasted and powder coated 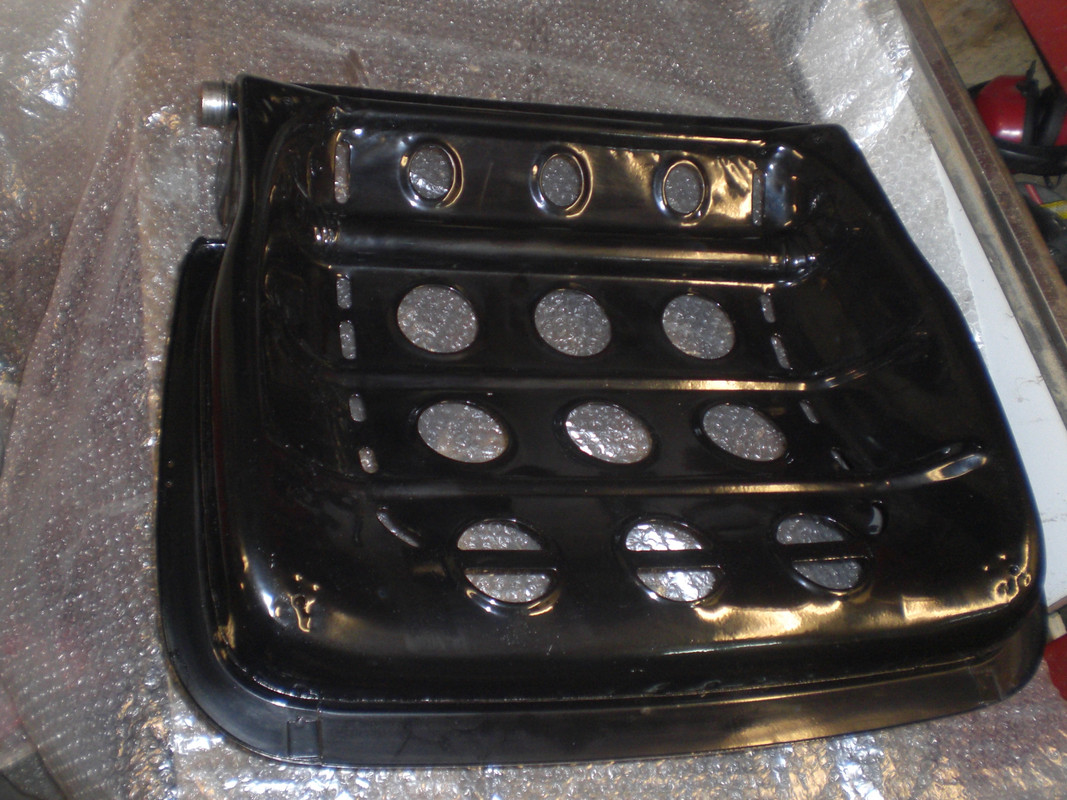 and aordered a sheet of 5 cm thick high density foam 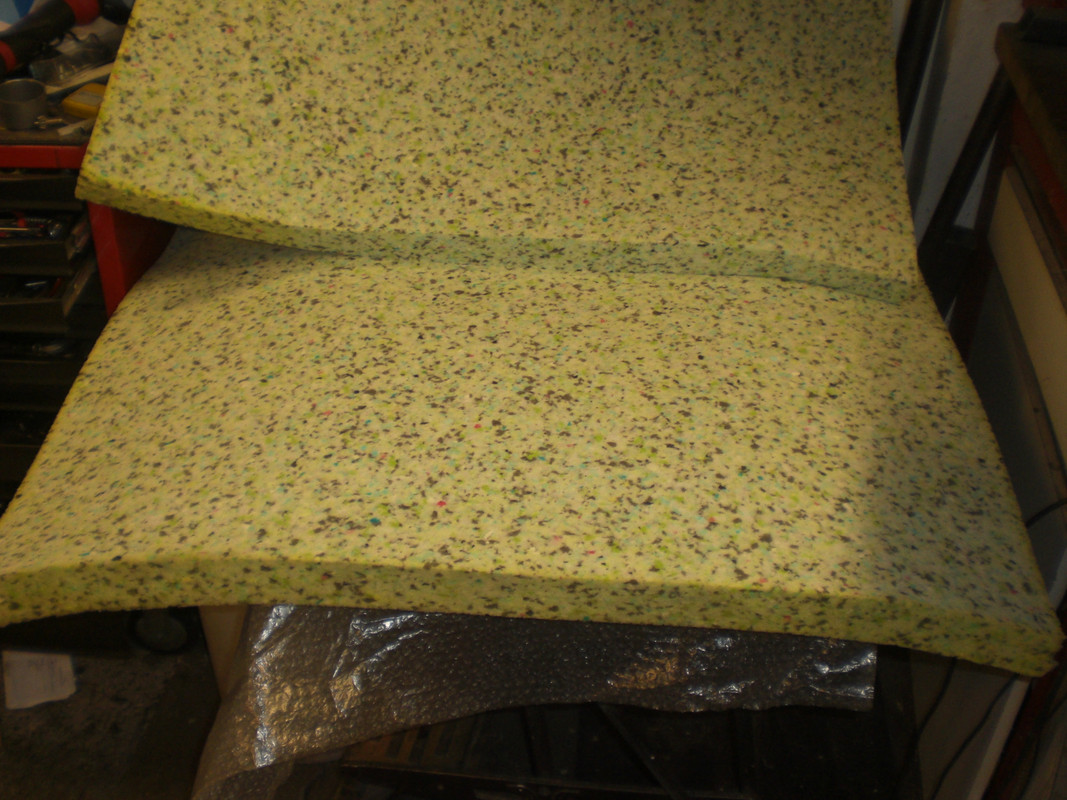 and made new foam pieces to rreplace the terrible chip foam 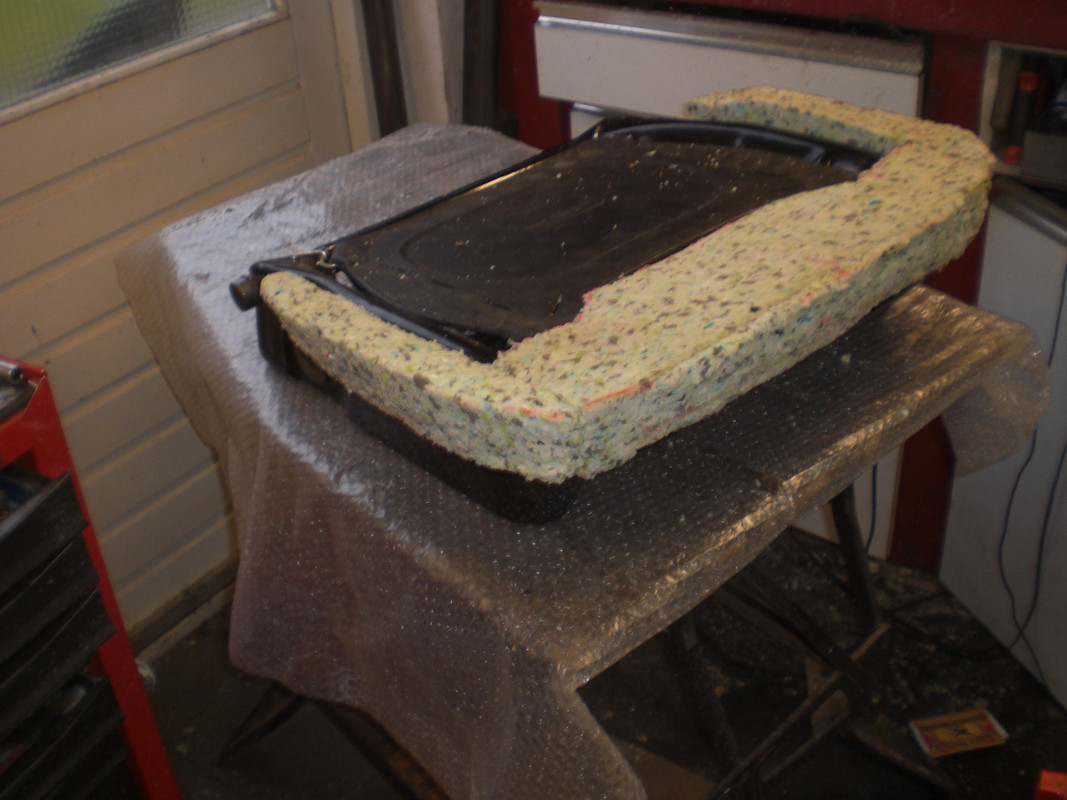 This was cut with a loose metal saw blade and shaped with an angle grinder with a sanding disc Then the original upper foam pieces were fitted 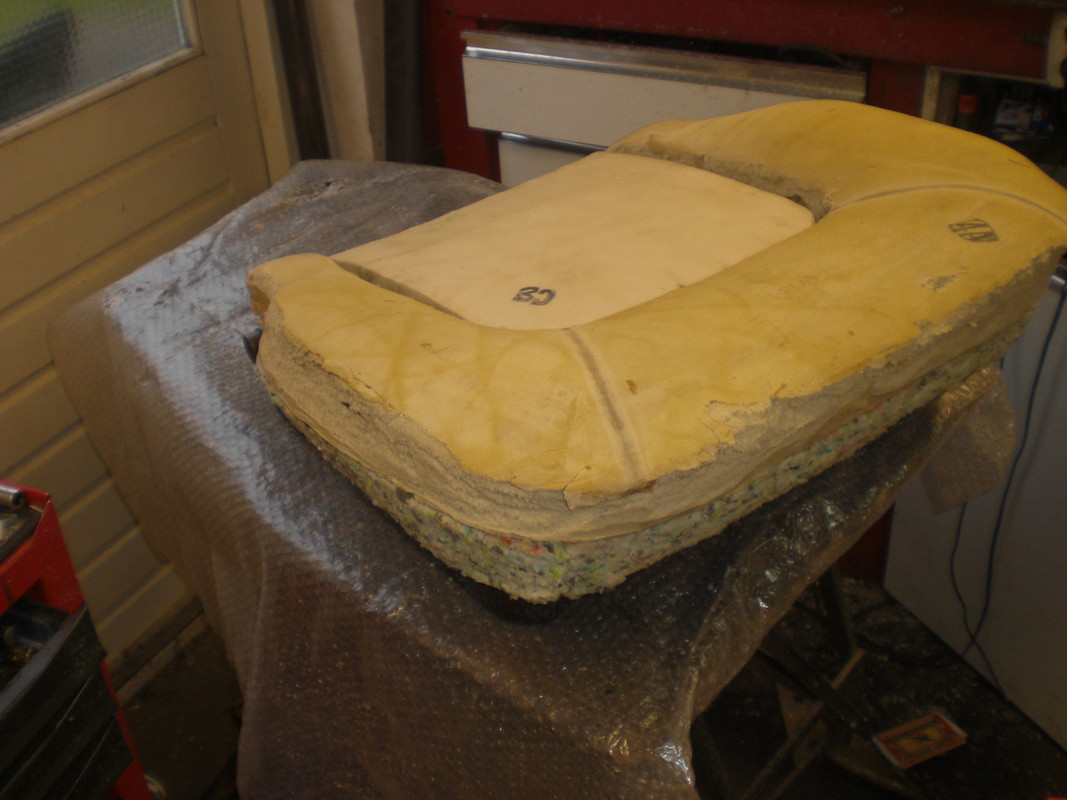 And a layer of 1 cm thick foam was glued on 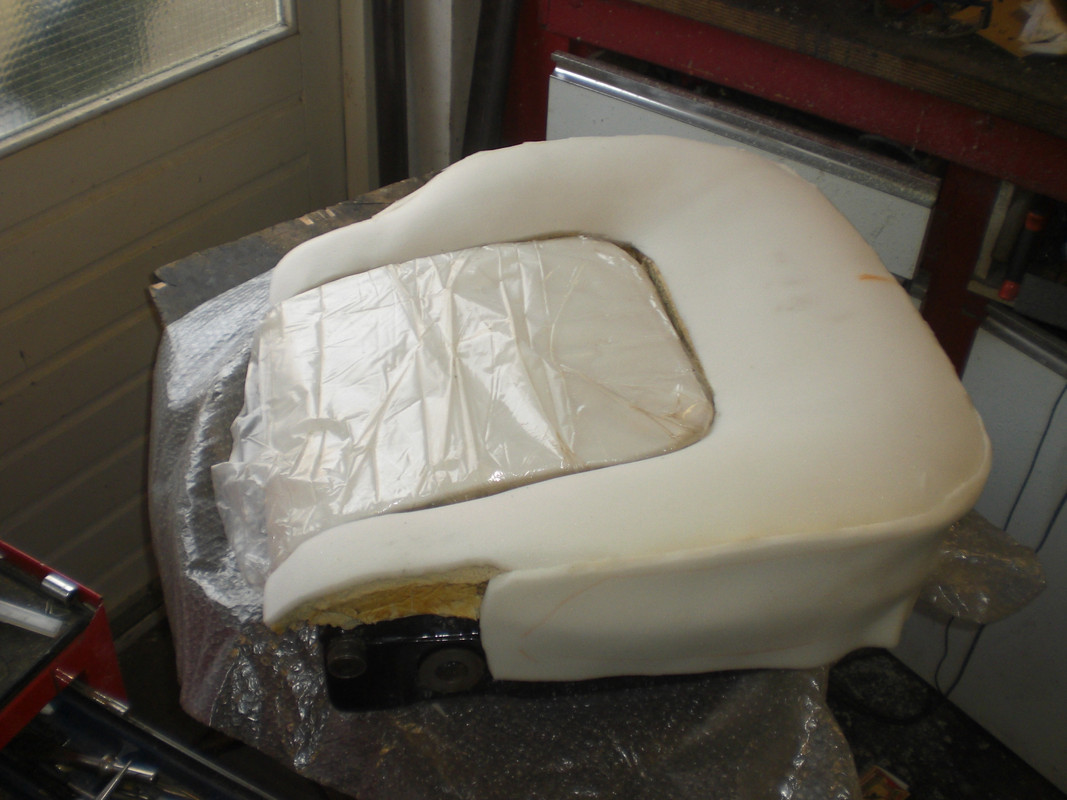 the cover was fitted 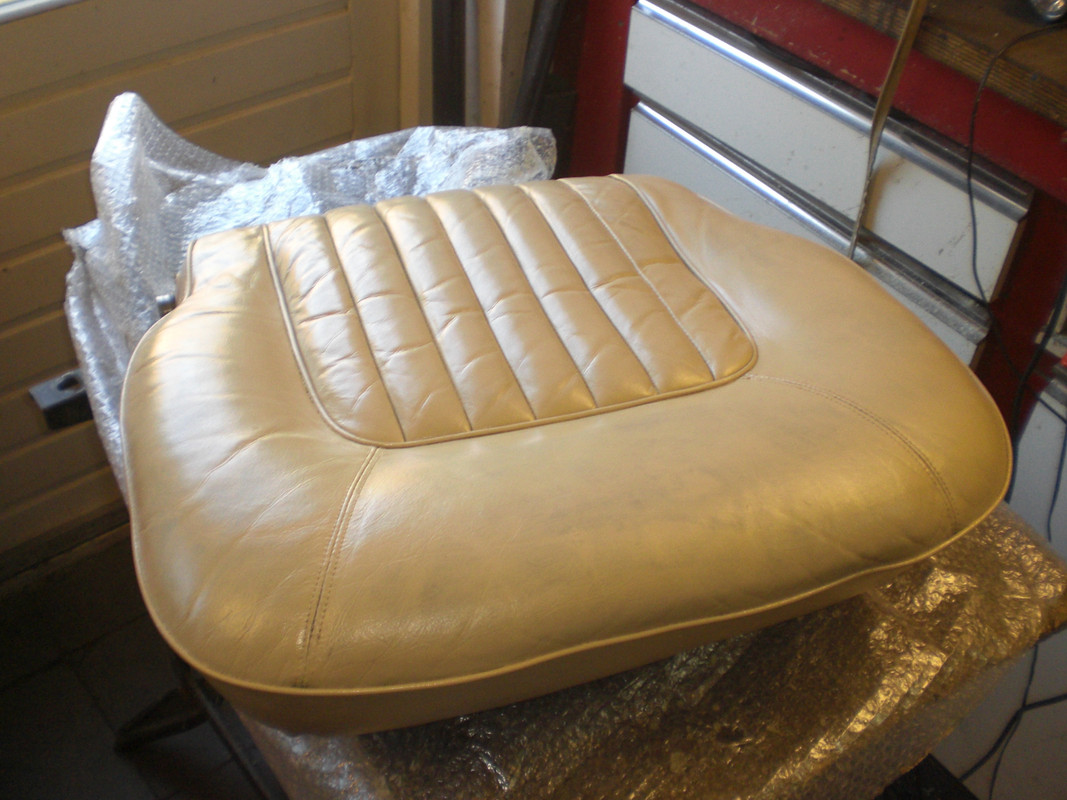 and the straps were fitted with the clamps on the back side 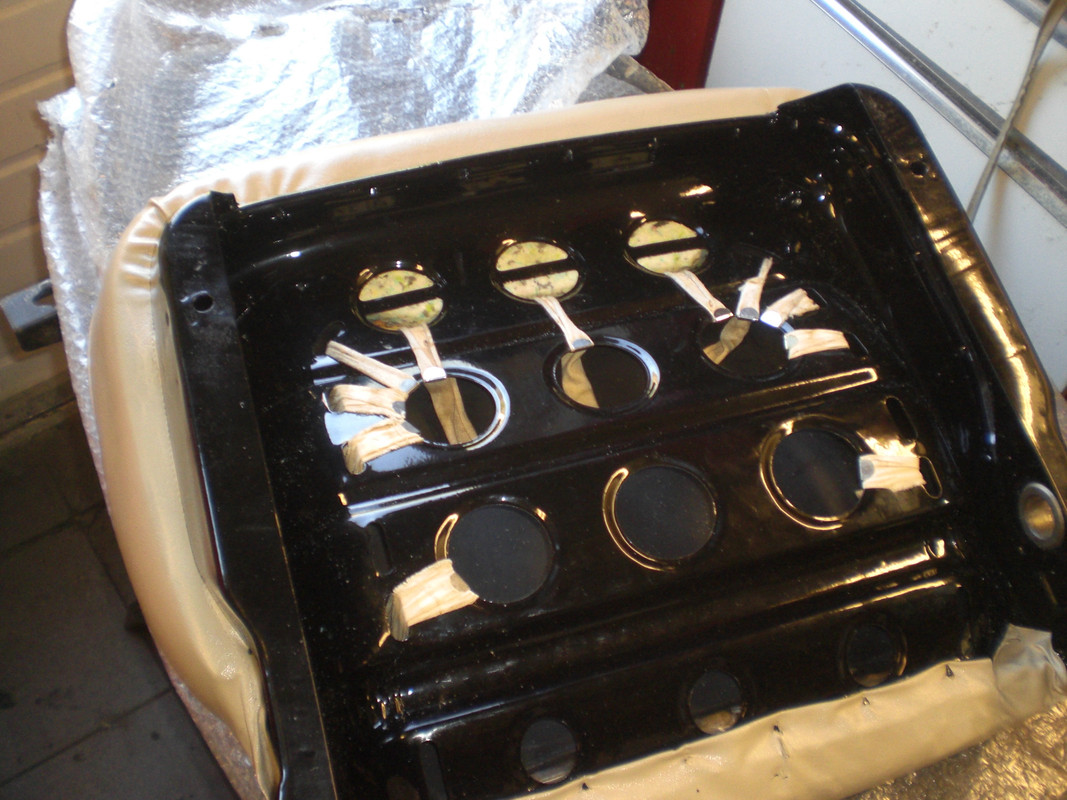 for the back part more or less the same procedure- The headrest support was fitted with the wiring for the headrest reading lights 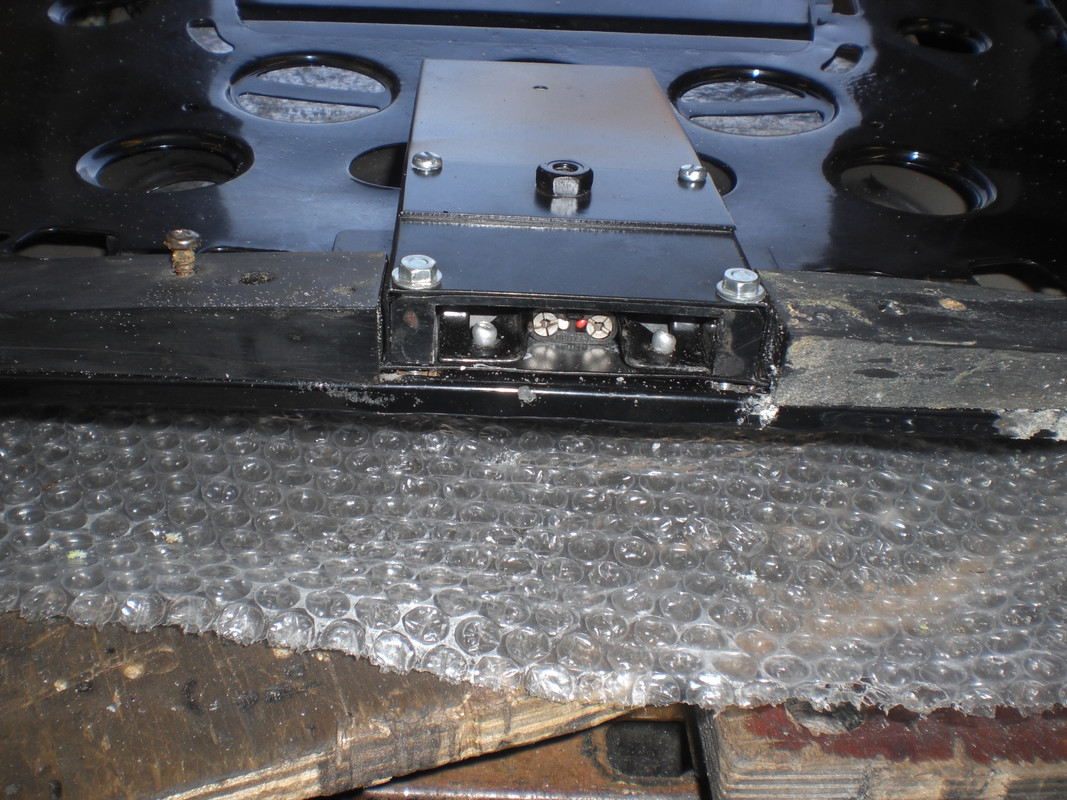 Then all parts were prepared for spraying  And underneath the seat parts after sprayng (a few thin coats of paint and 2 layers of sealer in semi gloss' 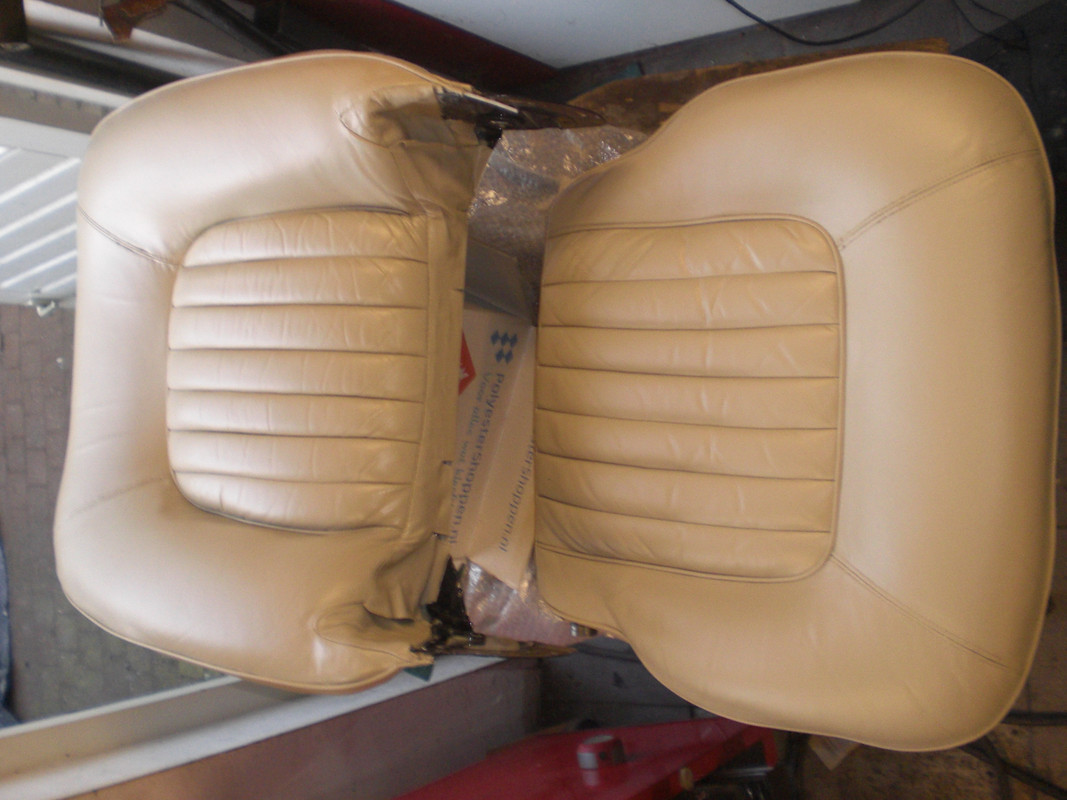 and the arm- and headrest 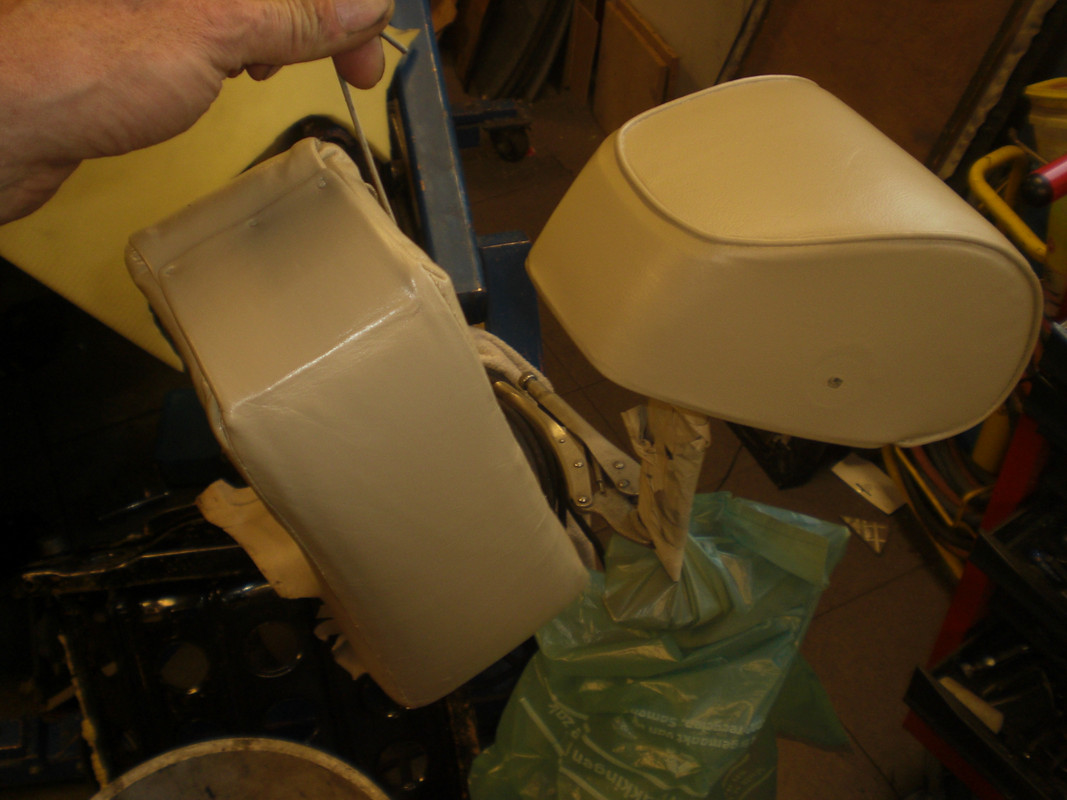 Will let the paint cure for a few days and assemble it Thats it for now Peter |
|
|
|
Post by OlafR on Apr 20, 2018 6:39:02 GMT
Looking good, I suppose I'll need to pay you another visit soon! :-)
Just out of curiosity: since it seems you are renewing all the vinyl and leather parts: wouldn't it be easier to change the colour to ~Saddle Tan?
Personally, I really do favor Saddle Tan over Buckskin, but the point is really that I'm wondering whether or not potentially problematic areas of the leather would look better with a drip of darker color.
On the pictures, your Buckskin does look perfect, but I think that everything tends to look better on pictures than in reality.
Cheers,
Olaf
|
|
|
|
Post by petervdvelde on Apr 20, 2018 22:12:19 GMT
Hi Olaf,
You are welcome and would like to see your Rover. I had a saddle tan interior but the front seats were very poor and i like the buck skin more. Beside this personal preference, i doubt if a recolor would be succesfull over a longer period.
Recoloring leather can be done but recoloring the vinyl piping is more difficult as it is vinyl and i assume chips of the new paint will come off and the original color will be very visible
Peter
|
|
|
|
Post by enigmas on Apr 20, 2018 23:04:35 GMT
Hi Olaf, You are welcome and would like to see your Rover. I had a saddle tan interior but the front seats were very poor and i like the buck skin more. Beside this personal preference, i doubt if a recolor would be succesfull over a longer period. Recoloring leather can be done but recoloring the vinyl piping is more difficult as it is vinyl and i assume chips of the new paint will come off and the original color will be very visible Peter I've recoloured vinyl on a number of occasions going back decades Peter. (Showing my age here.) I've done the process to vinyl roof tops and seats. You're using the term paint but it's more of an opaque dye with some paint like qualities. If done properly it's virtually permanent...acrylic lacquer thinner will remove it, but this is a very strong solvent you really don't want on or near vinyl or automotive paint unless it's on purpose, as it will also strip the colour from both of these surfaces. If you're going to vinyl recolour something, first clean it thorough with houshold cleaning products, dry it off and then clean the surface vigorously with a damp cloth immersed in automotive lacquer thinner. This will both soften the vinyl and create a slightly tacky surface. Do all of this in moderately warm, dry air environment. Once this has been done spray on the vinyl dye in thin coats until the colour is solid. Obviously mask areas not being recoloured. The dry warm air environment is important. Don't do this procedure in damp, or humid air conditions. |
|
|
|
Post by OlafR on Apr 24, 2018 7:05:13 GMT
Hi Peter, You are welcome and would like to see your Rover. We'll make it happen, sooner or later (better sooner)! :-) |
|
|
|
Post by petervdvelde on May 1, 2018 22:02:05 GMT
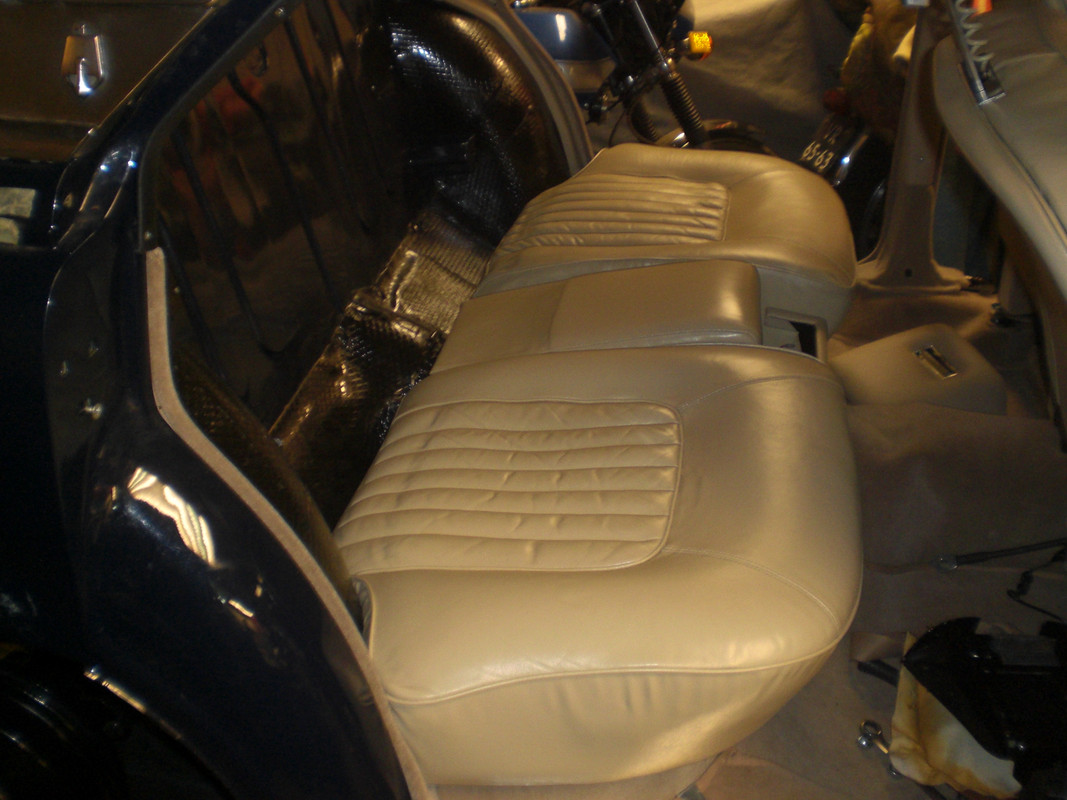
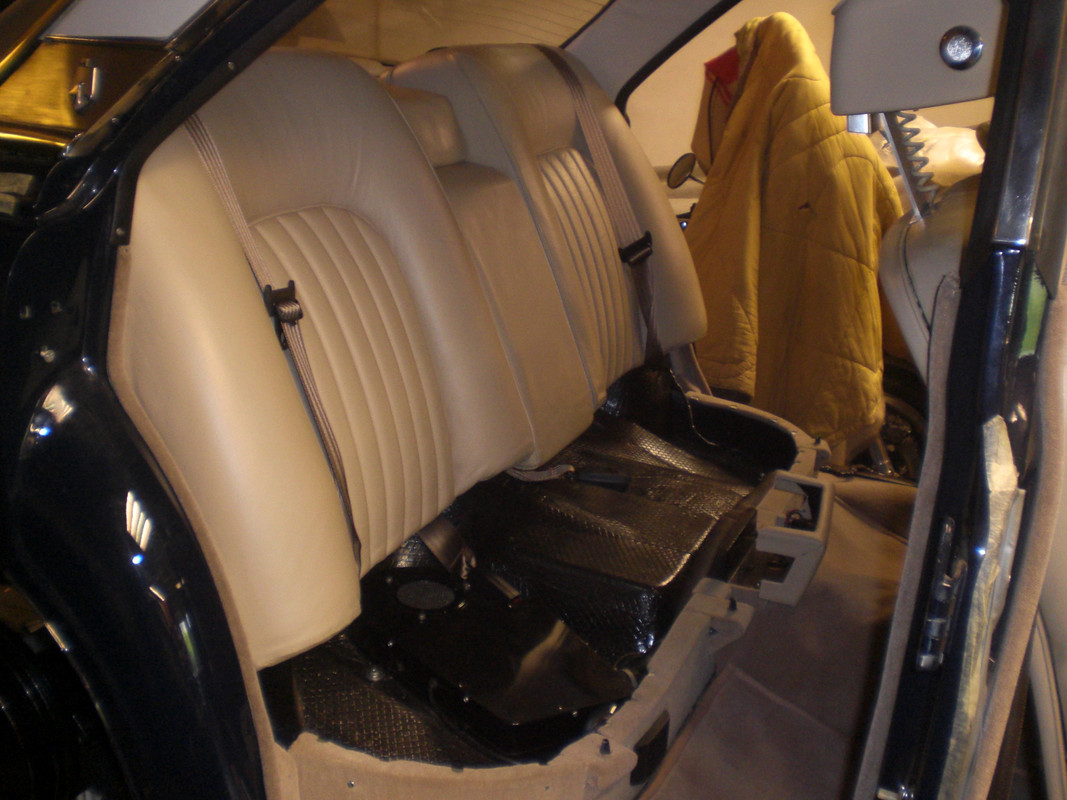
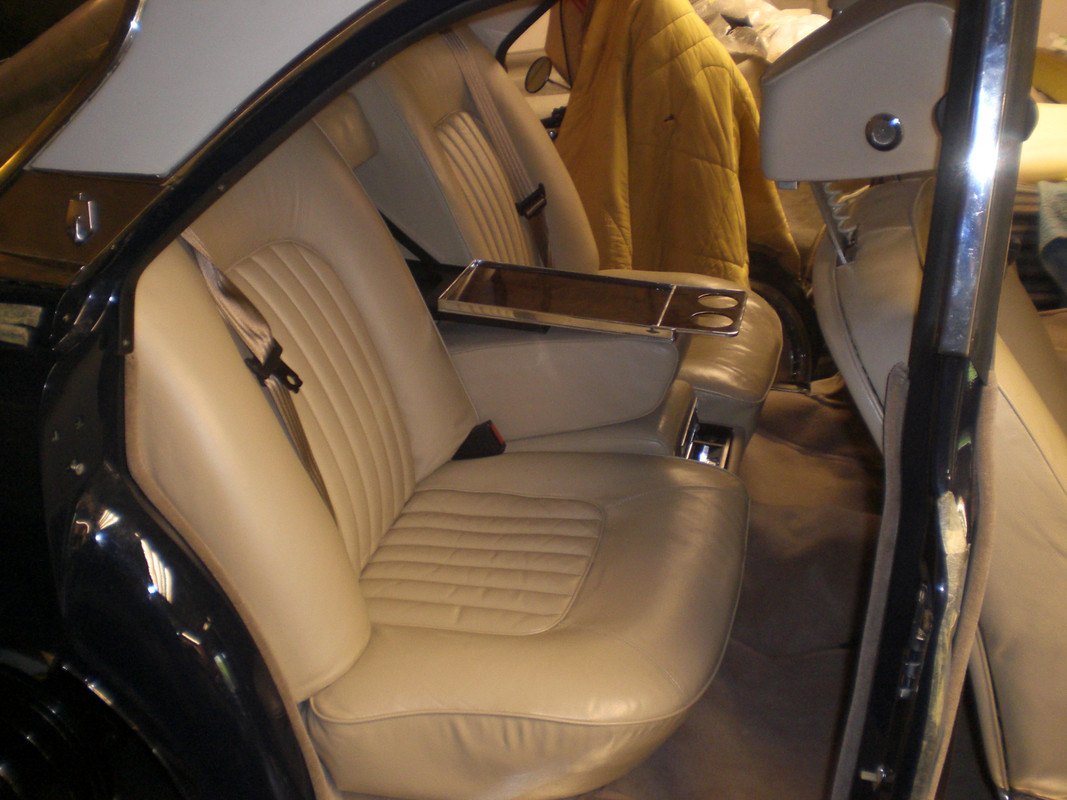
Some progress on the Rover. The front seats were assembled. Found the mounting plates. spacers ect which were all zinc plated 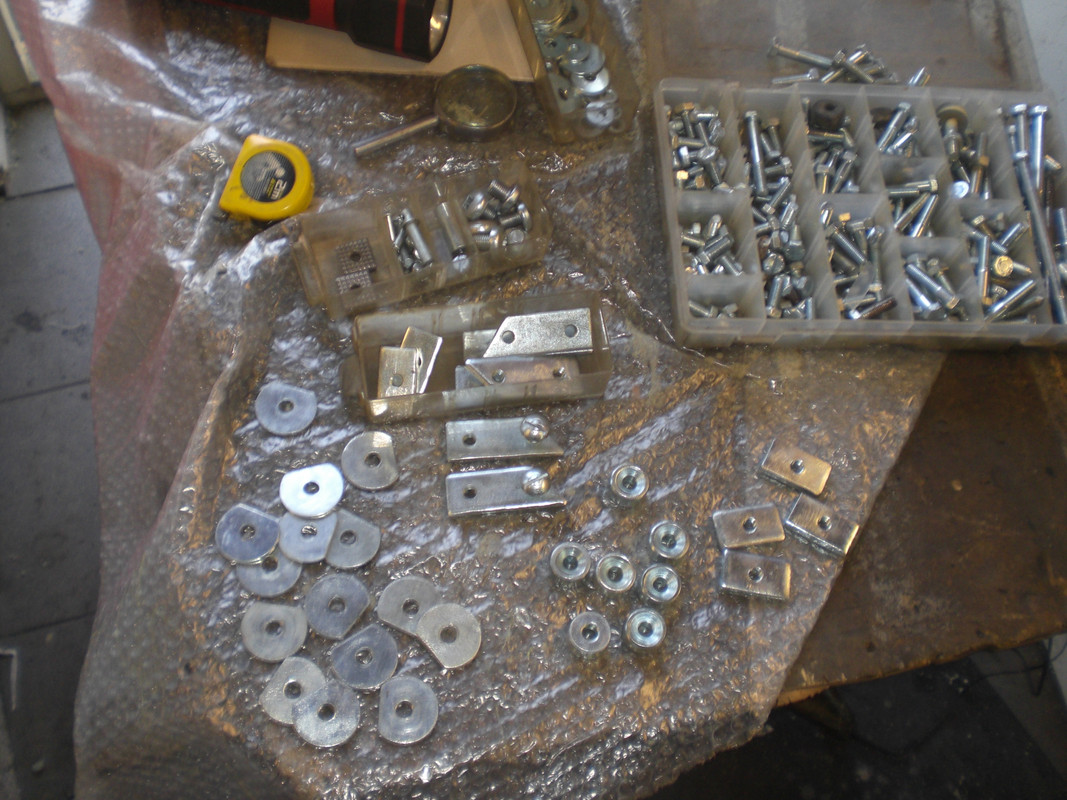 Had one headrest reading light and made another out of 2mm SS sheet 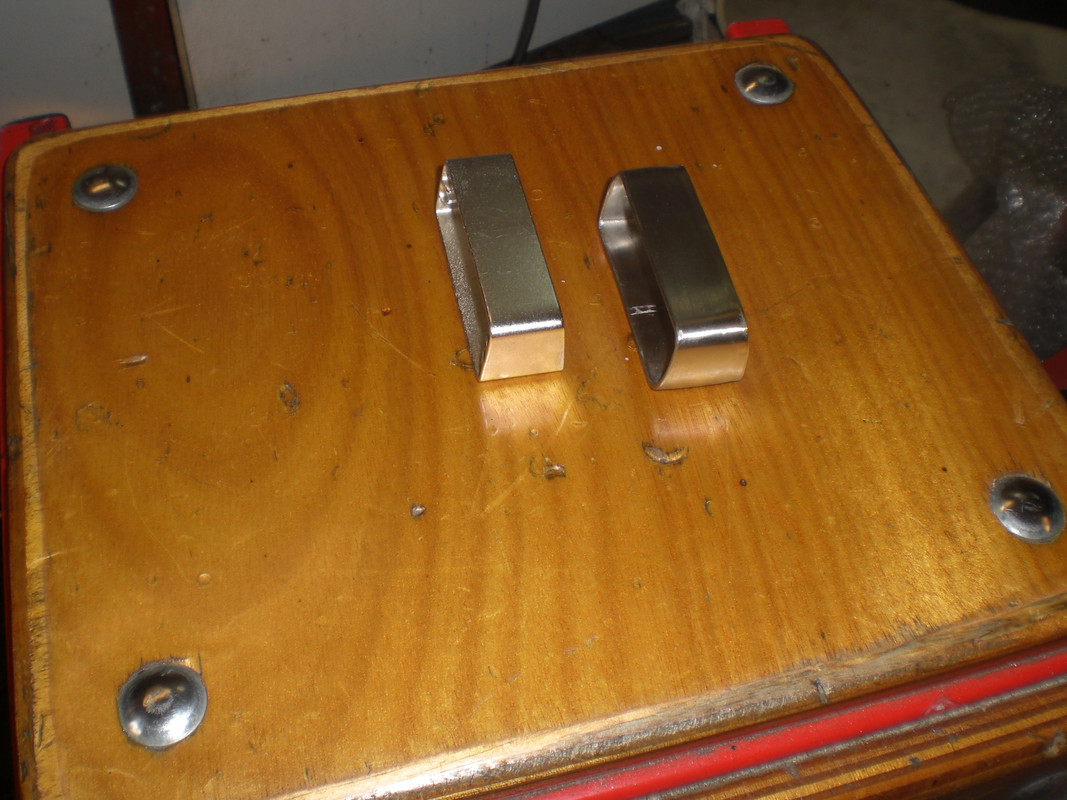 Fitted the reading lights to the headrests and connected the wires  The SS seat trim were cleaned and given a polish 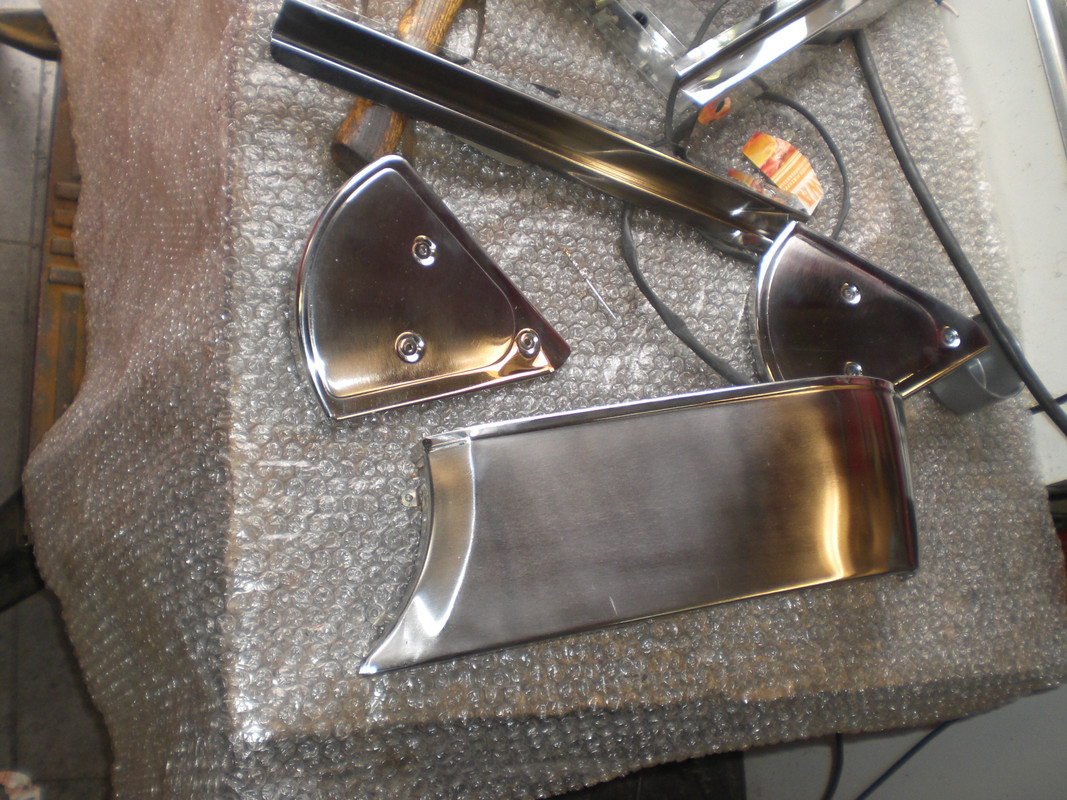 The front seats were fitted to the car 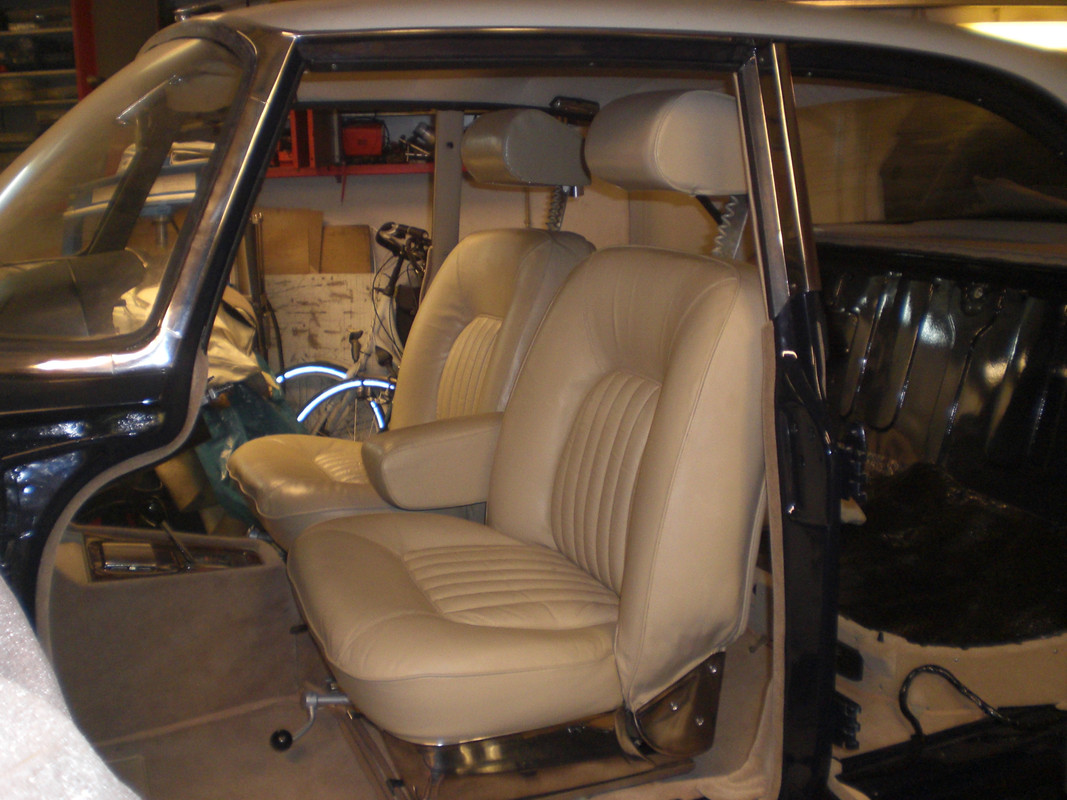 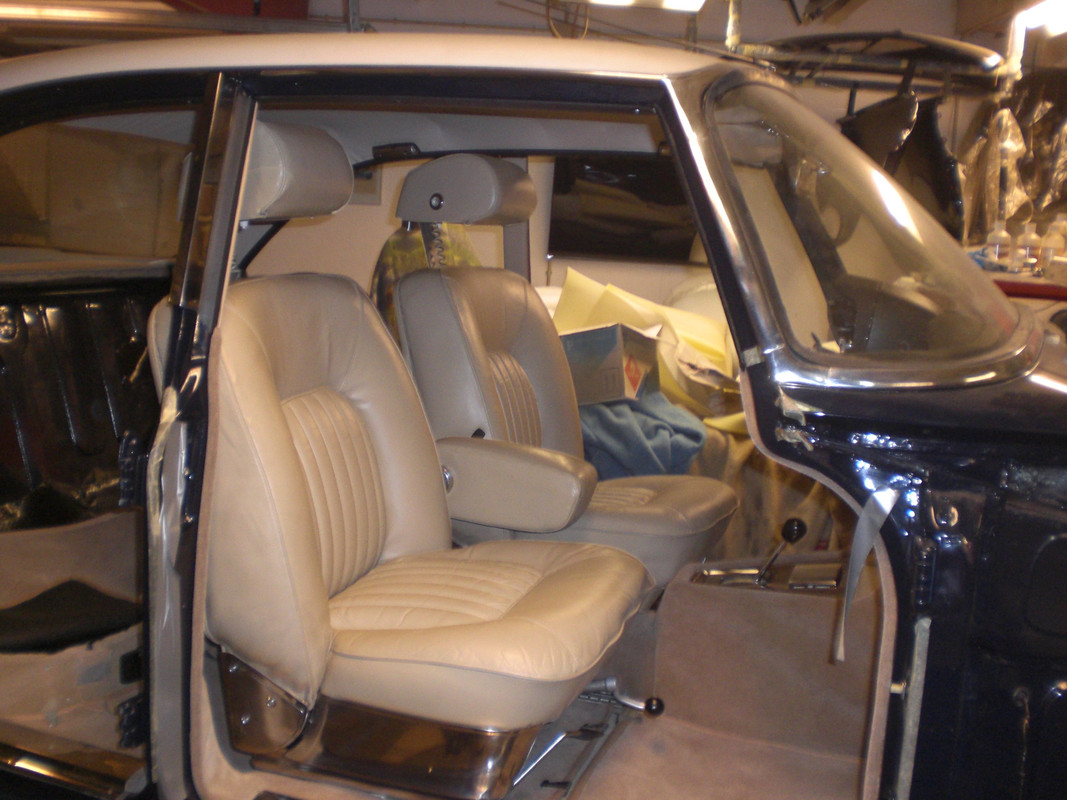 The covers got a new layers of furflex and were fitted 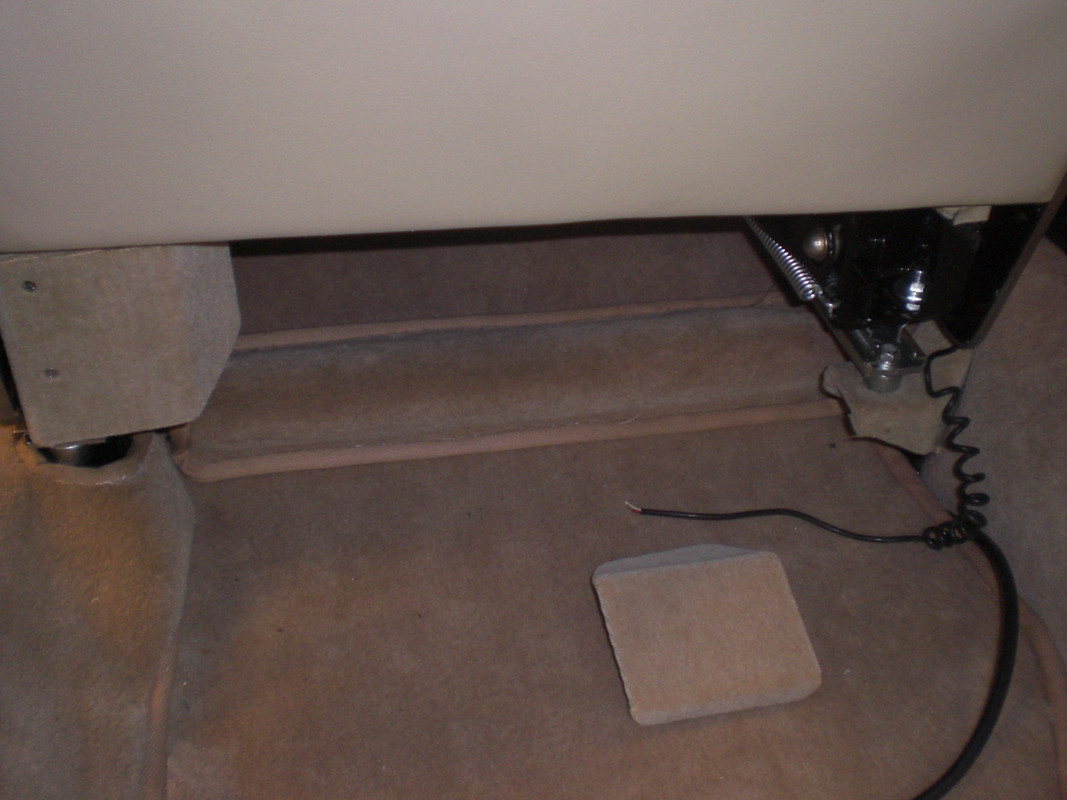 Underneath a picture of the seats before the renovation. 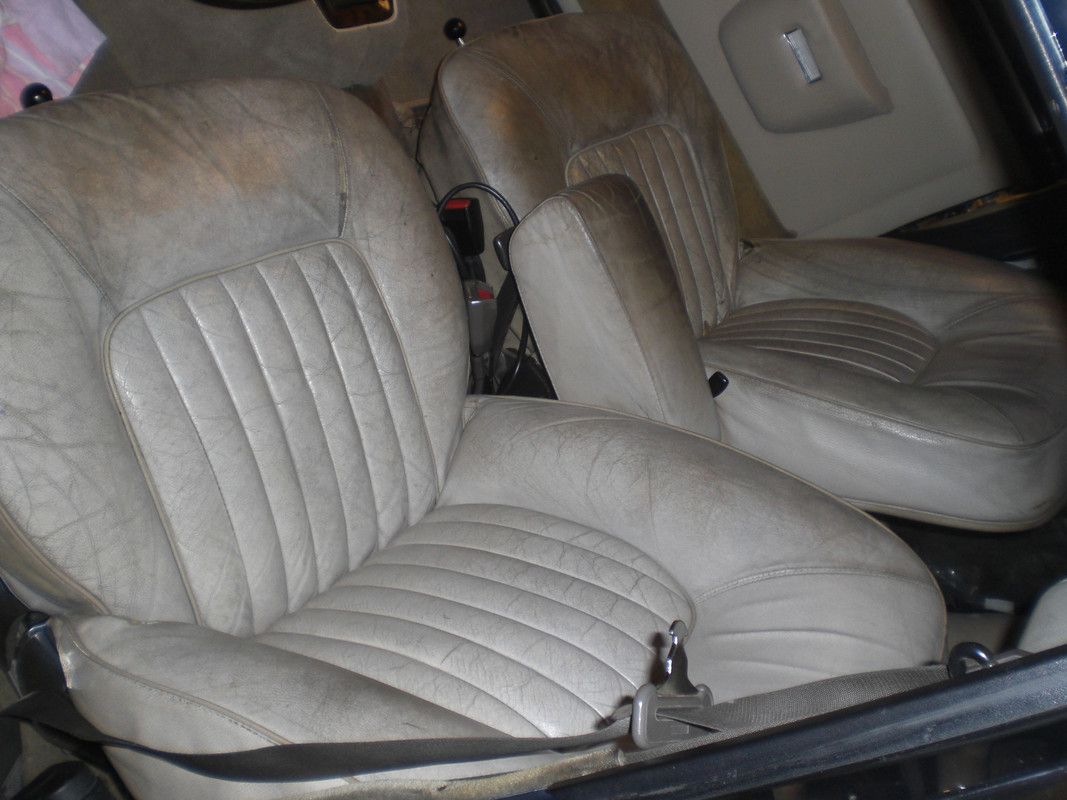 A big improvement and i am happy with the result Next step is the rear seats Peter |
|
|
|
Post by eightofthem (Andy) on May 2, 2018 17:29:10 GMT
Cracking job.
|
|
|
|
Post by petervdvelde on May 3, 2018 17:03:44 GMT
Cheers Andy! Still enjoy the 4ZF box you supplied every time i drive my daily P5B
Peter
|
|
|
|
Post by notenoughtime on May 3, 2018 21:08:12 GMT
Looks amazing as usual peter, top work
|
|
|
|
Post by eightofthem (Andy) on May 3, 2018 21:13:47 GMT
Cheers Andy! Still enjoy the 4ZF box you supplied every time i drive my daily P5B Peter You have to take the credit for that Peter, if you don't fit them and set them up right then you would not enjoy it at all, so clearly you have done a top job fitting it. |
|
|
|
Post by petervdvelde on Jun 16, 2018 23:19:48 GMT
Not a huge amount of progress on the Rover mainly due to garden work and some work on the MGB Started working on the rear seats. Its the same proces as the front seats which means removing the old paint, sanding the leather, making the foam parts and repainting the leather Some pics..
and the horizontal seat parts ready
Its a lot of work but very happy with the result.
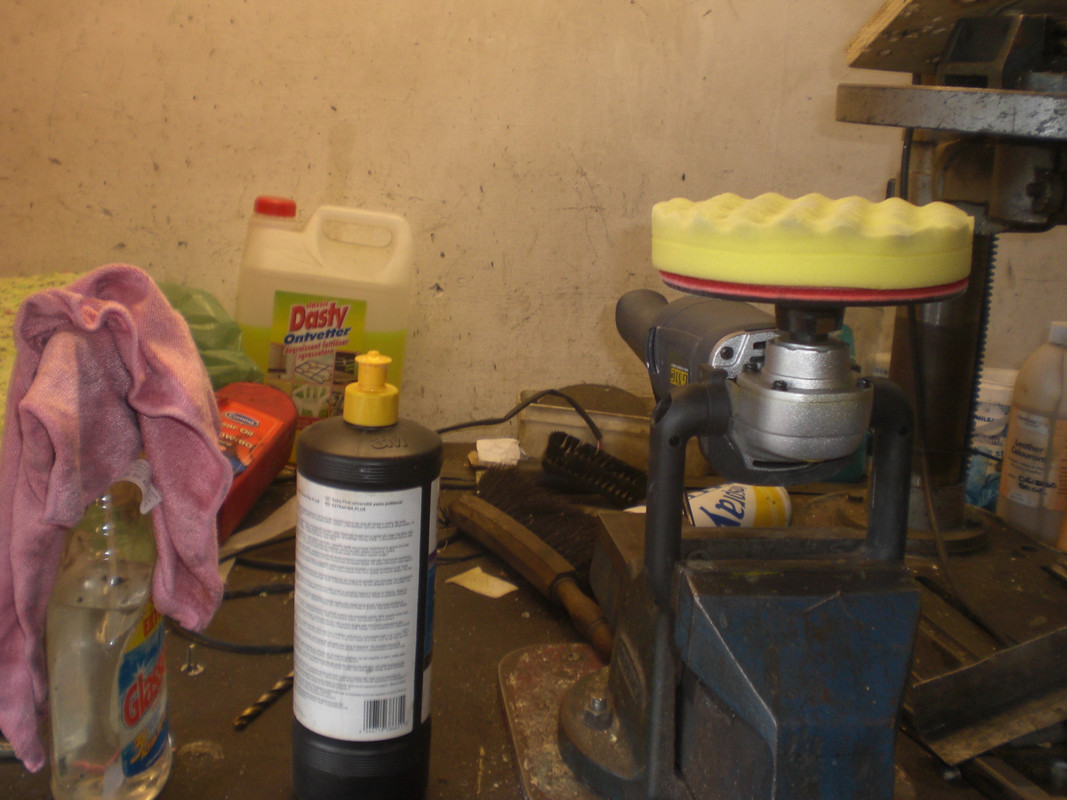
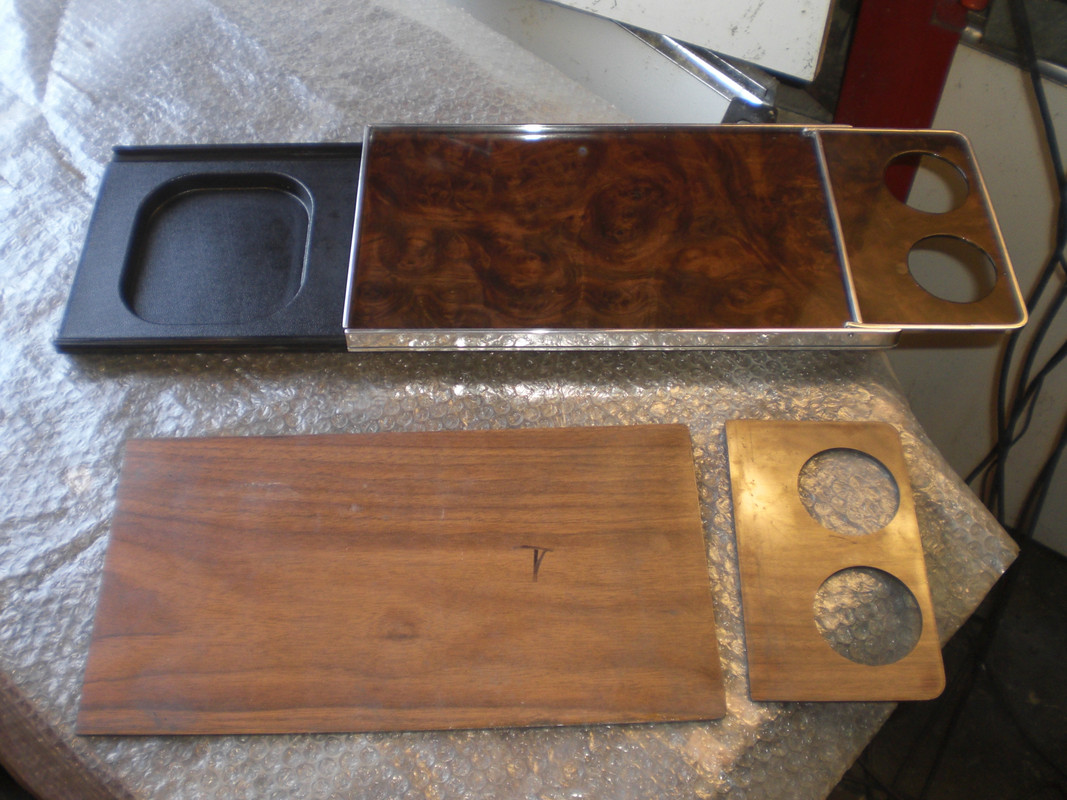
Then started on the vertical seat parts. There is a picnic tray between the 2 seats which is covered with fake wood. I sanded the anodised alu frame and gave it a polish and replaced the fake wood panels by real wood with walnut veneer which i made some time ago. The walnut panels were given a final polish with 3M materials. The polisher was clamped in a vice and the panels moved over the polishing pad
Peter
|
|
|
|
Post by tarnowl on Jun 17, 2018 5:38:23 GMT
Fantastic result Peter.
|
|
|
|
Post by wozzer on Jun 22, 2018 20:17:47 GMT
Living it Peter
|
|
|
|
Post by petervdvelde on Jun 28, 2018 21:49:05 GMT
cheers guys! Did some work on the Rover. The last bits of interior work are due
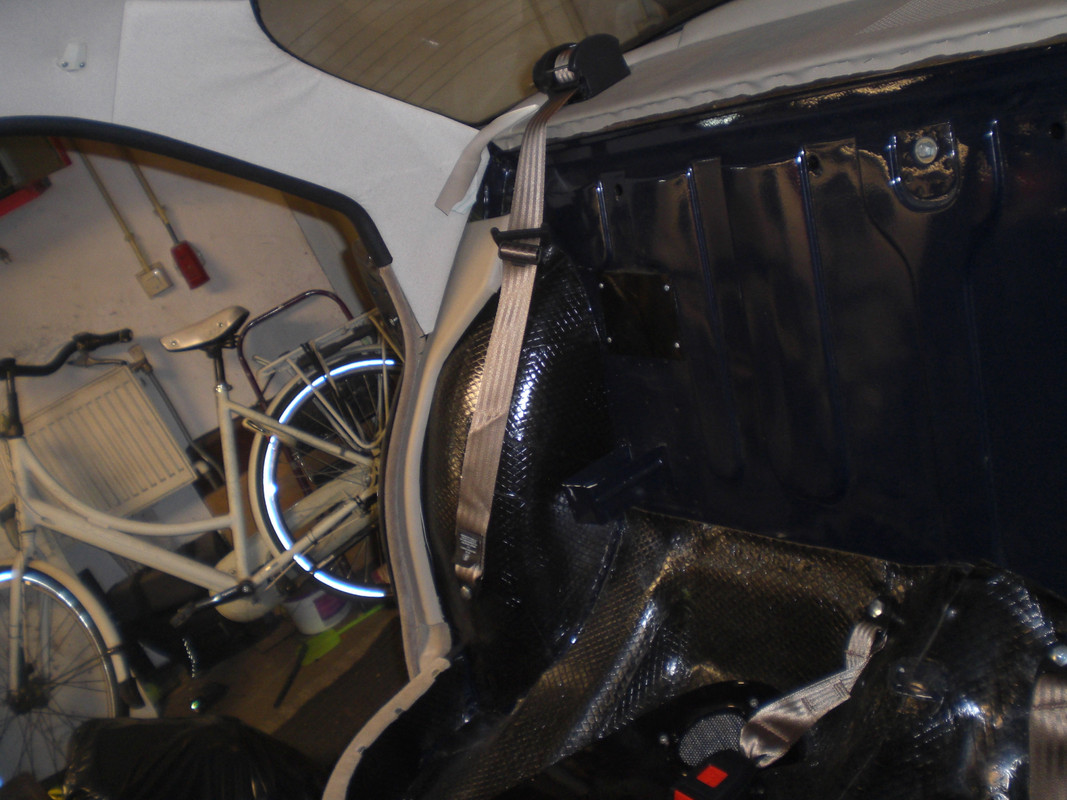
fitted the rear seat belts
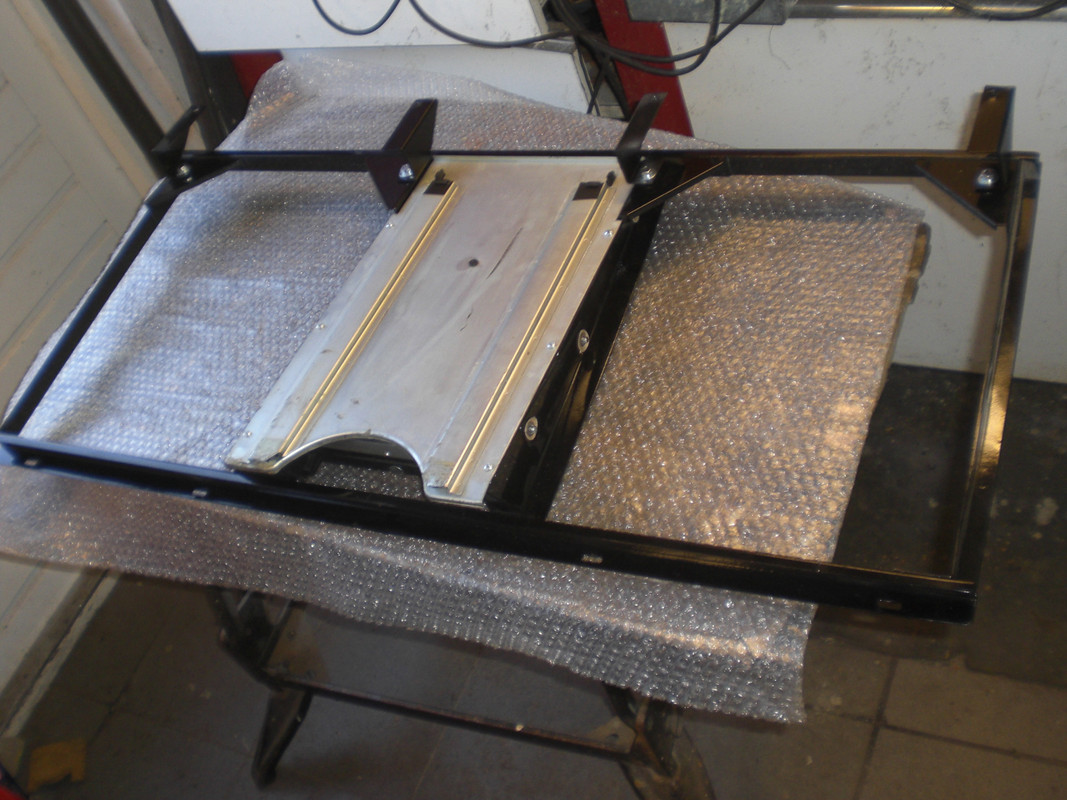
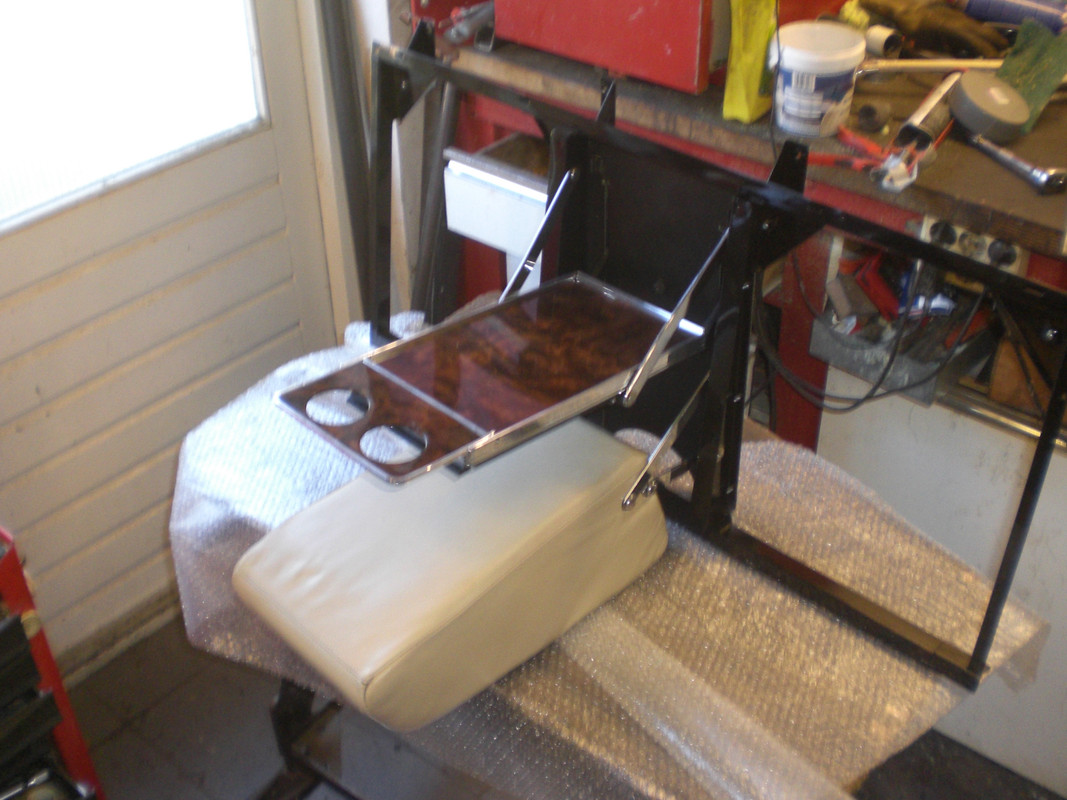
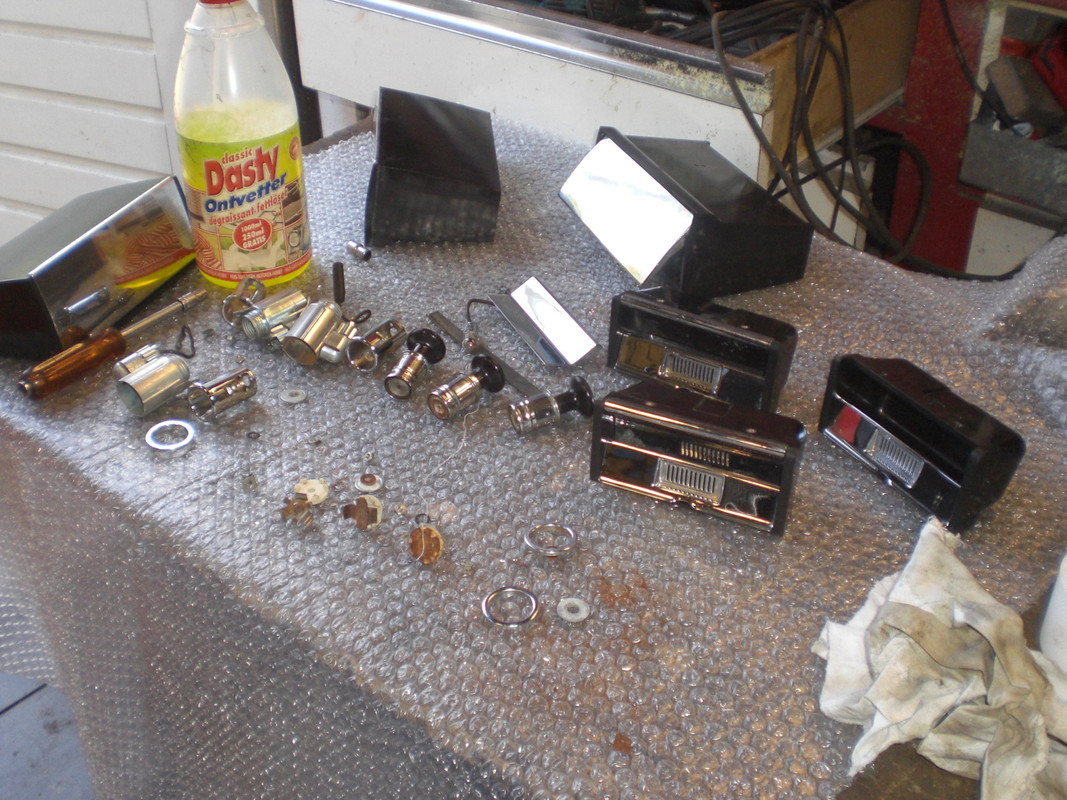
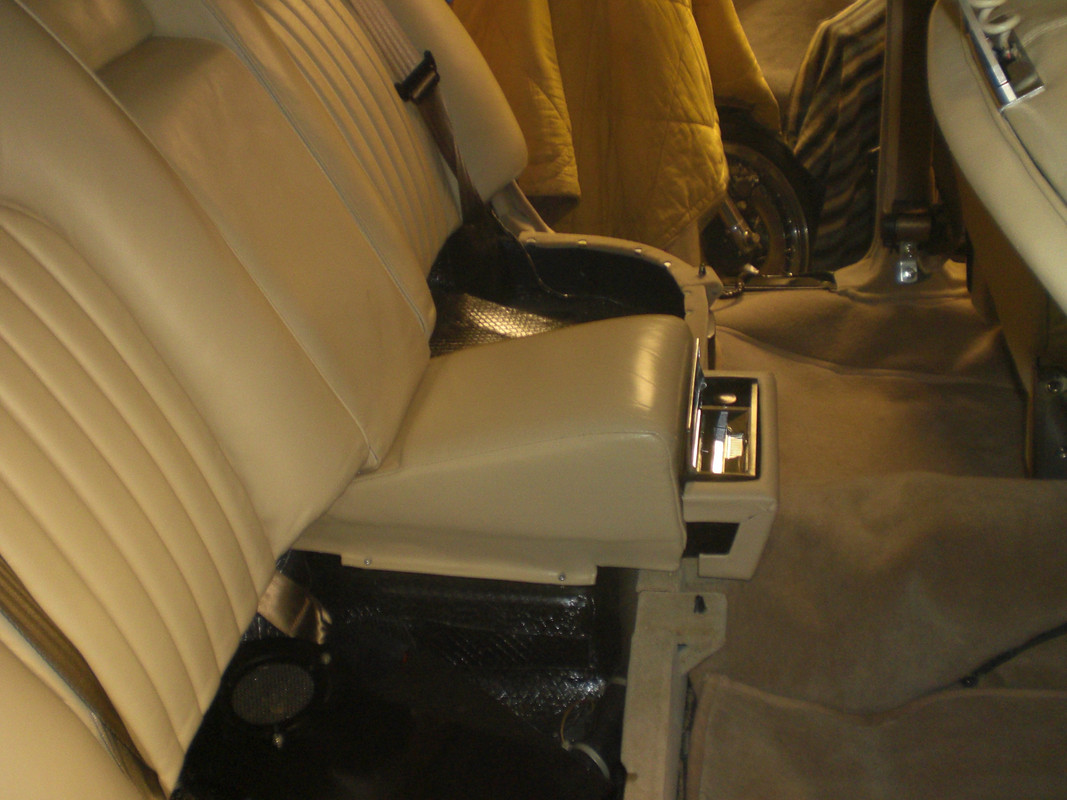
The picnic table and the frame mounting brackets were fitted to the seat frame and the armrest Then followed by the 2 seat parts Then it was time to make some big steps and fitted the seat frame to the car I was lucky that the mounting brackets were still in the good position so the brackets lined up nicely with the holes in the body. Found the large washers and bolts in my stash of newly plated parts and cut some new rubber washers < 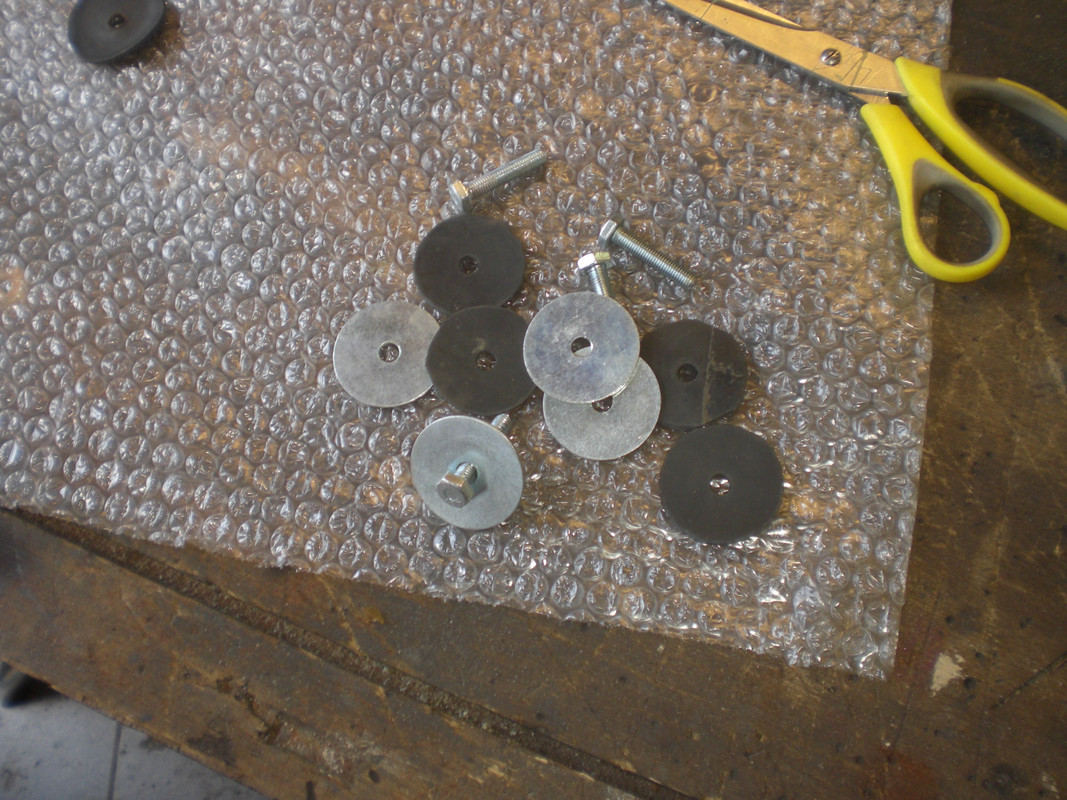 Choose the best parts out of the 3 rear ash trays i had. Some cigar lighters parts were severly rusted but managed to make a good set Tried to polish some scratched on the cover but it appears to be chromed copper so could not fully remove the scratches so may send it out with the next chroming batch. The ashtray and cover were fitted together with the center seat part And then the remsaining rear seat parts were fitted sometimes you fidlle a few hours and there is hardly any visible progress. the fitting of the rear seats went very smooth and in a relatively short time big steps were made. Have to sort out a few small thing and then the interior is done thats it for now Peter
|
|
|
|
Post by velvet on Jun 30, 2018 10:45:30 GMT
Great Job Peter as always ! When undertaking a full rebuild on a classic car one has to make a difficult decision when it comes to the interior, 'Restoration' or 'Preservation'. If everyone had your talent then its not so difficult. Well Done.!!!
|
|
|
|
Post by begard on Feb 27, 2020 17:53:41 GMT
What a shame photos all out of focus!
would love to see them
Malcolm
|
|
tonys
Rover Fanatic

Posts: 419
|
Post by tonys on Feb 27, 2020 19:37:04 GMT
The photos all look fine to me  |
|
|
|
Post by Warwick on Mar 1, 2020 13:42:53 GMT
There's only one that I can see.
|
|
tonys
Rover Fanatic
Posts: 419
|
Post by tonys on Mar 1, 2020 14:09:52 GMT
I looked back at the start of this thread and can now see that the photobucket photos up to and including page 8 are blurred, pictures after that are fine.
|
|
|
|
Post by Warwick on Mar 2, 2020 9:10:30 GMT
I looked back at the start of this thread and can now see that the photobucket photos up to and including page 8 are blurred, pictures after that are fine. I just did the same, Tony, and like you realised what Malcolm was talking about. Malcolm, sorry for the misunderstanding. I thought you were talking about photos on this page. You can thank PhotoBucket for that. They used to be a free hosting service, and then one day several years ago, they did that to all photos they hosted and demanded a monthly subscription to undo it. You'll find examples of this corporate vandalism right across this forum; including many other technically valuable threads like this one of Peter's. |
|