|
|
Post by wozzer on Jun 6, 2016 1:37:42 GMT
Looking absolutely amazing peter its going to be one hell of a car when its done
Woz
|
|
|
|
Post by petervdvelde on Dec 5, 2016 21:55:30 GMT
|
|
|
|
Post by petervdvelde on Dec 15, 2016 22:06:53 GMT
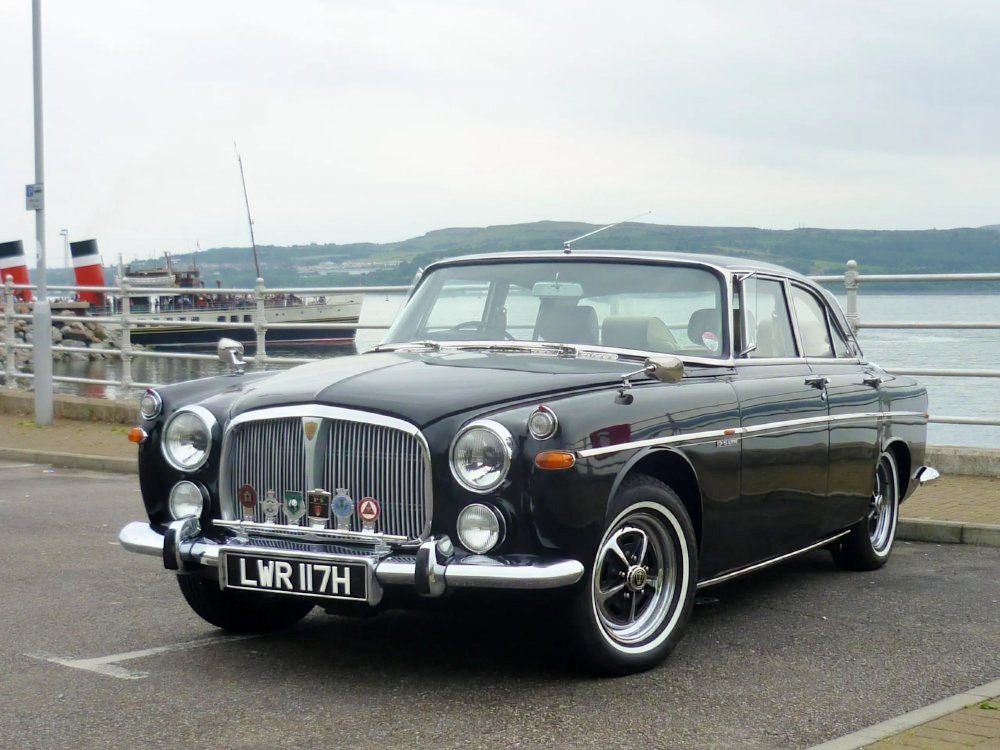
The shell is back home in nice shiny admirality blue!    And a picture of the 2 Coupe's  Will have to wait a week to let the paint harden and then the first job will be spraying Tectyl into the hollow area's like the sills. Peter |
|
|
|
Post by guidedog on Dec 16, 2016 19:25:49 GMT
Absolutely stunning Peter, can't wait to see it finished.Will have a trip to see it when finished.
Well Done
Bob
|
|
|
|
Post by petervdvelde on Feb 4, 2017 21:05:23 GMT
Some powder coated parts for this car were used for my daily P5b like the dashboard frame so was gathering parts which need to be powder coated. also found out that the upper front dashboard frame was pretty rusted. The vinyl top was hardened by the sun and had some cracks so needed to replaced anyway. So removed the fvinyl and foam and will get it powder coated   Hope to get started with assembling the car in two weeks as i still have to do some jobs on the house. Thats it for now Peter |
|
|
|
Post by guidedog on Feb 6, 2017 12:10:18 GMT
Do you ever sleep Peter?
|
|
|
|
Post by petervdvelde on Feb 7, 2017 7:12:03 GMT
Bob, Don't worry but i still sleep more then i work on the Rover  . It has been a busy time with the Rovers but i'll manage Peter |
|
|
|
Post by petervdvelde on Feb 15, 2017 19:35:04 GMT
An update as there is some progress. first brought parts to the powdercoating company  Then coated all the hollow area's on the bodyshell with wax. I used Noxudol as this came first in a salt spray test, i found on internet  first hooked the shell to the rotater and then sprayed the wax in all the hollow area like A, B and D post, sills, rear valance ect  Some pictures of the area's involved  Turning the shell upside down gave good acces to the sills, rear valance ect    [  Removed the wax which was on the body an wait untill the drips stop. Then will clean the shell with white spirit to remove the remains of the wax. Also another Volvo steeringbox arrived. This one only costed 100 Euro and feels solid. I drained the oil which looked clean (on the picture it looks very dirty which is caused by spraying the housing with brake cleaner to remove dirt) and will remove the rust, give it a coat of primer and black paint and will replace the 2 seals as a precaution.  Thats it for now Peter |
|
|
|
Post by petervdvelde on Feb 19, 2017 20:50:32 GMT
Worked on the car this weekend. For a long period the overhauled subframe was waiting on a trolley to be fitted. 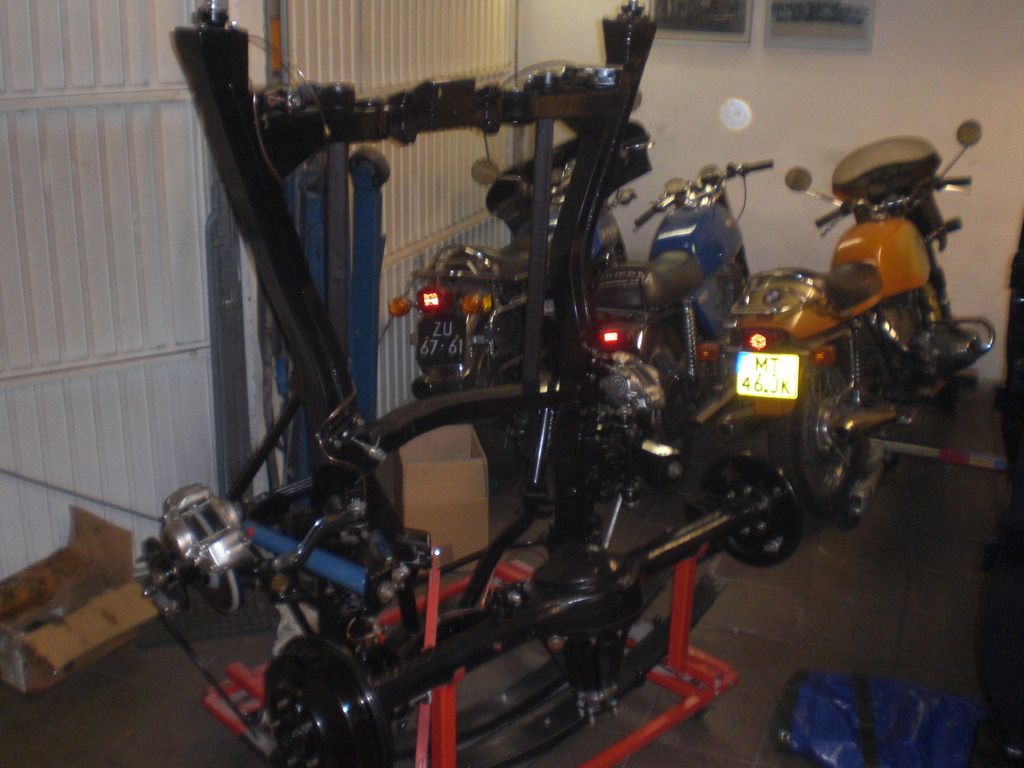 The first job was to remove the frame that was used to connect the shell with the rotater  Ten with the engine crane, the sub frame was lifted from the trolley and some pieces of angle iron were fitted between the trolley and sub frame and the subframe was set horizontal  Then put the rear of the subframe on another trolley 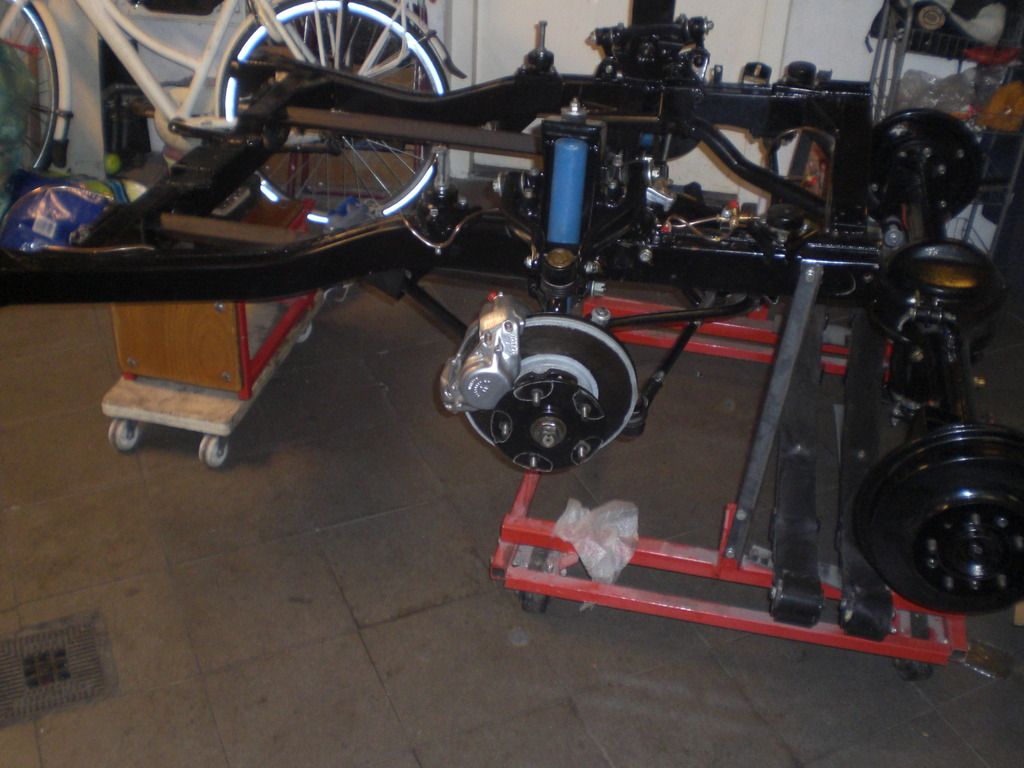 and could move the sub frame under the car  By lowering the shell with the adjustable axle stands, it was easy to get it into the right position and connect the subframe to the shell with the 6 bolts 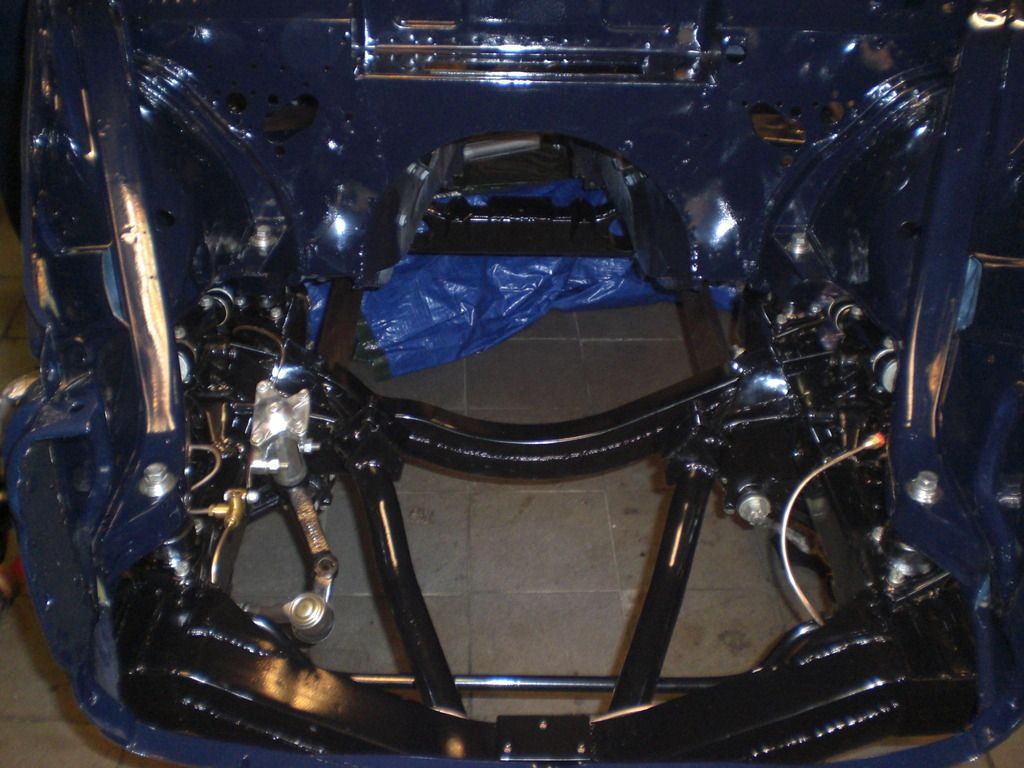 It all is done in 2 hours time and no scratches to sub frame or the car's body 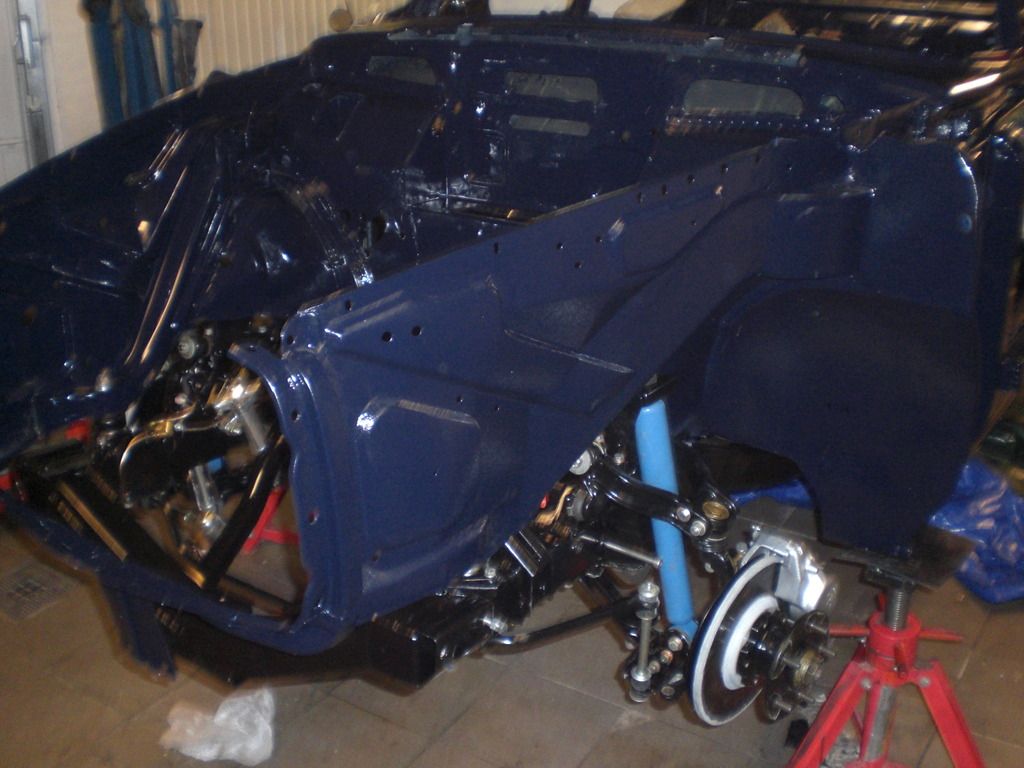 I am now working on some brackets to re connect the car/subframe to the rotator Thats it for now Peter |
|
|
|
Post by guidedog on Feb 20, 2017 12:08:02 GMT
Every time I read your post's Peter, I just sit here in my armchair and shake my head in amazement at what you have achieved. Well done buddy.
|
|
|
|
Post by eightofthem (Andy) on Feb 20, 2017 18:17:55 GMT
Lovely.
|
|
|
|
Post by Warwick on Feb 21, 2017 1:45:56 GMT
Every time I read your post's Peter, I just sit here in my armchair and shake my head in amazement at what you have achieved. Well done buddy. I just crawl under my workbench and sob quietly to myself. I can't even find the time to refit the inlet manifold and radiator. Yesterday was the 10th anniversary of my son convincing me to buy the P5B. |
|
|
|
Post by guidedog on Feb 21, 2017 13:01:43 GMT
The whole concept of an Aussie sobbing does seem weird.  But they do WHEN we beat you at cricket,  |
|
|
|
Post by Warwick on Feb 22, 2017 1:20:37 GMT
I remember cricket.
Wasn't that a game played by teams of amateurs who were arch rivals during the match, and good friends afterwards?
|
|
|
|
Post by wozzer on Feb 22, 2017 7:19:31 GMT
Looks stunning peter
|
|
|
|
Post by petervdvelde on Feb 26, 2017 21:18:39 GMT
Thanks for all the friendly words. Its appreciated. An update. I made some brackets to connect the car to the rotater The front ones 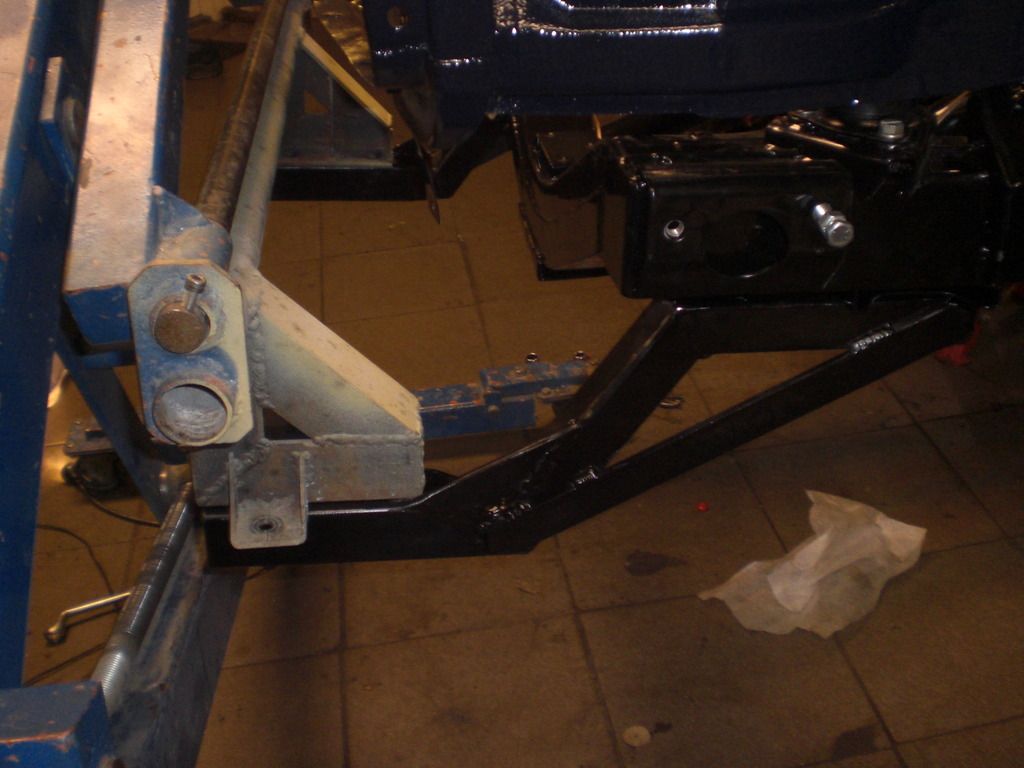 the rear ones  To avoid that the chassis legs are damaged, i fitted the rear bumper brackets which are powder coated 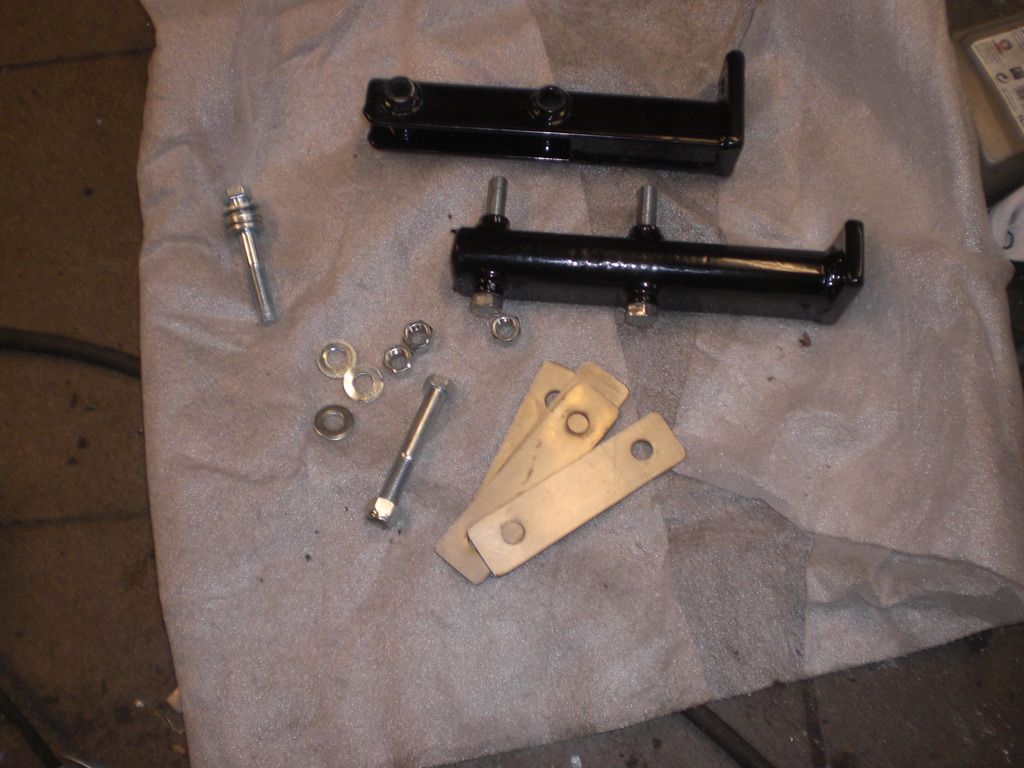 The car and the floor are still rather "greasy" as the wax is not fully "hardened" I have 5 boxes with refurbished parts which are waiting to be fitted 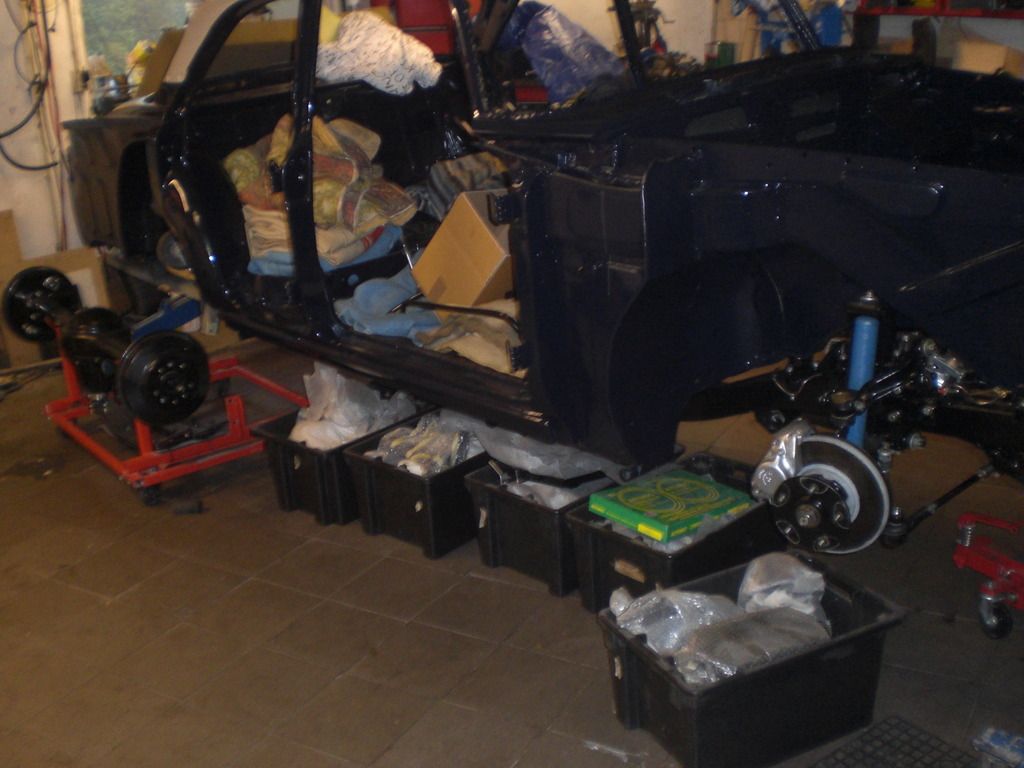 Fitted some brake parts to the engine compartment. Its amazing how many parts are used in the parking brake mechanism. all those bolts, springs, bushes ect and most of it is bullet proof. The number of new parts i needed is relatively low compared to the poor bodywork. So mechanically the P5B is a nice car to restore as it is very well designed 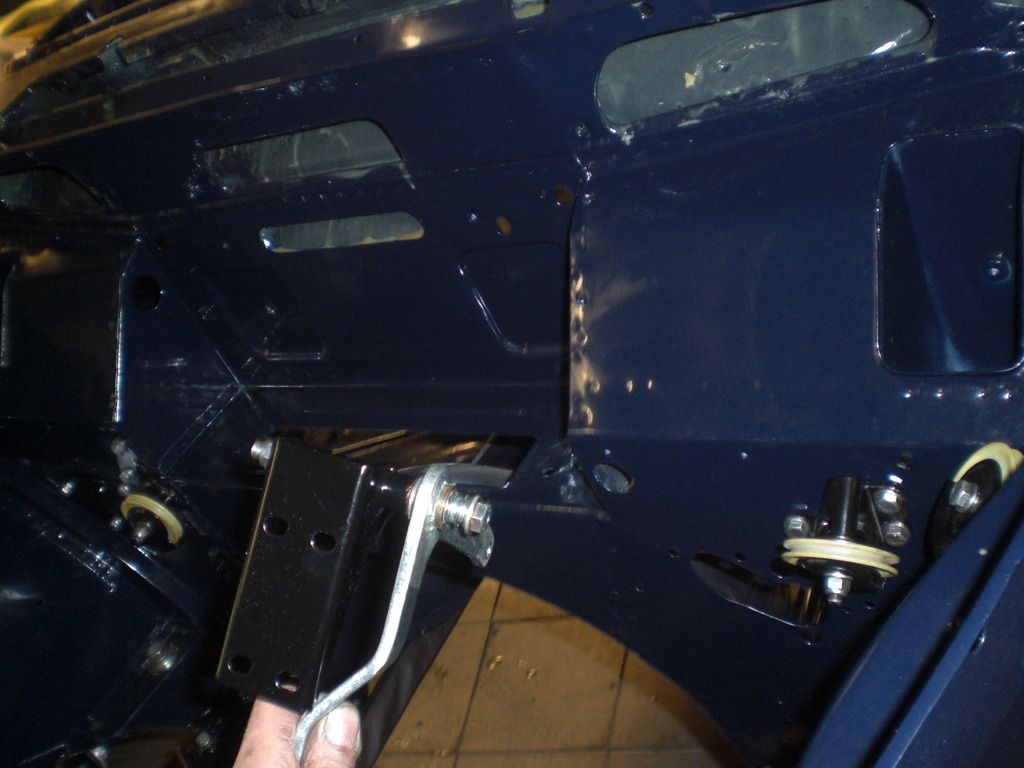 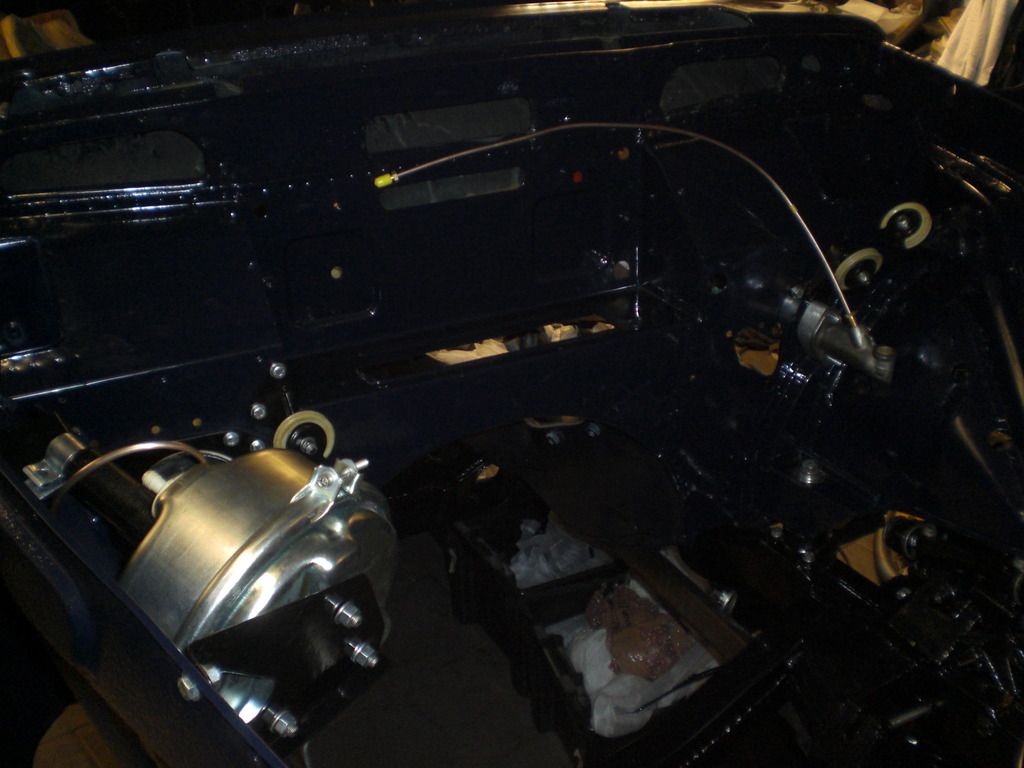 Fitted most of the new Automec brake pipes and the pipe which runs from the master brake cilinder to the booster is wrong. It is an pipe for RHD . Although i bought the set years ago, Automec is willing to supply the right pipe without hesitation. That is good Customer service. Also fitted the brake pedal and the master brake cilinder which is new. I gave that a coat of epoxy preimer as paint as these rust. I will be using silicon brake fluid which is not agressive to paint. The rest of the parts are powder coated or zinc plated. Also the pedal rubber is new. 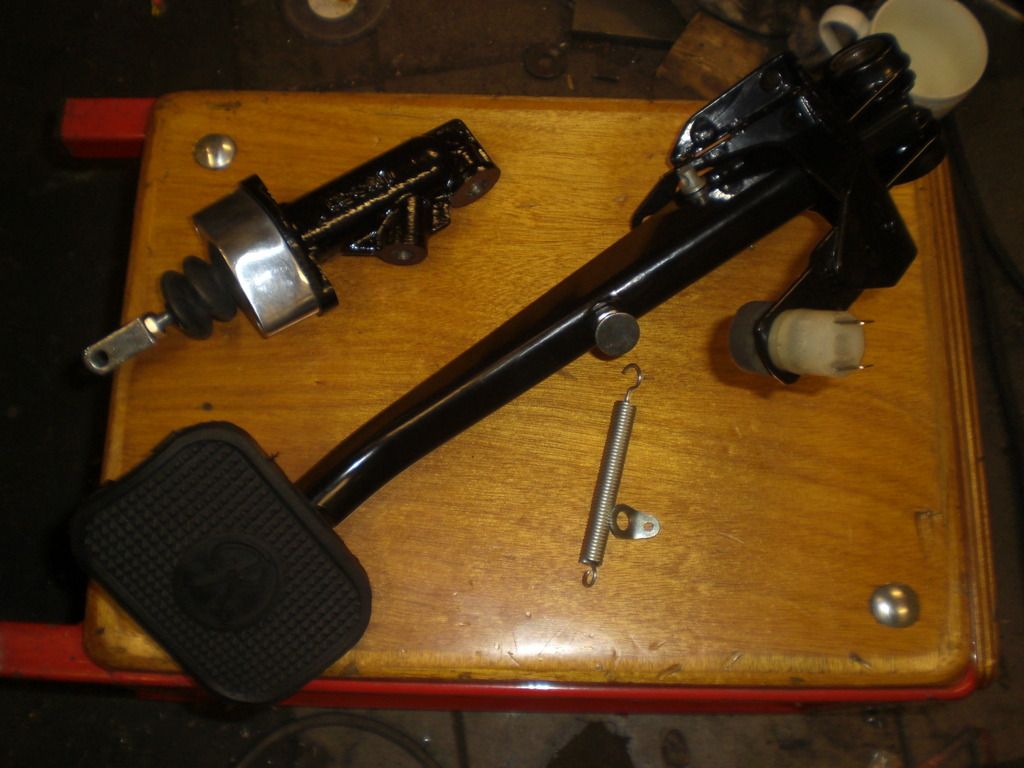 This is a really enjoyable stage in the restoration proces! Peter |
|
|
|
Post by petervdvelde on Mar 5, 2017 19:54:15 GMT
There is some progress to show. The rear axle and springs were still on the trolley. 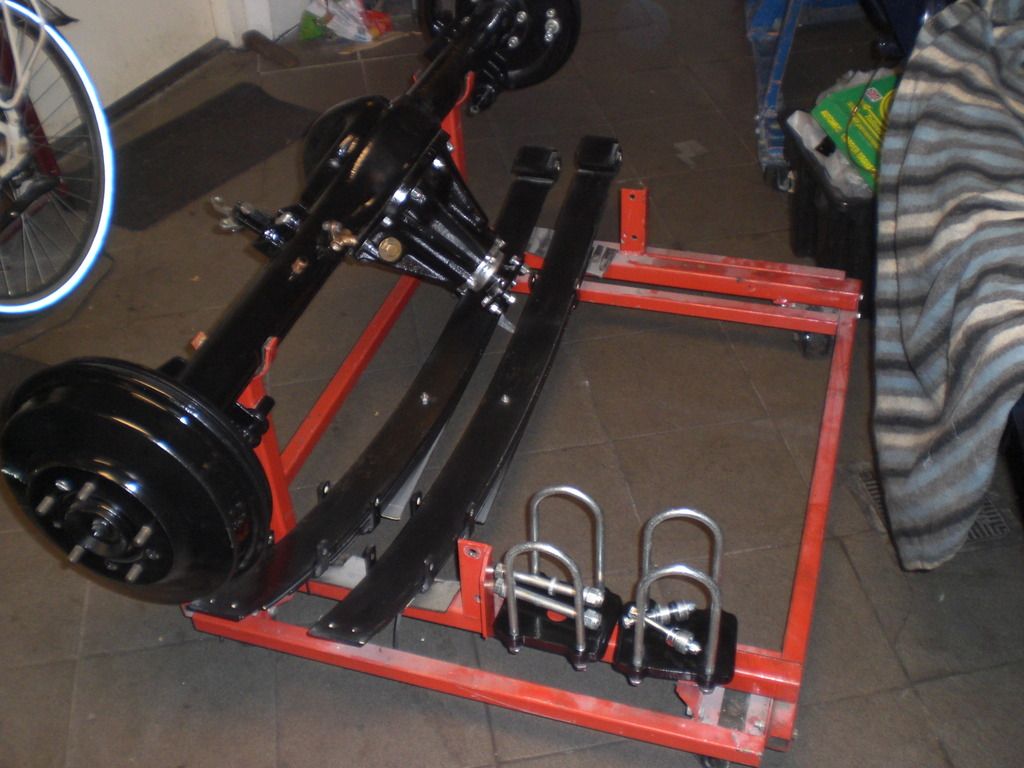 The springs had been shot blasted and painted were not fully assemble . The springs were assembled with heavy duty grease between the blades. 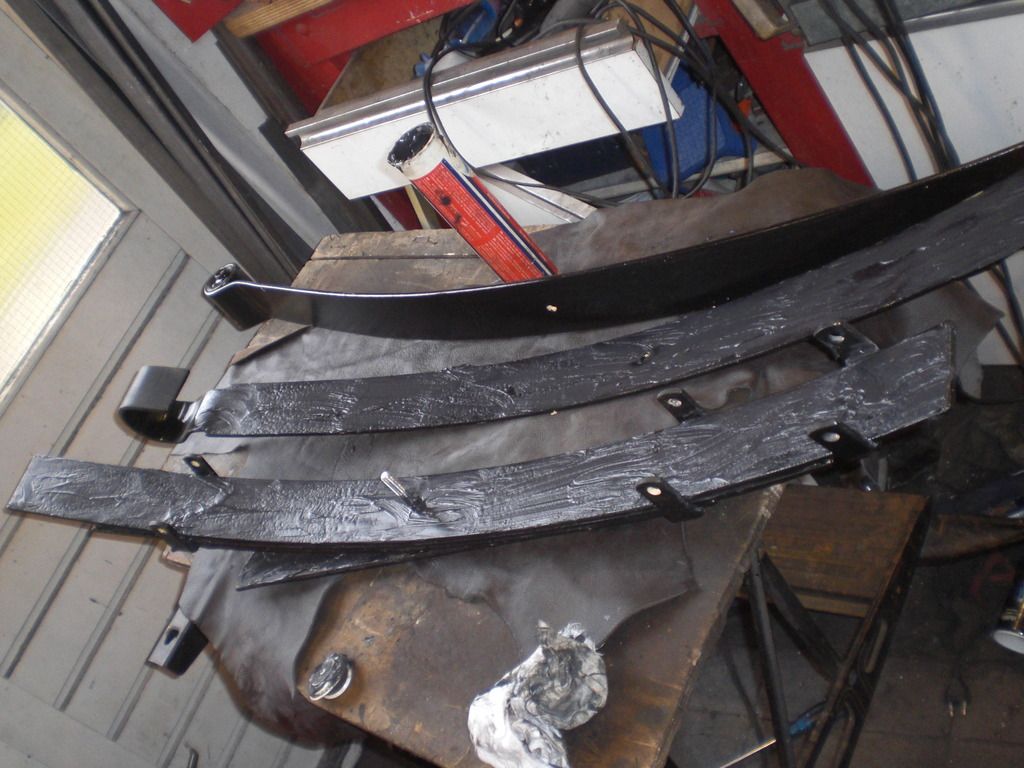 These springs are rather heavy so the engine crane was used to attacht the springs to the rear axle 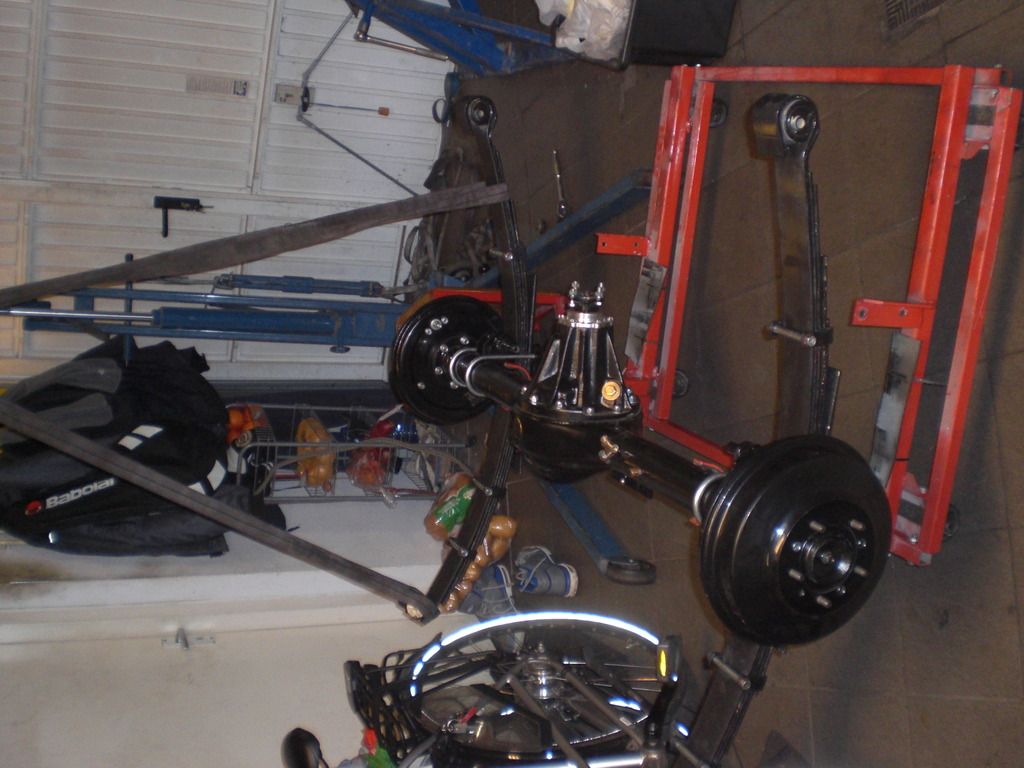 The trolley with axle was positioned underneath the car and the front mountings were fitted to the car 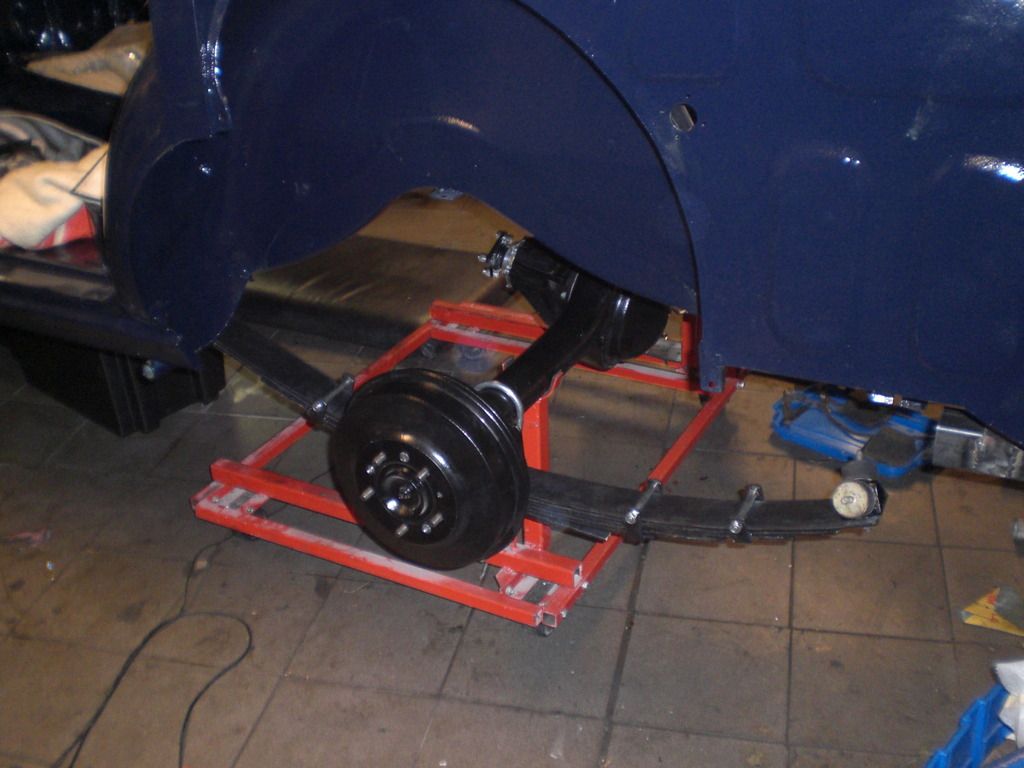 Didn't attach the rears to the car because the hanging axle would put a lot of stress on the mounting rubbers. I added a bracket to rotator bracket where the spring end rests on 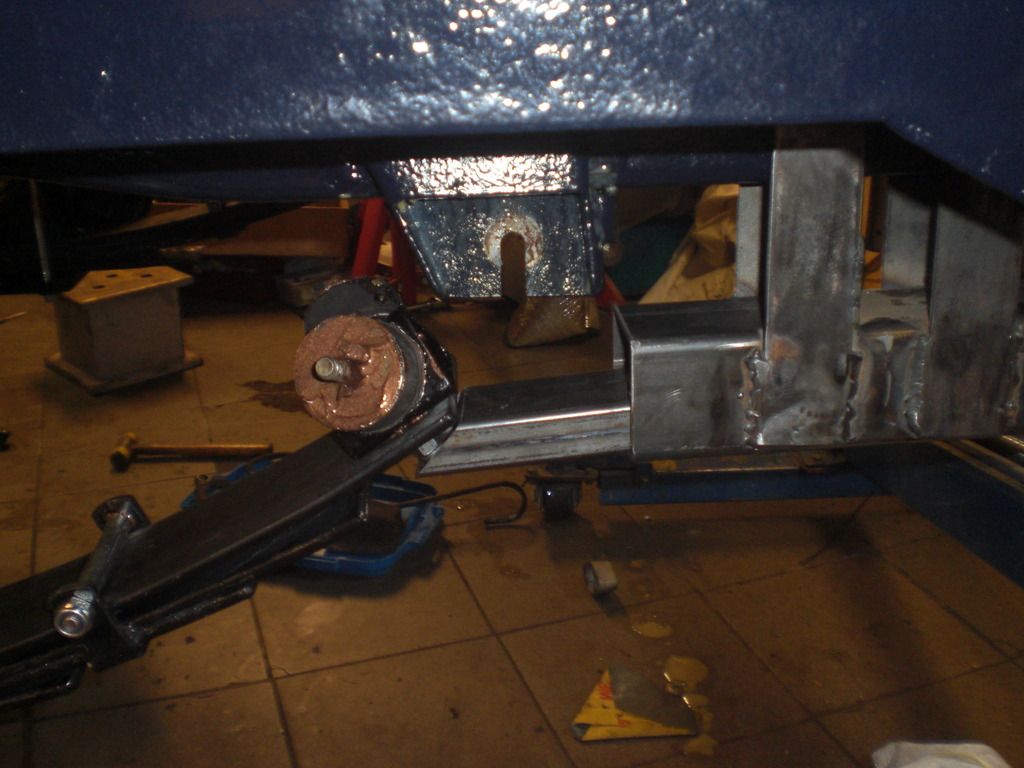 Also found all the loose parts belonging to the spare wheel tray. This is a large part so its convenient when fitted. all the parts were shotblasted and powder coated and the lifting mechanism was given a fresh coat of zinc. 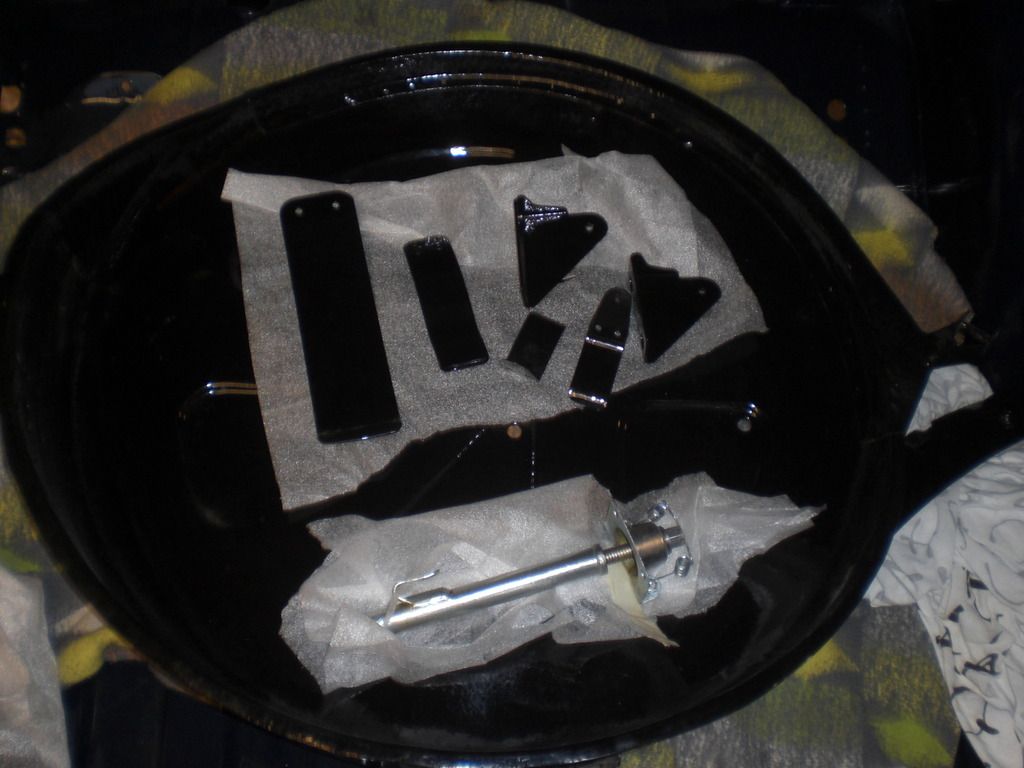 Underneath a picture of the fitted tray (with lots of greasy finger marks!) 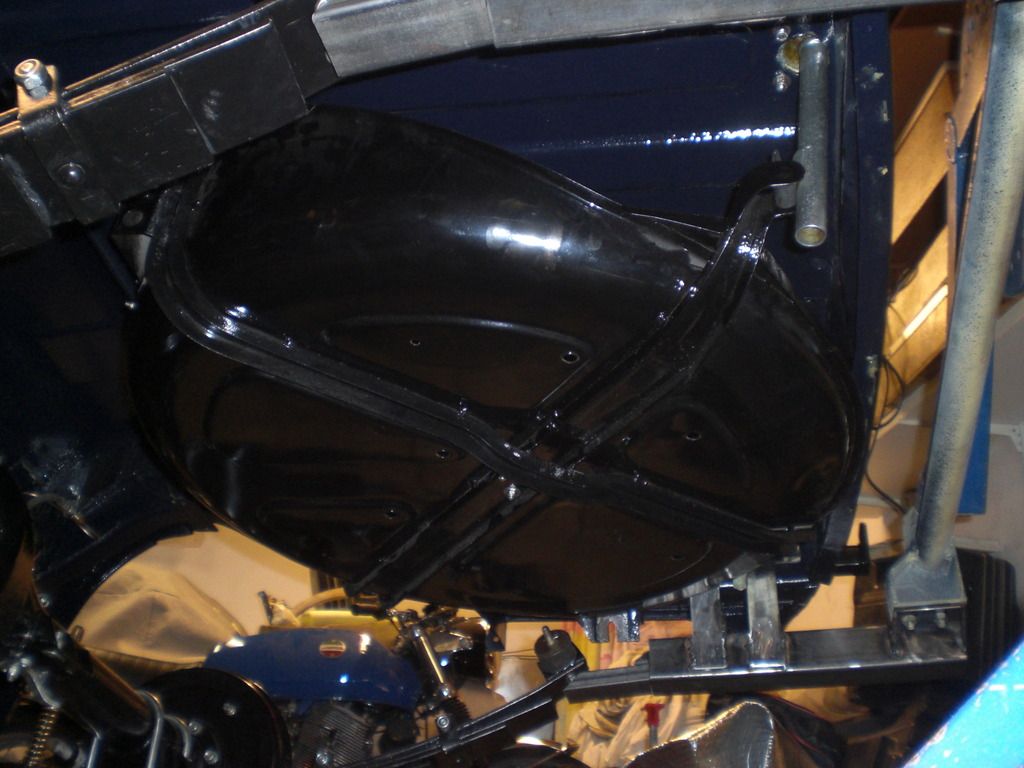 The heather blower was refurbished a long time ago. The motor was disassembled, cleaned and all parts were painted, powdercoated or zinc coated. At the auction in the UK where i bought my daily Coupe, there was a lot which consisted of 2 Smiths heaters and one of the heaters had a aluminum housing and looking dimension wise identical to the P5B heater so i bidded and won both heaters for GBP 9,-. I like the aluminum housing as the plastic housings becomes brittle. 2 out 3 housings i had were cracked. Checking the dimensions showed the plastic and aluminum housing were more or less identical 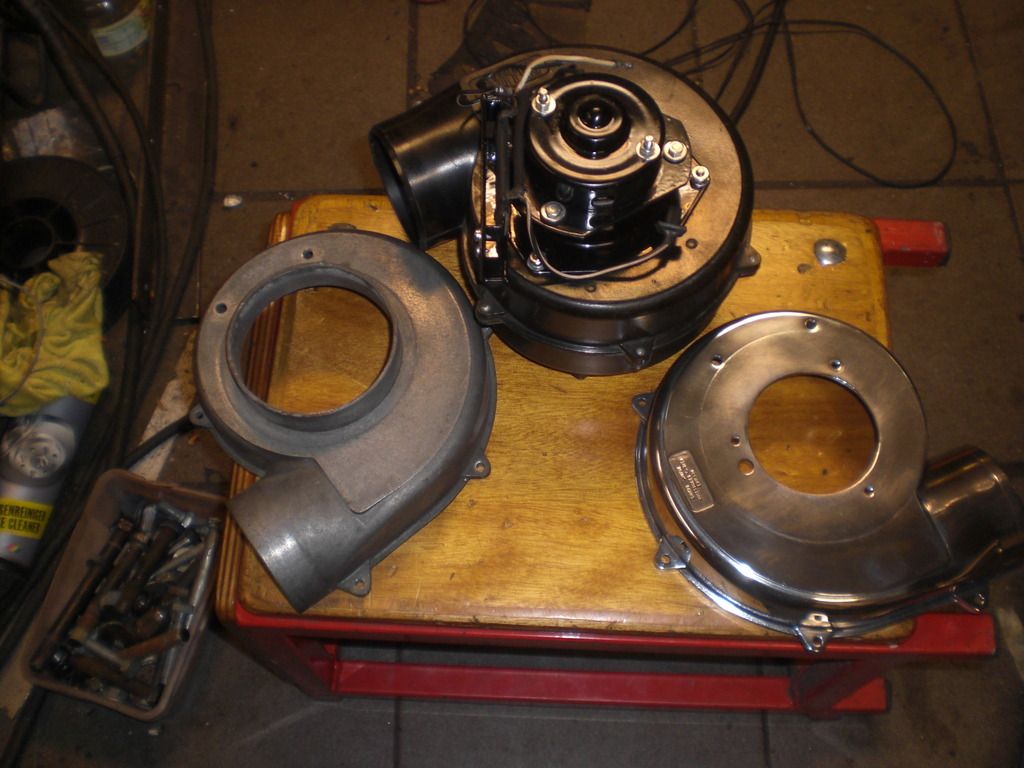 The half on the right was already polished The motor on the alu blower was 1 speed and not fitted with rubbers and also had a smaller wheel. Lluckily i was able to fit the original blower motor to the alu housing  The refurbished blower fitted to the bracket 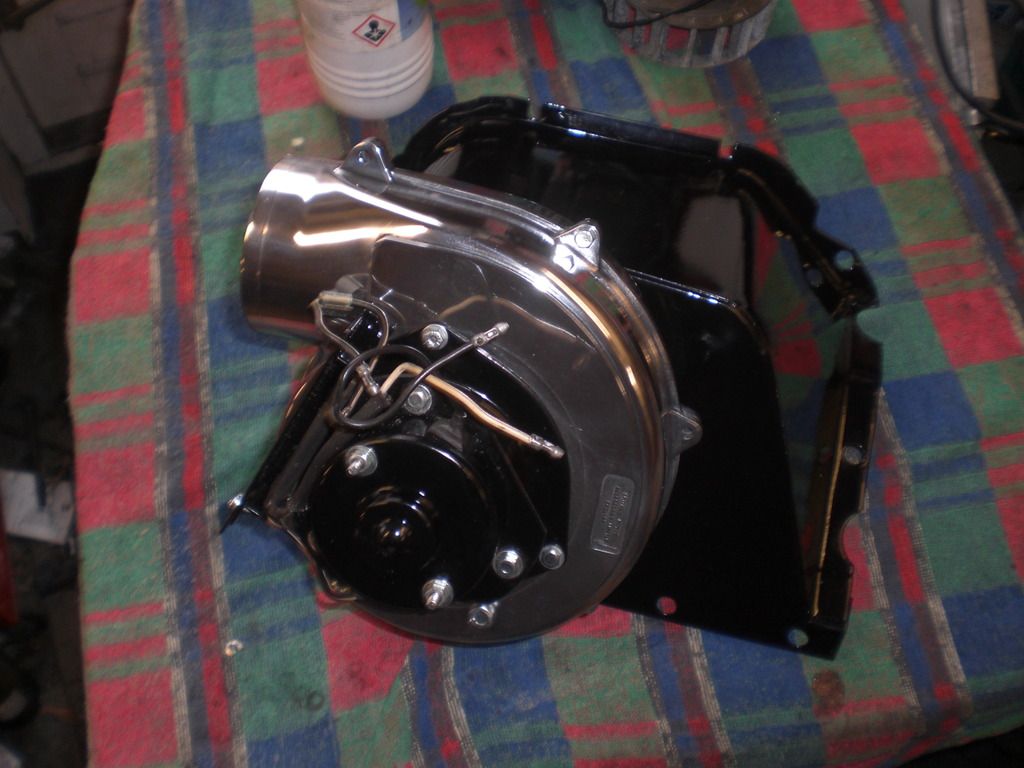 And a picture of the engine bay where some small parts have been fitted. 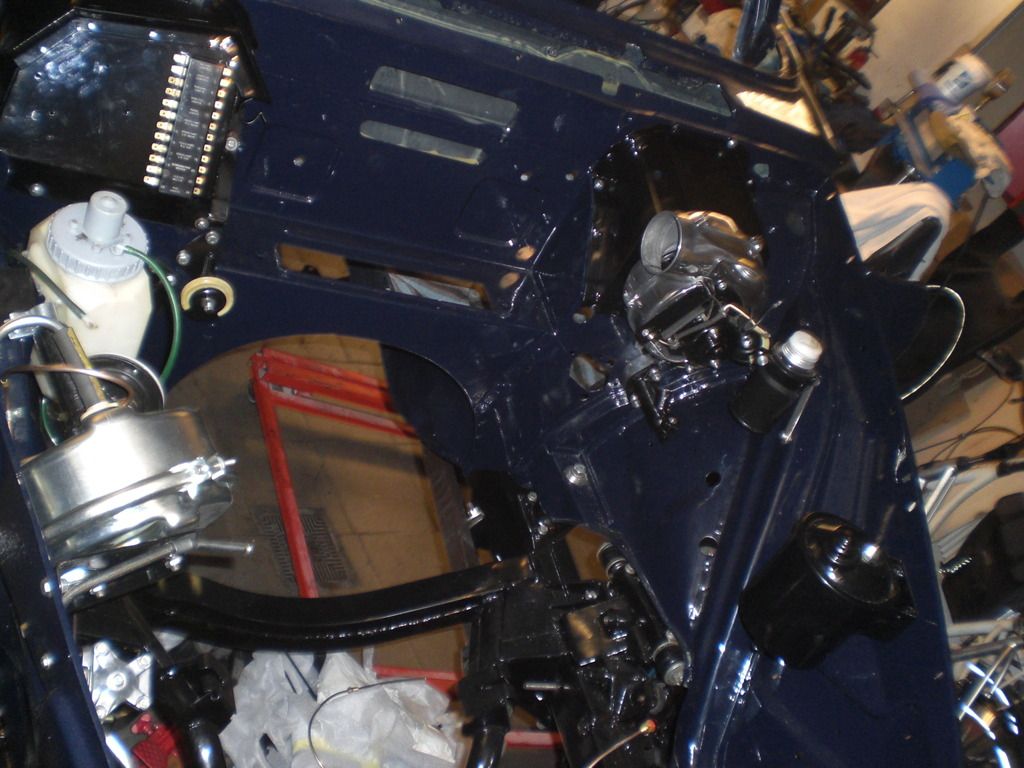 Thats it for now Peter |
|
|
|
Post by eightofthem (Andy) on Mar 5, 2017 20:41:32 GMT
Each bit you add brings the car ever closer to the road once more Peter, and every bit as good as new or better.
Looking forward to each post on progress now.
|
|
|
|
Post by Colin McA on Mar 5, 2017 21:03:39 GMT
I really like the aluminium blower casing. Never seen one before.
Great work as always.
You say that you gave the cylinder a coat of epoxy primer, do you then coat it with Black paint?
Colin
|
|
|
|
Post by petervdvelde on Mar 5, 2017 22:04:37 GMT
Thanks Andy, I really like the aluminium blower casing. Never seen one before. Great work as always. You say that you gave the cylinder a coat of epoxy primer, do you then coat it with Black paint? Colin Colin, I also liked this alu housing very much. I did some searching with Google and found out Smiths heaters are fitted to a lot of cars but i didn't find a simular Smiths housing or motor. The motor is rather heavy so i guess it is rather old. I did give the master cylinder housing a coat of epoxy 2 pack primer and later a coat of 2 pack black paint. Peter |
|
|
|
Post by Phil Nottingham on Mar 5, 2017 22:22:55 GMT
They were used on early P4's and other cars in the 1950's
|
|
|
|
Post by petervdvelde on Mar 12, 2017 19:57:51 GMT
Fitted some parts to the car. Fitted the fresh air assembly which were painted and zinc plated.  The brackets of the door switches and the springs were zinc plated and were assembled together with the wiring loom of the switches and the ID plate on the A post   The radio antenna was also fitted which is easy when the front window is not fitted.  The battery box was in a poor state when dismantled from the car.  A new bottom plate was welded in and some of the side plate's were repaired and then it was shot blasted and powder coated and some parts were zinc plated  and fitted to the car  Picked up some parts from the powder coating company  After cleaning up the threads, the dashboard frame was fitted to the car  The missing brakes pipes arrived from Automec free of charge which is an excellent service  Got a bottle of paint stripper from the powder coating company and stripped the paint of the hinges from boot lid and bonnet  Thats it for now Peter |
|
|
|
Post by djm16 on Mar 13, 2017 14:58:20 GMT
Did I spot a BMW, Laverda and Kawasaki all saying "ride me!"?
|
|
|
|
Post by petervdvelde on Mar 23, 2017 21:45:54 GMT
Some progress to show Fitted the 2 brake pipes which were received from Automec  Made an adapter plate for the ZF steering box  and trial fitted the steering box together with the steering shaft to check if these line up  I am satisfied with the line up. Will slot the holes of the bracket which hold the rubber on the firewall The steering shaft rubbers on the firewall i had were all shot and new ones are unobtainable afaik  In my shed i found a piece of rubber which was useful to make a new one. I don't know where it came from  The steering shaft itself has been dismantled, cleaned, parts got a new coat of zinc or paint and new grease was applied to the bearings. Its very smooth again. As the steering shaft go threw the firewall under an angle and the rubber is straight, i welded a piece of pipe angled onto the flange of the original piece where i can slide the rubber over  Will give the bracket a coat of paint later The rear axle bump stop i had all hat badly rusted mounting plates. The rubbers were all in very good nick. I removed the rubbers from the mounting plates and made copies of the mounting plates from 2mm stainless steel sheet.  In the middle of the plate, a piece of an 8mm SS bolt was welded onto the plate and a 8mm hole was drilled into the rubber. Then glued the rubbers to the plate with 2 pack glue. The bolt is there to strengthen the connection between plate and rubber Fitted to the car with SS bolts and nuts and the gap between the body and the plate was filled with kit to avoid moisture and dirt could acces  Also cleaned a batch of parts for zinc plating and brought these to the plating company. Due to all the parts assembled to the car, the stash of re zinc plated bolts reduces quickly so a new"delivery" is required.  Thats it for now Peter |
|
|
|
Post by GlennR on Mar 24, 2017 6:57:37 GMT
Total respect for what you have done. Well done bud.  |
|


 . It has been a busy time with the Rovers but i'll manage

 But they do WHEN we beat you at cricket,