|
|
Post by djm16 on Nov 16, 2023 3:44:56 GMT
Starting with the LucasAir headunit. It hangs from straps under the glove box rail. (ignore the CD/radio and DC-DC converter hanging off the bottom).  The parcel shelf I imagine was modified by the dealer installation 60 years ago.  |
|
|
|
Post by djm16 on Nov 16, 2023 3:47:06 GMT
Lines from the headunit pass under the tool tray through the bulkhead.  Thence via the filter, and under the cabin fan motor.  |
|
|
|
Post by djm16 on Nov 16, 2023 3:50:38 GMT
A close up of the custom filter bracket, designed to utilise pre-existing holes in the inner wing.  I tried to keep the AC tubing as far away as possible from the exhaust manifold for obvious reasons. It is a tight squeeze past the top of the radiator.  |
|
|
|
Post by djm16 on Nov 16, 2023 3:54:53 GMT
The Sanden universal AC pump has more locating ears on it than are needed, so I removed the one nearest the rocker cover to give enough clearance so the rocker cover can be removed. In practice, I have to take off the AC pump belt and lever the pump as far away as possible to get the rocker cover off. Its a PITA.  The L piece has been filed away nearest the rocker cover for the same reason. The is a piece of PVC tape still attached from when I last took the rocker cover off: it protects the paint on the rocker cover while removing it. This is about as good a view as I could get of the modified engine mount that the pump is attached to. The pump pivots on two bolts underneath that are a challenge to reach. Belt adjustment is via a sliding bracket mounted to the engine timing cover.  Hang on, lets see if I can find an old photo: |
|
|
|
Post by djm16 on Nov 16, 2023 4:10:53 GMT
Here it is, years ago when I first modified the AC setup.  The pipework around the top of the radiator is very tight.  |
|
|
|
Post by djm16 on Nov 16, 2023 4:14:05 GMT
Lastly, some details of either end of the condenser unit.   |
|
|
|
Post by enigmas on Nov 18, 2023 8:06:32 GMT
Thanks for posting both the images and text relating to the A/C in your 3 litre P5 David. Very comprehensive and useful info for those wanting to instal an A/C in their P5. It definitely is a tight installation. Great care has to be taken with the A/C hoses on the tight turns where they enter and exit through panels. I had the high pressure liquid line on one side of my installation gouge a deep groove into one of the hoses due to vibration. It was easier to fabricate a copper line of suitable size and orientation in my case than to replace the hose. These older systems use flare fittings (not O rings like current systems on connections) and it's definitely worthwhile using appropriate sealing solutions on the unions when reattaching them. Refrigerant will leak through the smallest pinhole in a hose or union. Both the use of green UV detectable dye and an inexpensive gas sniffer (Ebay) are useful tools in tracking miniscule refrigerant leaks. 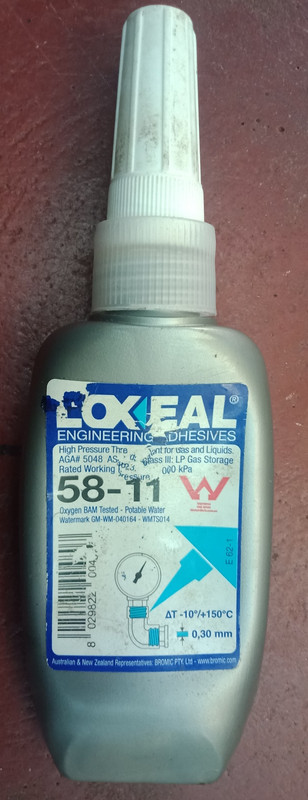 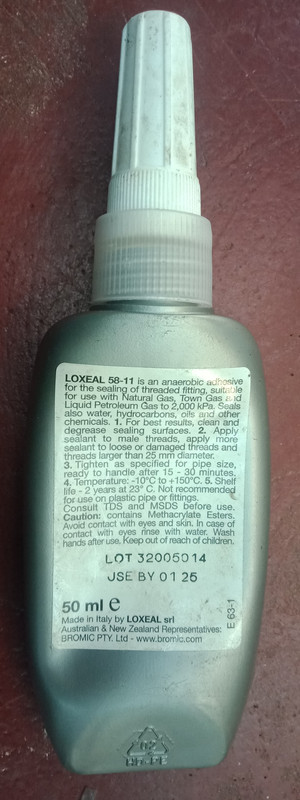 |
|
|
|
Post by djm16 on Nov 19, 2023 2:53:44 GMT
I don't recall now if any of the fittings were flared, perhaps on the old condensor. I am pretty sure all are now viton O-rings, nevertheless, a non-setting sealant compound was used.
|
|
|
|
Post by enigmas on Nov 19, 2023 8:09:38 GMT
Both the "receiver/dryer" (black cannister with the attached pressure switch and sight glass) and the underdash "evaporator" are likely to have flare fittings given their vintage.
|
|


