|
|
Post by enigmas on Mar 27, 2016 21:19:00 GMT
Nice work. Looks like you've got a lot more ahead of you though.
|
|
|
|
Post by petervdvelde on Mar 27, 2016 22:28:12 GMT
Nice job! I also made those recesses when fitting the sills. It all takes a lot of time. Curious how you made these recesses. Was it a hammer/dolly job or also involved welding? I made jigs to make the recesses but curious how others do it 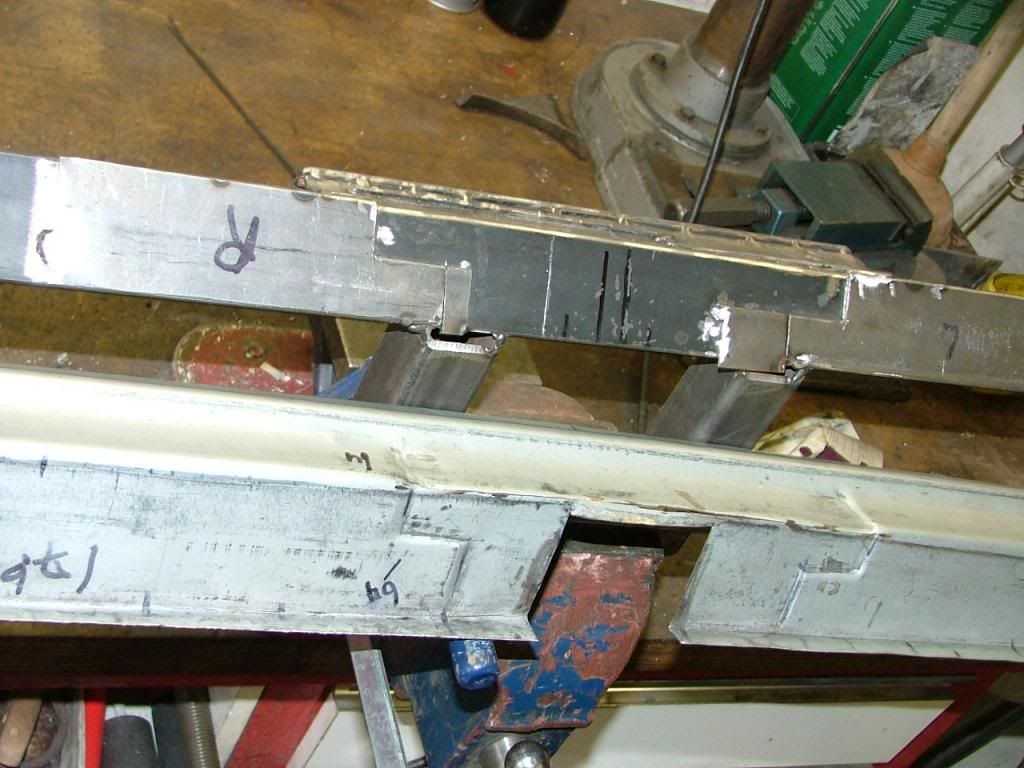 Keep posting as it is interesting stuff! Peter |
|
|
|
Post by enigmas on Mar 28, 2016 0:53:31 GMT
I just noticed something...are you working in a shipping container?
|
|
|
|
Post by djm16 on Mar 28, 2016 0:59:47 GMT
Just in case I ever have to do this, how did you go about bracing the body while you do the sill repair? I am pretty sure mine are OK, but even so just putting axle stands under both front jacking points makes the drivers door hard to open.
|
|
|
|
Post by Phil Nottingham on Mar 28, 2016 5:36:01 GMT
All the sills I had from Wadhams had the recess pressed in and all 3 parts fitted very well every time although both ends have to be fabricated.
Some other makes in the past were a terrible fit and not even the correct shape and some were even oversills
|
|
|
|
Post by wozzer on Mar 28, 2016 6:45:43 GMT
I just noticed something...are you working in a shipping container? Yes there is still plenty to do but i feel ive have now broken the back of of the structural repairs. Yes i am working in a container, the car is stored on a farm at the moment and it is making restoring the p5 a little more challenging but if you put your mind to it you can acheive anything. Workspace is a little limited, woz |
|
|
|
Post by wozzer on Mar 28, 2016 6:56:23 GMT
Nice job! I also made those recesses when fitting the sills. It all takes a lot of time. Curious how you made these recesses. Was it a hammer/dolly job or also involved welding? The easiest way for me peter was to cut out where the posts go and let in a joddled section to form the recess. This was then fully welded and ground back to make it look right. The only problem with doing it my way is that it will need a little body working to look perfect, Your solution was spot on and the sill looks factory. Woz |
|
|
|
Post by wozzer on Mar 28, 2016 7:06:02 GMT
Just in case I ever have to do this, how did you go about bracing the body while you do the sill repair? I am pretty sure mine are OK, but even so just putting axle stands under both front jacking points makes the drivers door hard to open. Unless you know your jacking points and inner steel is good or new then i wouldnt use them as ive problems in the past. My p5 is not braced in any way across the doors etc, it is on axle stands under the chassis at the front and under the axle at the rear, with the centre floor section on jacks and 4x2 timber so i could adjust it if needed. When it was cut out there was little or no deflection of the inner sill panel so all has gone to plan and been fairly straightforward. Woz |
|
|
|
Post by wozzer on Mar 28, 2016 7:10:17 GMT
All the sills I had from Wadhams had the recess pressed in and all 3 parts fitted very well every time although both ends have to be fabricated. Some other makes in the past were a terrible fit and not even the correct shape and some were even oversills Both of my sill panels were from wadhams phil, both were pressed with recesses for the d post only, inner sill and diaphram panel fitted great. Woz. |
|
|
|
Post by petervdvelde on Mar 28, 2016 9:14:53 GMT
All the sills I had from Wadhams had the recess pressed in and all 3 parts fitted very well every time although both ends have to be fabricated. Some other makes in the past were a terrible fit and not even the correct shape and some were even oversills Phil, the sills i used were from Wadhams and had no recesses Peter |
|
|
|
Post by enigmas on Mar 28, 2016 9:51:31 GMT
I just noticed something...are you working in a shipping container? Yes there is still plenty to do but i feel ive have now broken the back of of the structural repairs. Yes i am working in a container, the car is stored on a farm at the moment and it is making restoring the p5 a little more challenging but if you put your mind to it you can acheive anything. Workspace is a little limited, woz That's true! And you're certainly proving that quality work can be done despite the limitations of environment. |
|
|
|
Post by wozzer on Mar 29, 2016 15:41:27 GMT
Yes there is still plenty to do but i feel ive have now broken the back of of the structural repairs. Yes i am working in a container, the car is stored on a farm at the moment and it is making restoring the p5 a little more challenging but if you put your mind to it you can acheive anything. Workspace is a little limited, woz That's true! And you're certainly proving that quality work can be done despite the limitations of environment. Thanks for the kind words  Woz |
|
|
|
Post by wozzer on Apr 2, 2016 19:00:52 GMT
  Spent a few hours over the unit today fitting the new lower a post repair. Also capped the sill end and done some finish welding on the inner sill where it meets the old floor. Coated these repairs ready for final bodyworking. Woz |
|
|
|
Post by petervdvelde on Apr 2, 2016 23:28:21 GMT
Woz, No intention to criticize your excellent repairs but the A post should end a little lower as there is a nu in the underside for a bracket which is welded to the front wing which is useful to match the wing with the door/sill contours 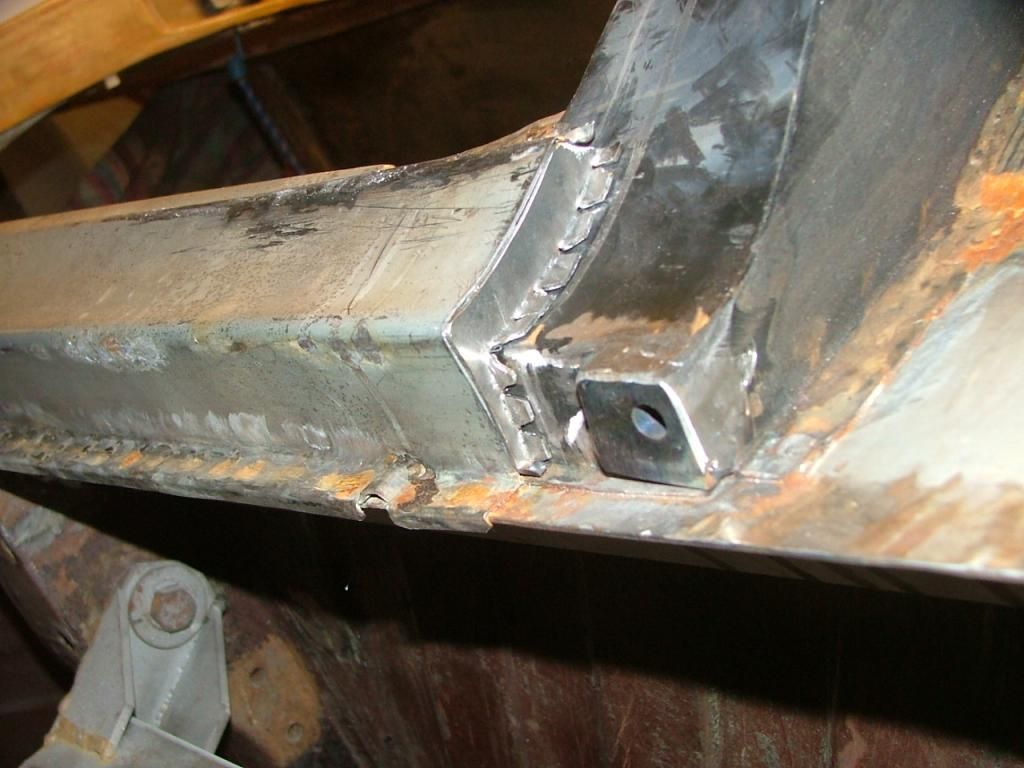 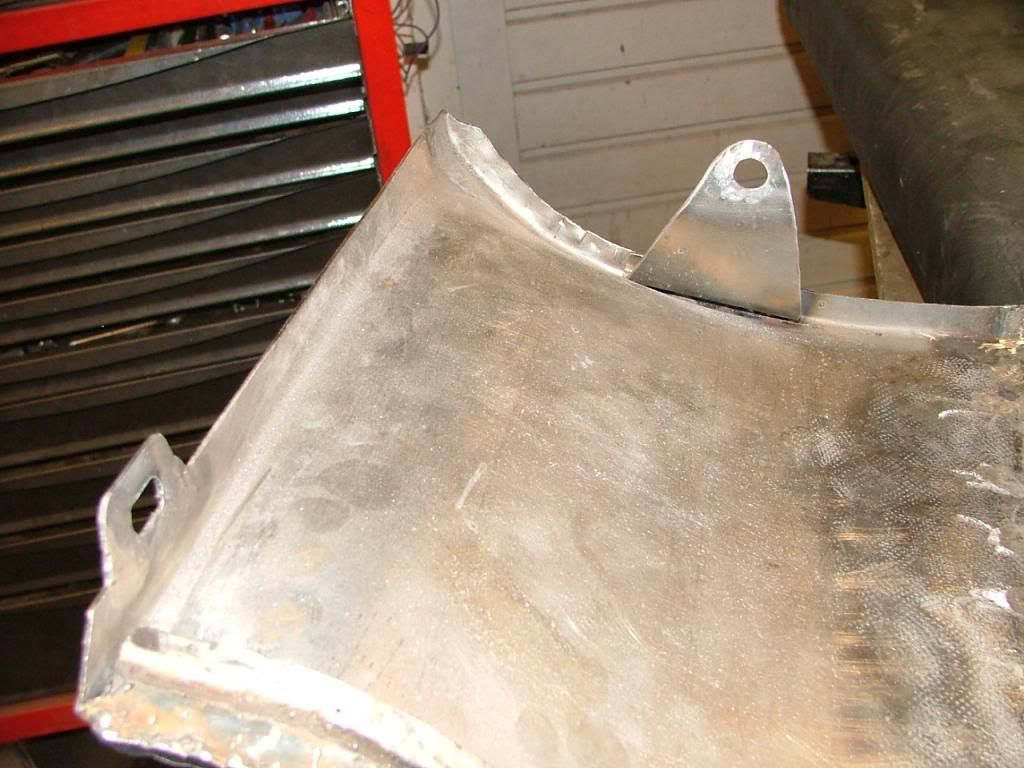 Good luck, even with P6B you can beat the rusted spot on the body  Peter |
|
|
|
Post by enigmas on Apr 3, 2016 0:59:12 GMT
Great work...neat and no 'cacky' welds. |
|
|
|
Post by wozzer on Apr 3, 2016 7:59:35 GMT
Woz, No intention to criticize your excellent repairs but the A post should end a little lower as there is a nu in the underside for a bracket which is welded to the front wing which is useful to match the wing with the door/sill contours No worries peter its nice to see yours as i had no reference on either of mine as they were both rusted out totally, the only thing i had to go on was the repair panel from wadhams and my own take on the lower wing mount |
|
|
|
Post by wozzer on Apr 3, 2016 8:14:12 GMT
Great work...neat and no 'cacky' welds. Thanks enigmas, all the internal welds radiused and blended with a die grinder. Its weird, this was supposed to be a quick rebuild not paying too much attention to detail but once you start your criticle eye just takes over, i cant help myself  |
|
|
|
Post by projectrover on Apr 3, 2016 8:49:38 GMT
Woz, No intention to criticize your excellent repairs but the A post should end a little lower as there is a nu in the underside for a bracket which is welded to the front wing which is useful to match the wing with the door/sill contours No worries peter its nice to see yours as i had no reference on either of mine as they were both rusted out totally, the only thing i had to go on was the repair panel from wadhams and my own take on the lower wing mount Oh yes I know the feeling! My quick rolling restoration has taken 8 years and cost a fortune! Lots of 'that's not quite right', if I just...... and so it goes on! But what else would you drive! |
|
|
|
Post by petervdvelde on Apr 3, 2016 21:26:52 GMT
Woz, No intention to criticize your excellent repairs but the A post should end a little lower as there is a nu in the underside for a bracket which is welded to the front wing which is useful to match the wing with the door/sill contours No worries peter its nice to see yours as i had no reference on either of mine as they were both rusted out totally, the only thing i had to go on was the repair panel from wadhams and my own take on the lower wing mount I had the same problems. With a rusted lower A post, rusted lower front wing and sill, there were no reference points. The Wadhams repair A post panel was a little short so i had to welt a strip of 4 mm thick to the underside to match it with the front wing bracket. Another issue i had with the Wadhams inner sills was that the 7 or 8 lips where the stainless trim is slided over were not recessed so the trim didn't fit. I could have bent the trim a little but decided to dismantle the lips by drilling out the spot welds and put a recess on it. In general if you don't know how body panels looked or were fitted, i may be able to help you as i went threw the same issue's and repairs and have made a lot of pictures during the repairs. Peter |
|
|
|
Post by petervdvelde on Apr 3, 2016 21:43:52 GMT
Forgot to advise you to drill a hole into the underside of the a Post so that water can get away. I also made some sort of channels in the outer sills so water could get threw which are visible on my picture about 3 cm from the sill front.
I copied this from my MGB sills which i replaced many years ago. I realize its to late for you now.
I also made drain holes in the rear valance and on other spots. These prooved usefull to let shot blasting grid out and will useful when i fill the hollow section with wachs or Tectyl
Peter
|
|
|
|
Post by p5bcoupe on Apr 5, 2016 14:21:57 GMT
Hi Peter / Wozzer,
keep up the good work and all of the pictures, they will be a great help to others when carrying out similar repairs.
Our current P5B Coupe is with GipsyKev near Durham undergoing some restoration work. It is difficult to entrust your pride and joy to be restored as the outcome is usually less than expected. In my case I can totally recommend Kev as seeing is believing and he instinctively knows what is right when it comes to restoring these cars of ours.
To close, Kev delivers "what it says on the tin", a rare commodity in this day and age,he treats each restoration as if it were his own.
|
|
|
|
Post by wozzer on Apr 5, 2016 15:28:58 GMT
Hi Peter / Wozzer, keep up the good work and all of the pictures, they will be a great help to others when carrying out similar repairs. Our current P5B Coupe is with GipsyKev near Durham undergoing some restoration work. It is difficult to entrust your pride and joy to be restored as the outcome is usually less than expected. In my case I can totally recommend Kev as seeing is believing and he instinctively knows what is right when it comes to restoring these cars of ours. To close, Kev delivers "what it says on the tin", a rare commodity in this day and age,he treats each restoration as if it were his own. Thats nice to know, im glad things are going well with your rebuild , its looking good. |
|
|
|
Post by thermalwarrior on Apr 5, 2016 18:55:30 GMT
I have been following Wozzer and petervdvelde on the Forums. I have found their posts and pictures very helpful especially those posted by petervdvelde. A great Photo Diary of the work being carried out.
I am sure, that those, such as myself who are undertaking restoration work, will find the Pictures most helpful now and in the future. As I come to repair/restore each section on the car, I am able to refer to the pictures for that section, so that I have a good idea on how to proceed.
Thank You. it is much appreciated.
|
|
|
|
Post by petervdvelde on Apr 6, 2016 15:44:23 GMT
It is nice to know, the pictures posted help out. I believe this is where forums are for to share experiences and information.
Peter
|
|
|
|
Post by wozzer on Apr 10, 2016 17:41:06 GMT
 Finished off the inner splash apron which would normally cover the jacking tube which im not installing.  Decided to tackle this bit of rot in this box section which at this point is double skinned, so the outer box was cut out to reveal the hole that was through to the inner box which was underneath.  A small plate was cut and welded into place ready for the new outer panel. |
|


